관리자 관리 설정을 사용해 Google Workspace를 ChatGPT에 연결하려면 먼저 Google의 관리자 콘솔에서 액세스를 구성해야 합니다.
서비스 계정 만들기: Google Drive, 사용자, 그룹에 대한 읽기 전용 액세스 권한이 있어야 합니다.
이 서비스 계정은 ChatGPT 워크스페이스와 연결된 동일한 Google 계정 아래에서 생성하는 것을 강력히 권장합니다. ChatGPT 워크스페이스의 계정이 Google Workspace에서 사용하는 이메일 도메인과 다르면, 사용자를 위해 이 커넥터를 활성화하려면 추가 단계를 따라야 합니다.
관리자 계정 만들기: 서비스 계정이 이 계정을 대신해 작업하게 됩니다.
그런 다음 ChatGPT 관리자 콘솔에서 설정을 완료하세요.
서비스 계정의 비공개 키 업로드 (Google에서 받은 JSON 파일)
관리자 계정 지정 (자격 증명 불필요)
동기화할 파일 선택 및 연결에 액세스할 사용자 선택
이 가이드는 이 6단계를 각각 안내합니다.
서비스 계정 설정하기
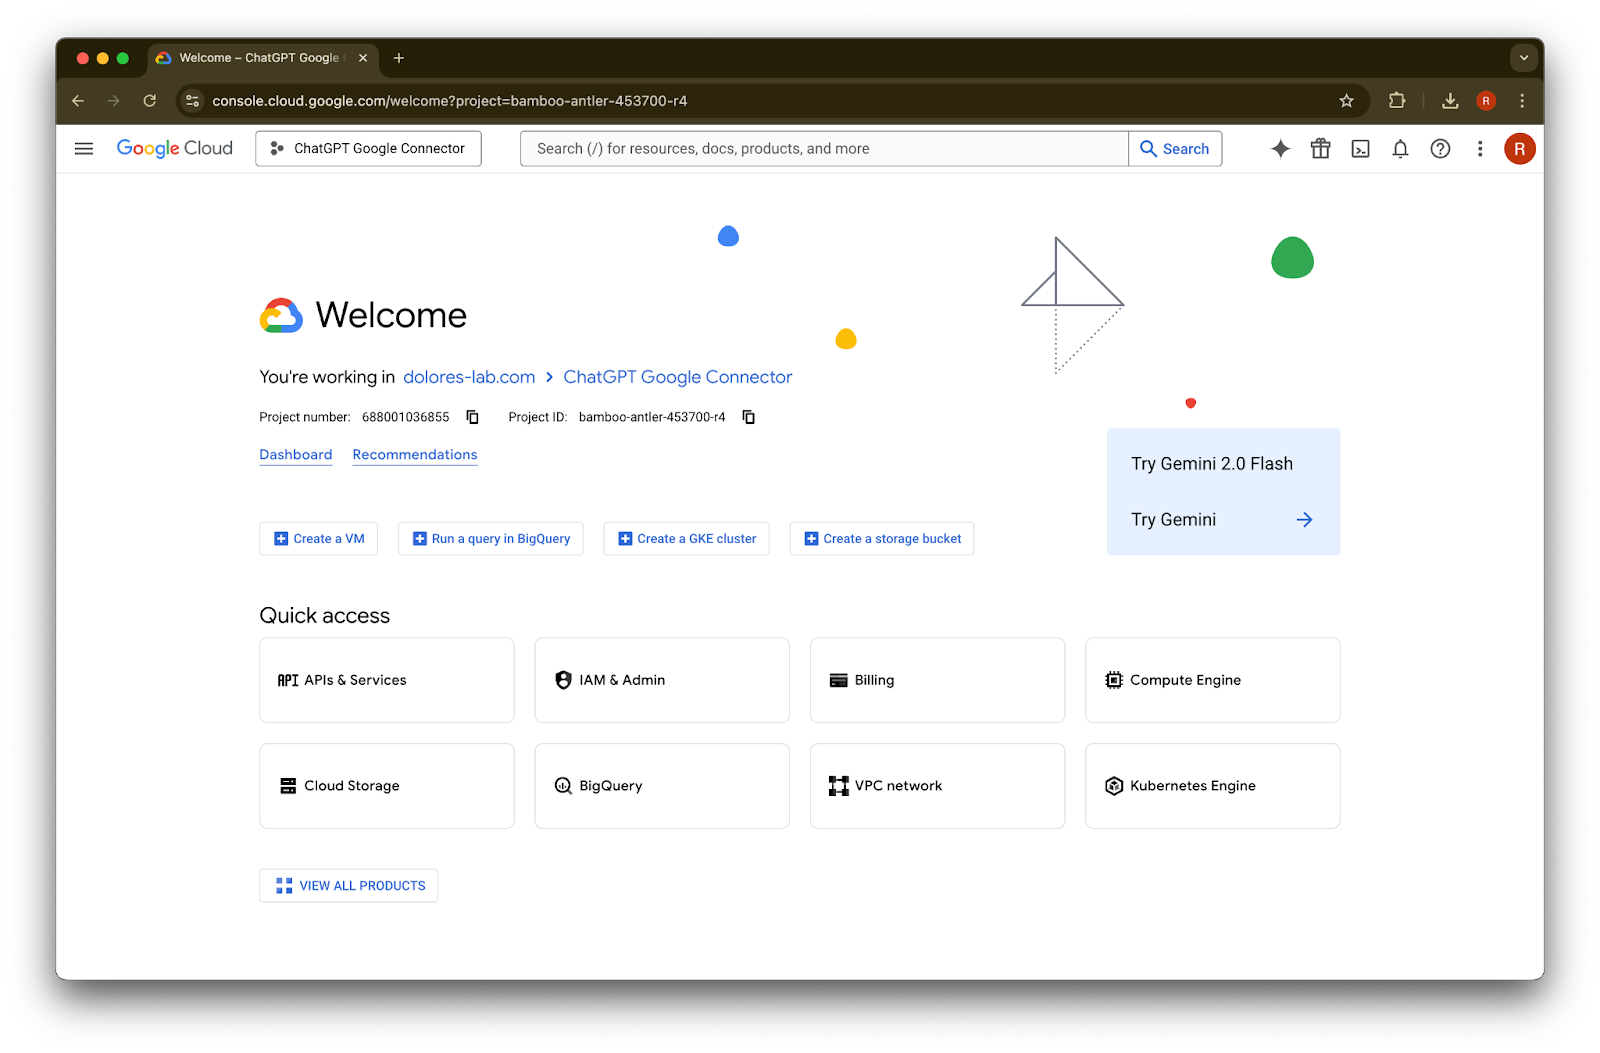
console.cloud.google.com으로 이동합니다.
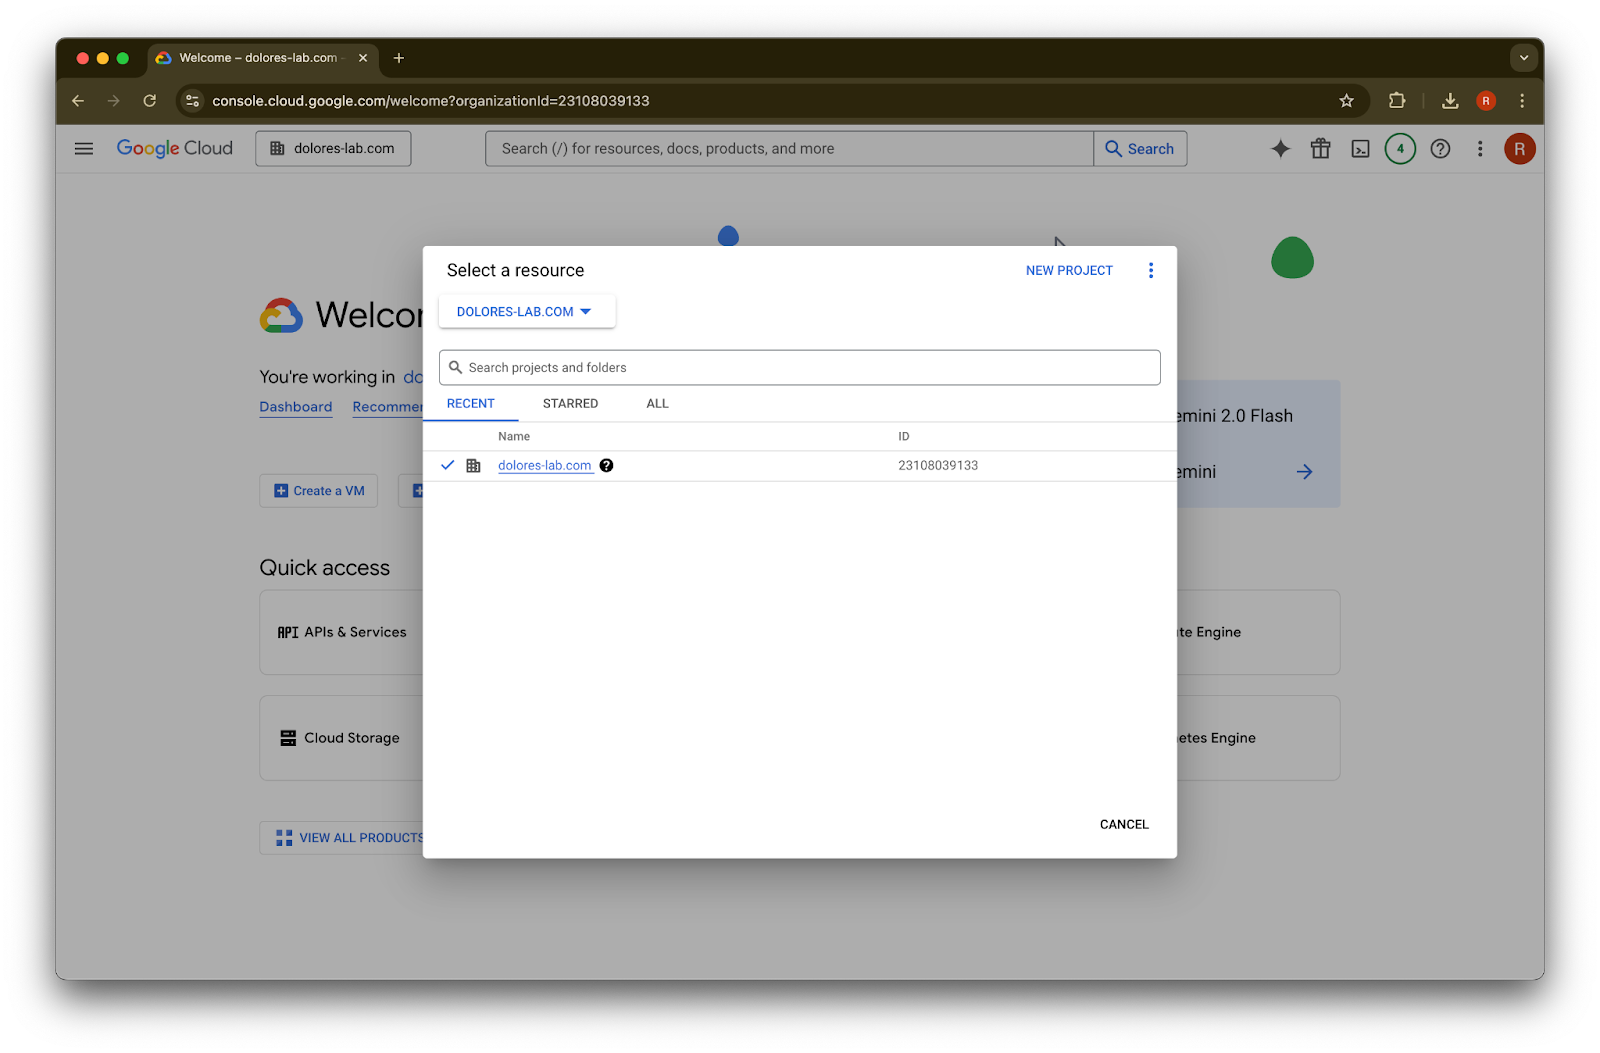
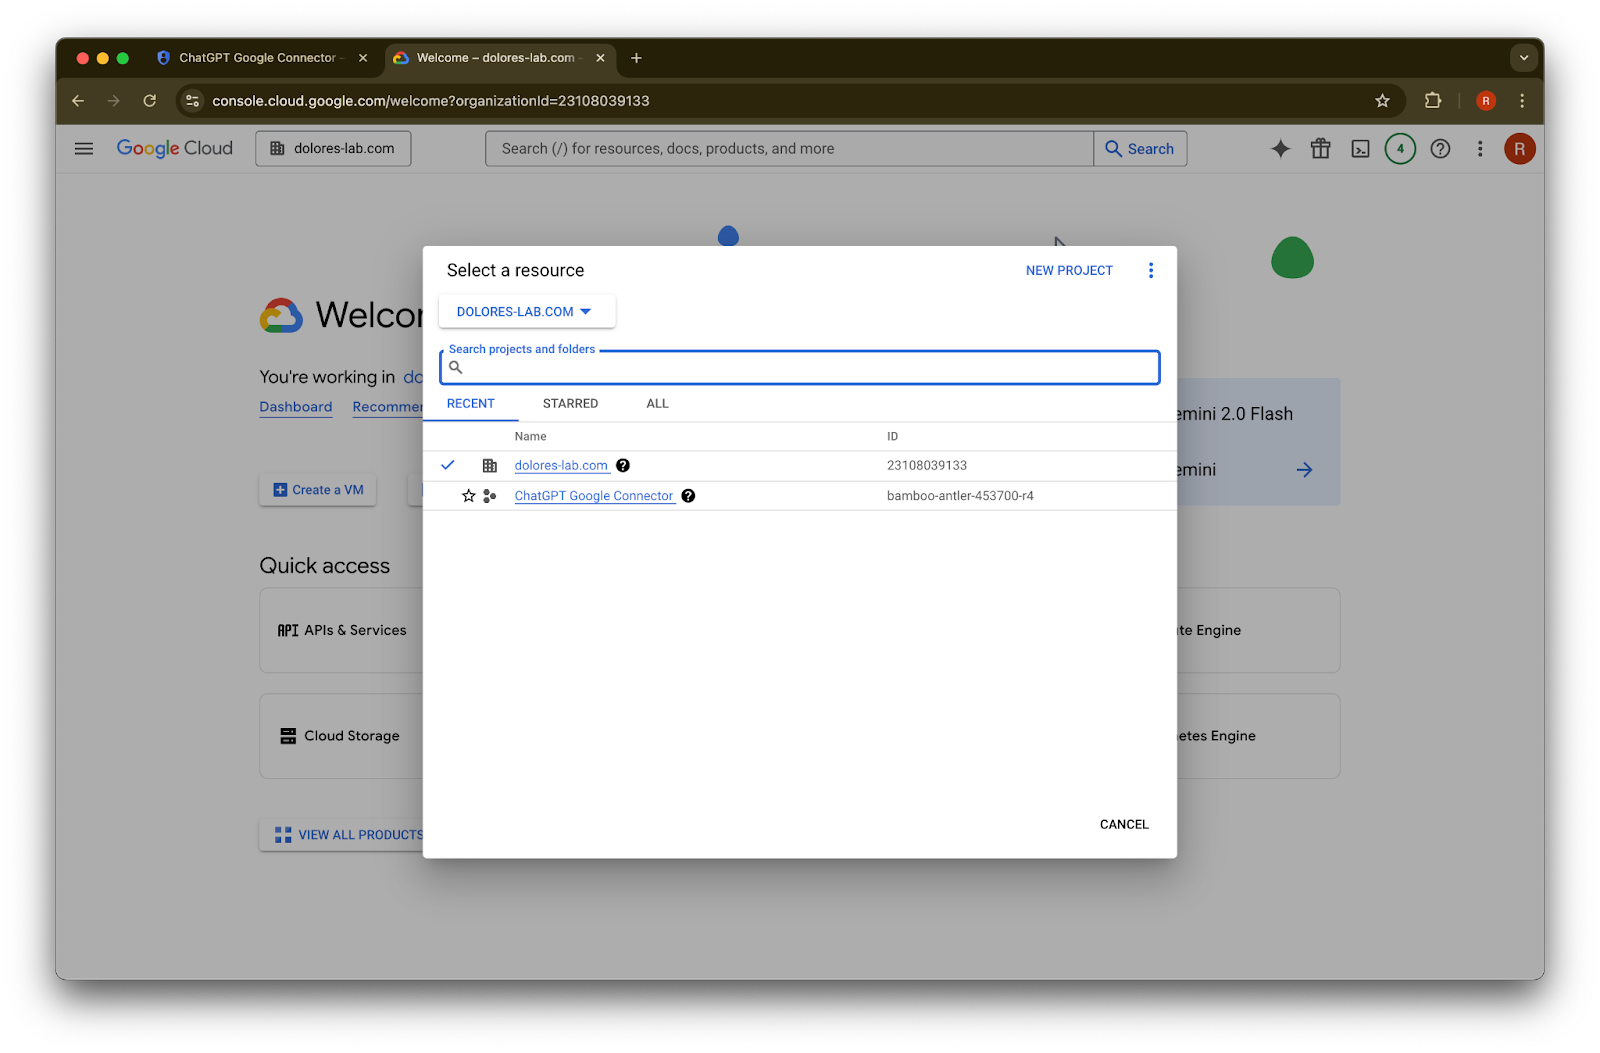
프로젝트 드롭다운을 클릭합니다.ImageChatGPT 워크스페이스와 연결된 것과 동일한 Google workspace에 로그인되어 있는지 확인하세요(ChatGPT 워크스페이스와 연결된 Google workspace가 없고 두 환경의 이메일이 서로 다르면, 추가 단계를 따라야 합니다. 그렇지 않으면 사용자가 Google Drive 동기화 커넥터를 사용하지 못할 수 있습니다).
New Project를 선택합니다.
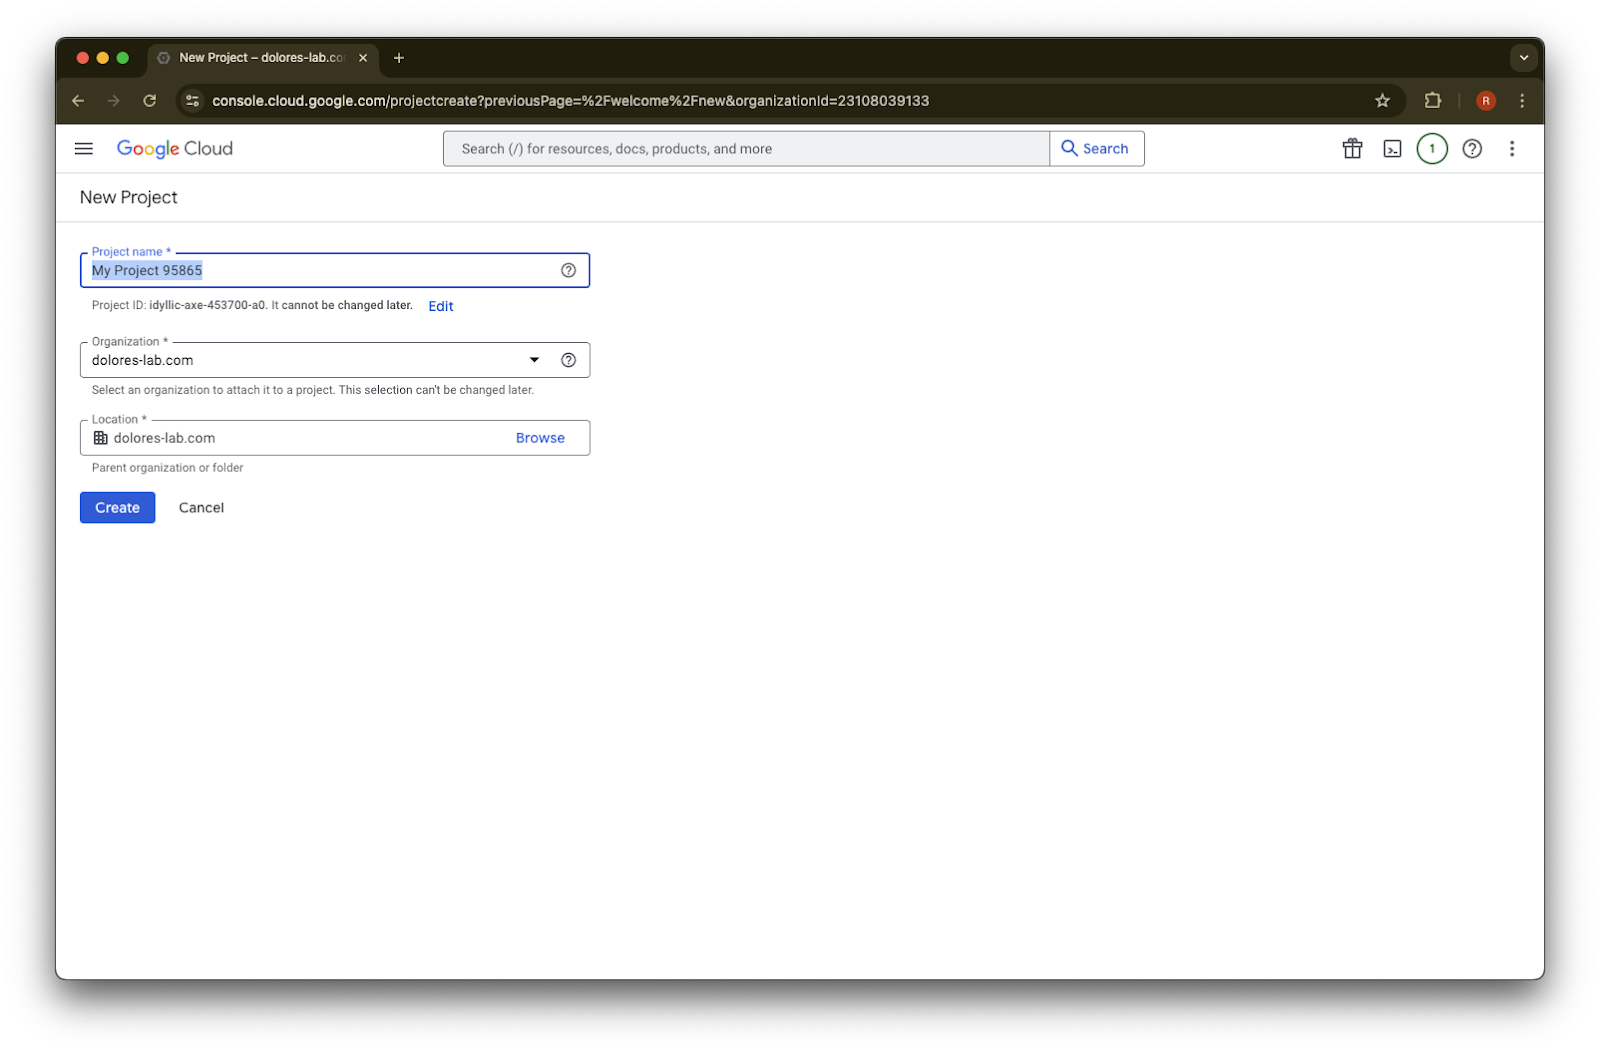
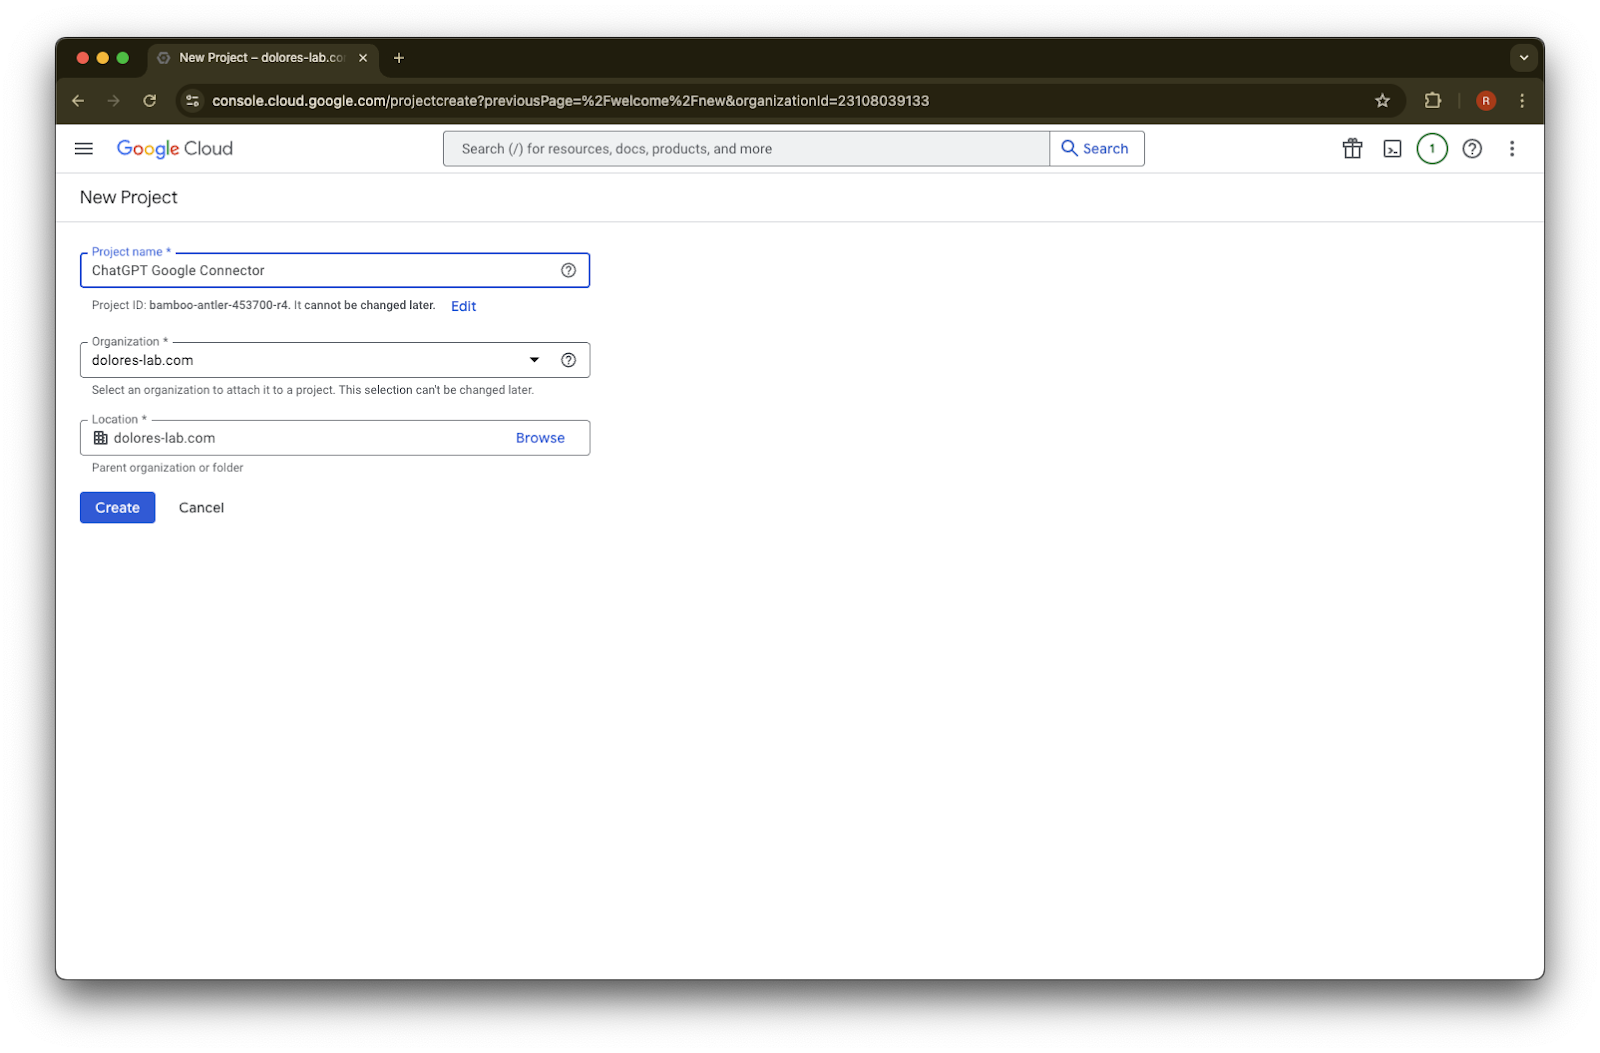
Project Name을 입력합니다.
프로젝트를 생성합니다.
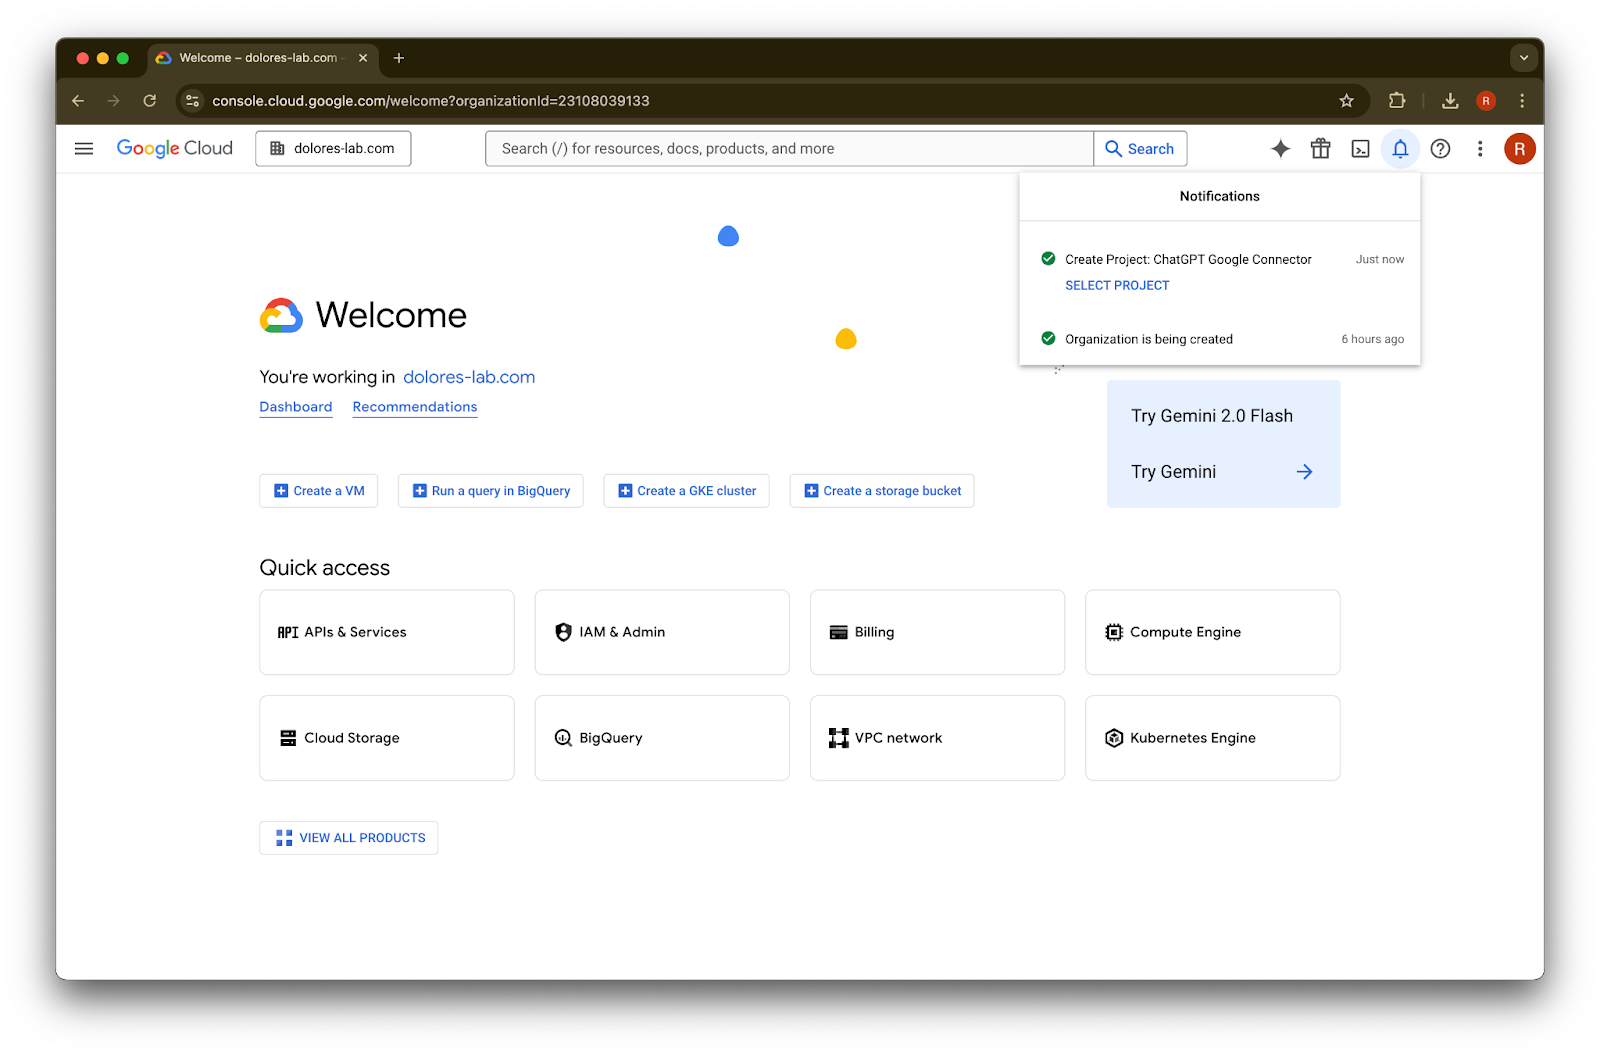
프로젝트가 생성될 때까지 기다린 다음 Select Project를 클릭합니다.
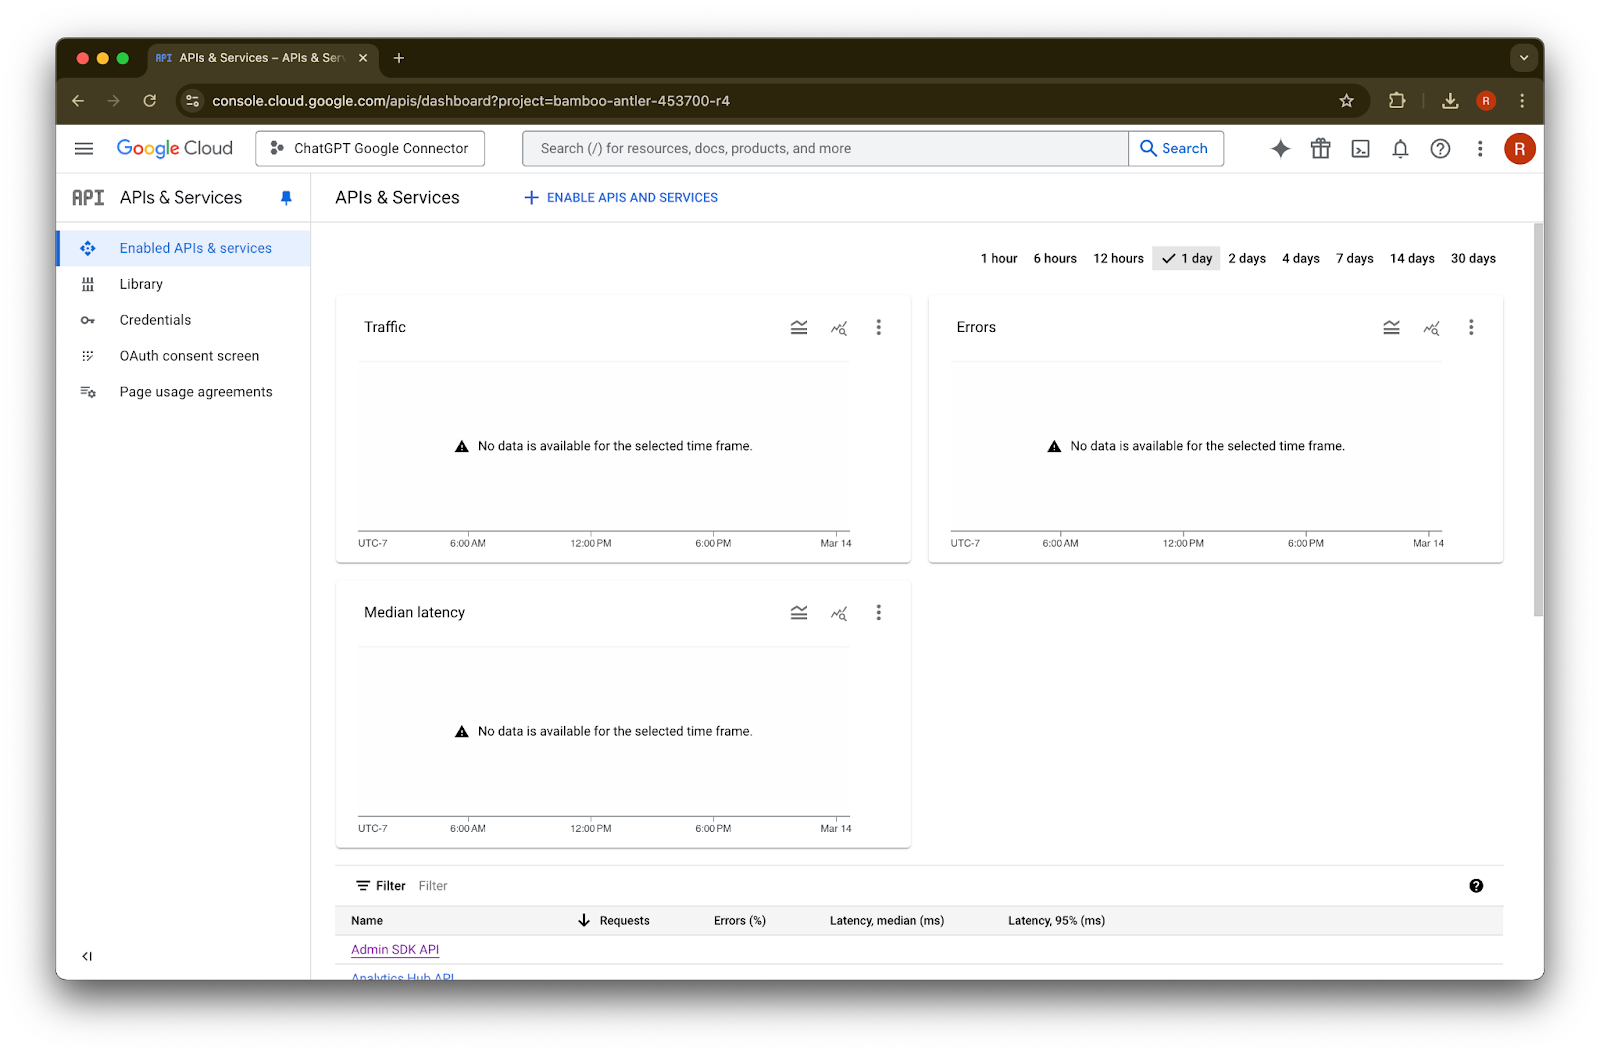
APIs & Services를 클릭합니다.
Library를 클릭합니다.
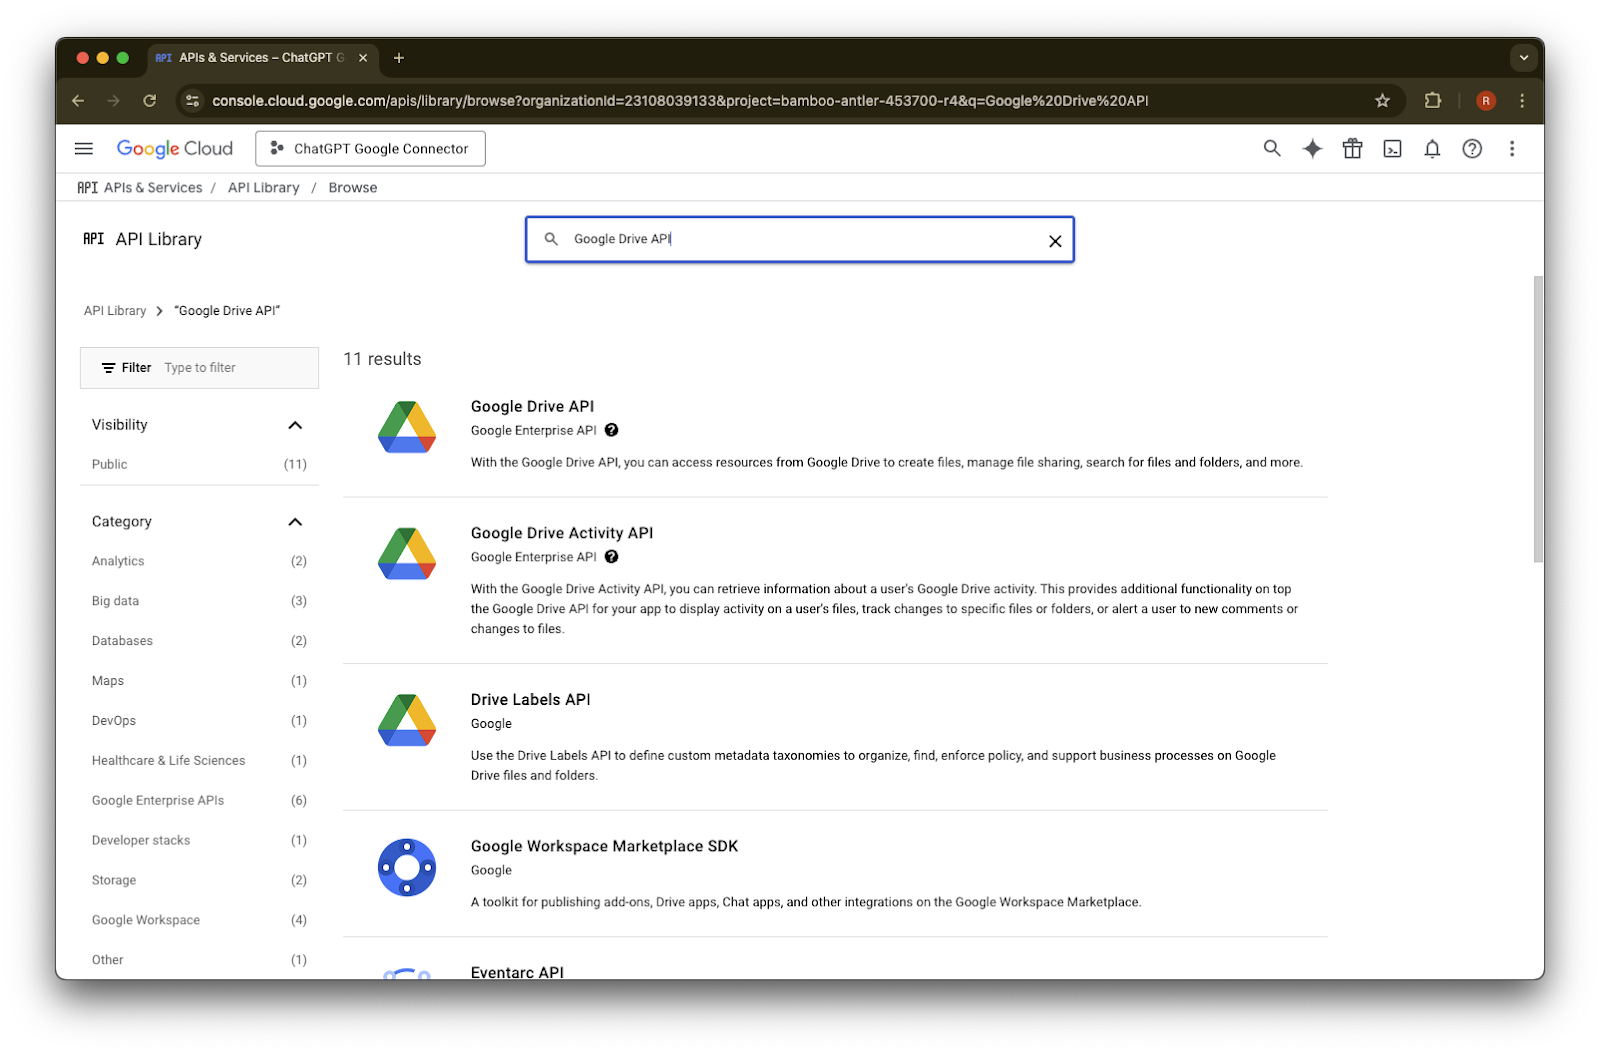
이제 세 가지 API를 추가하겠습니다. 찾을 때는 search box를 사용합니다.
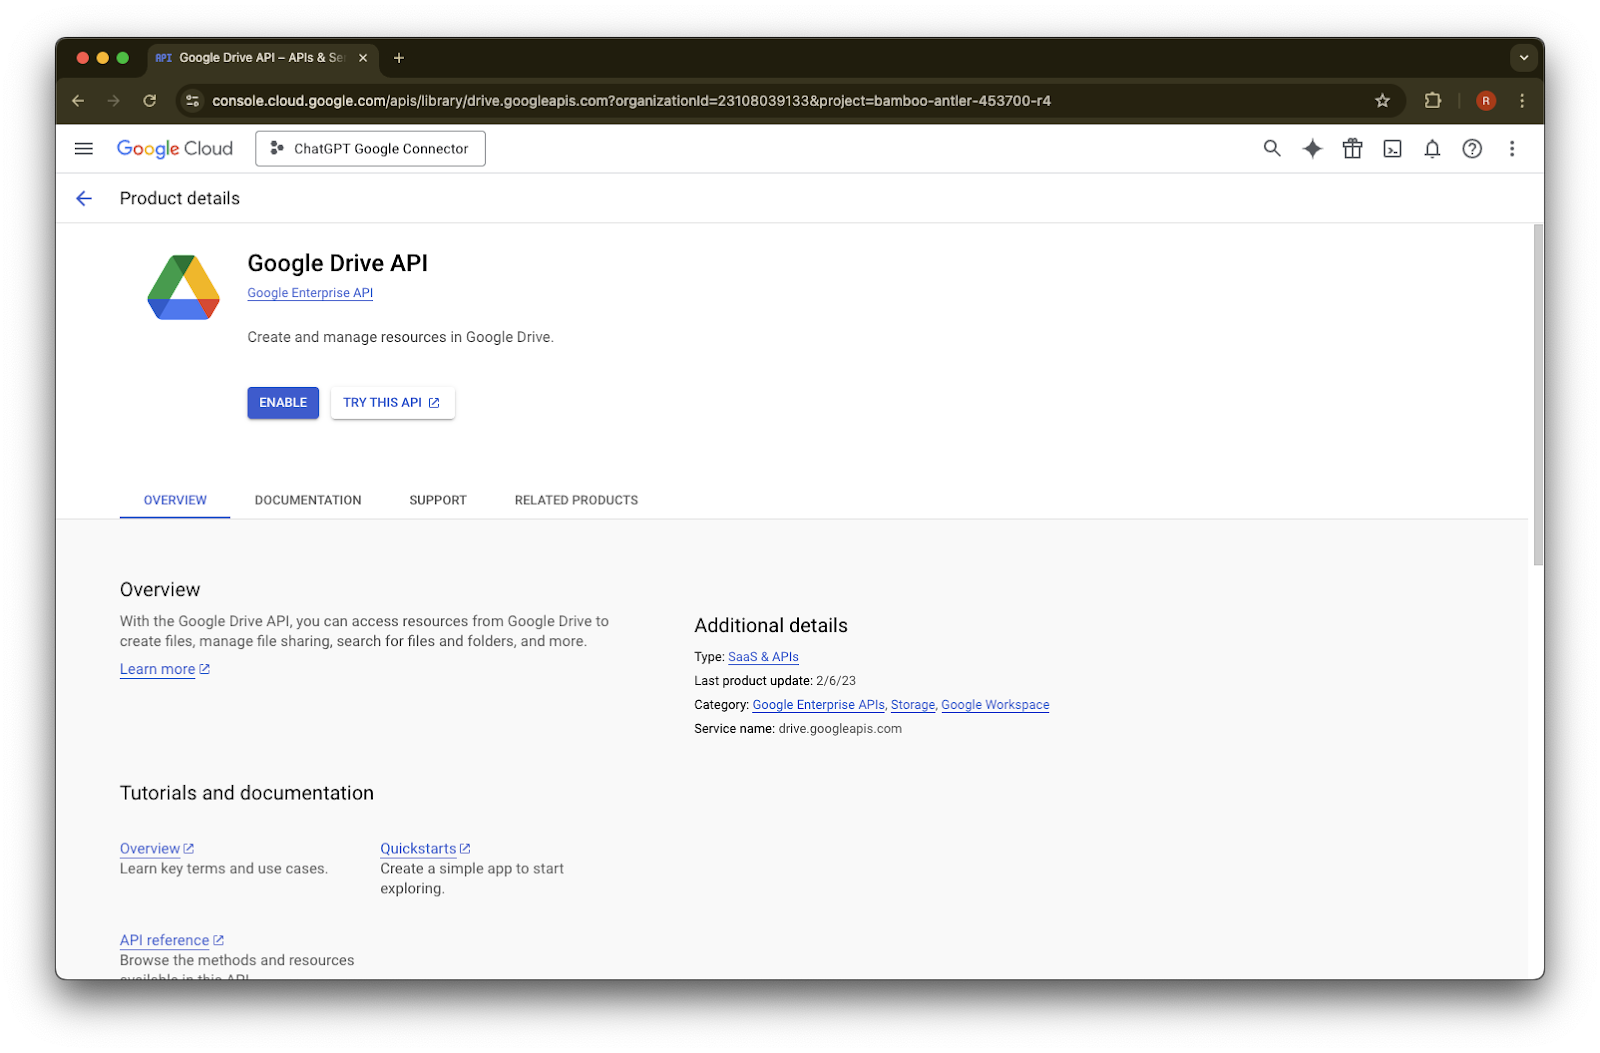
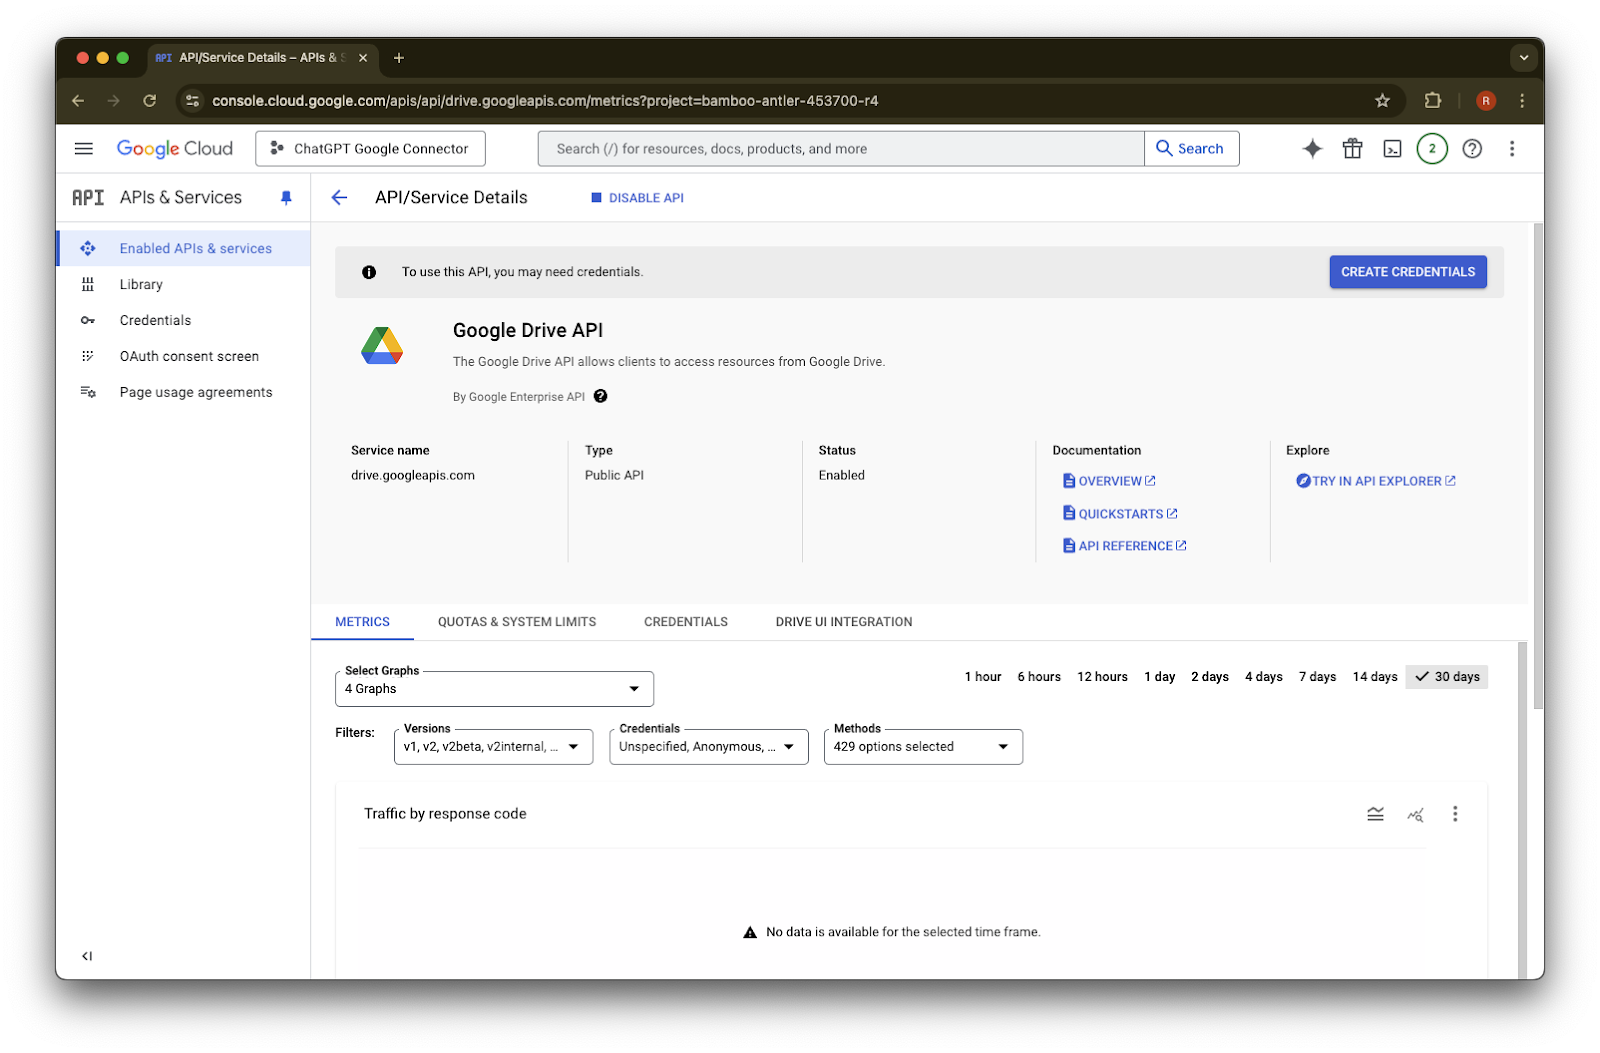
Google Drive API를 검색하여 선택합니다.
Enable을 클릭합니다.
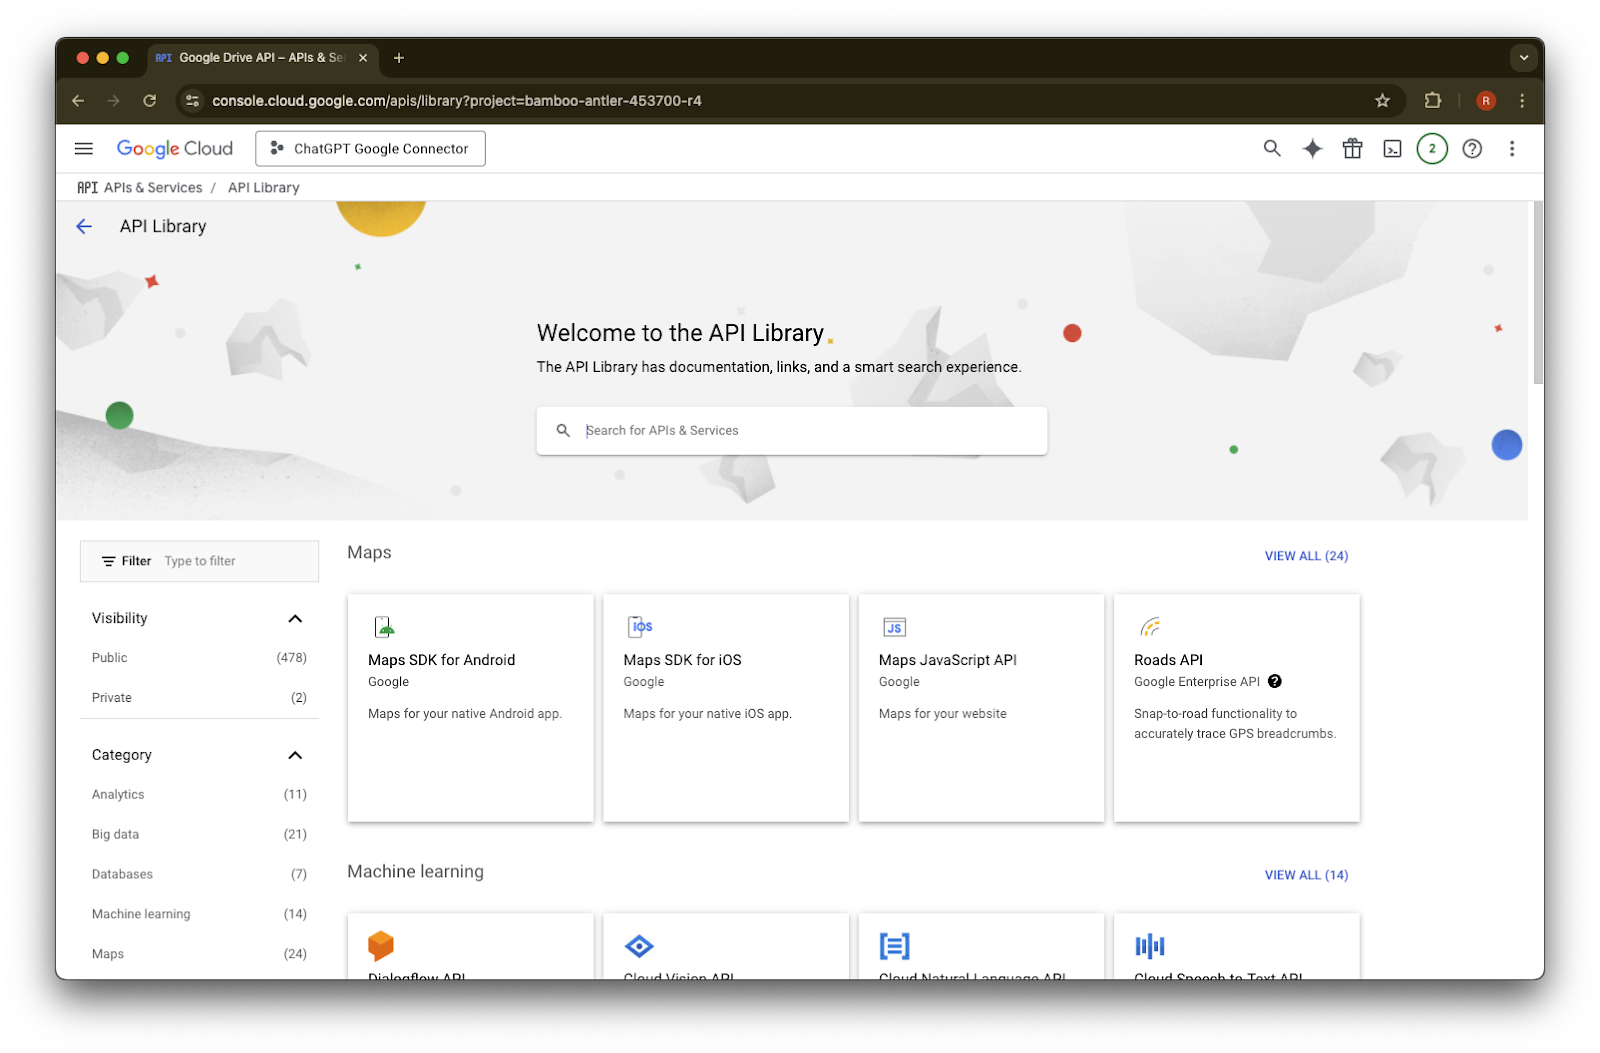
Library를 클릭합니다.
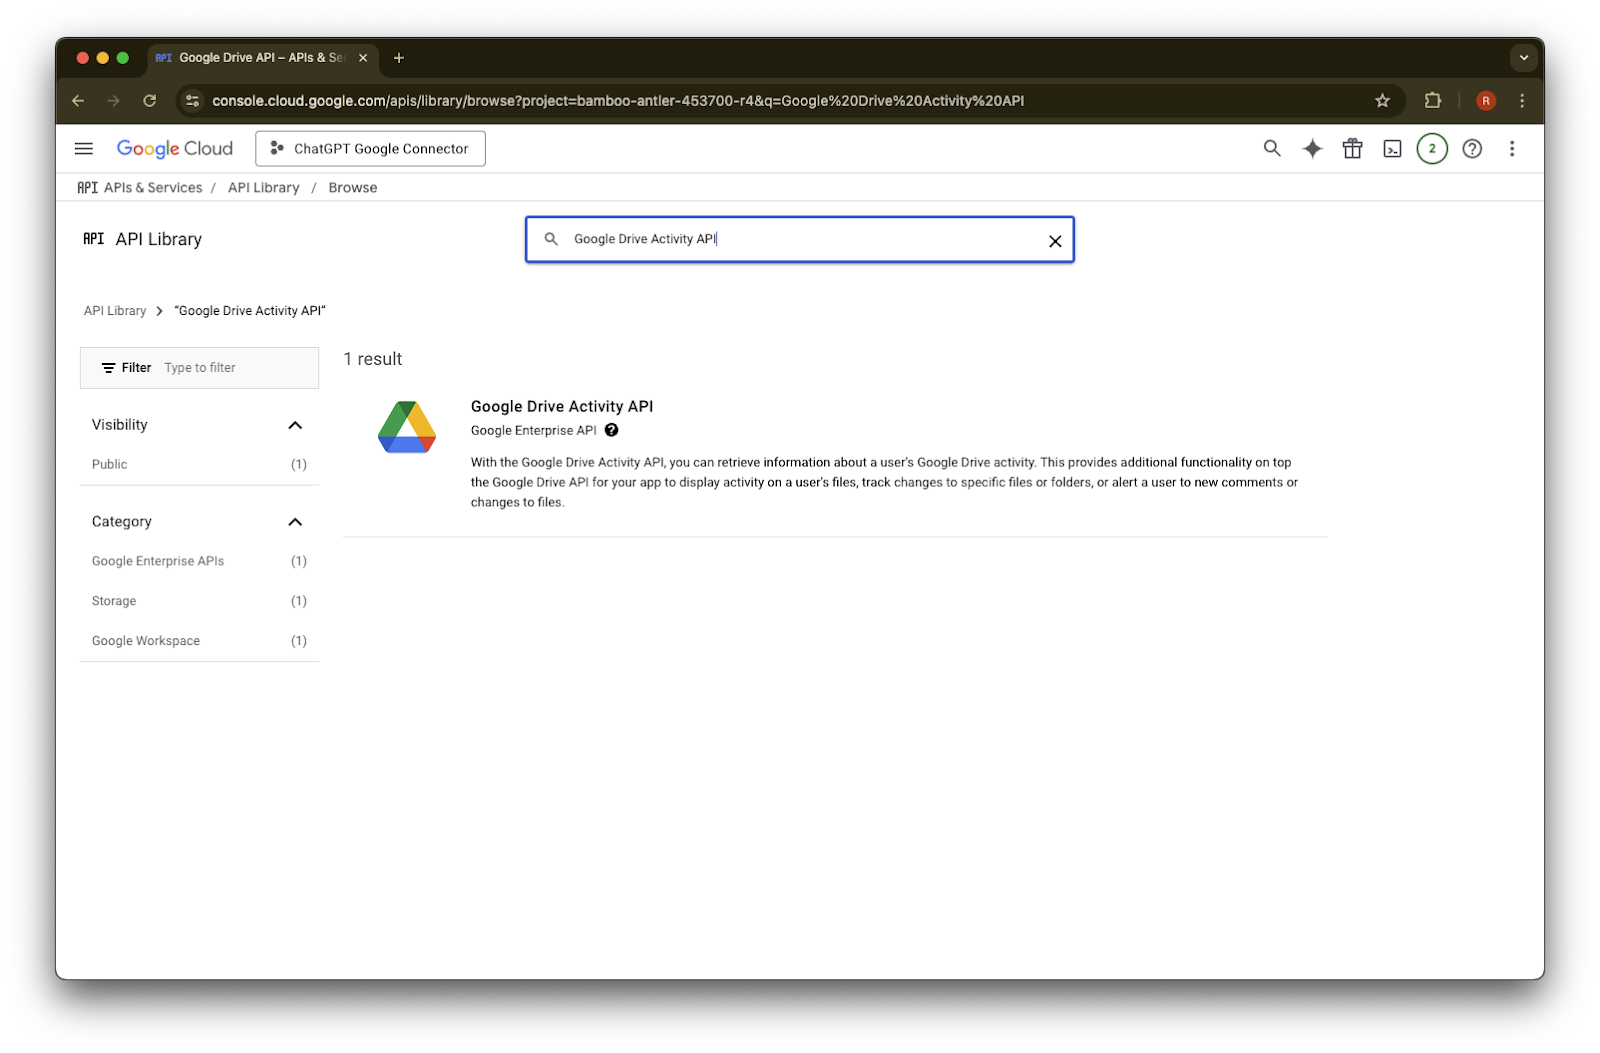
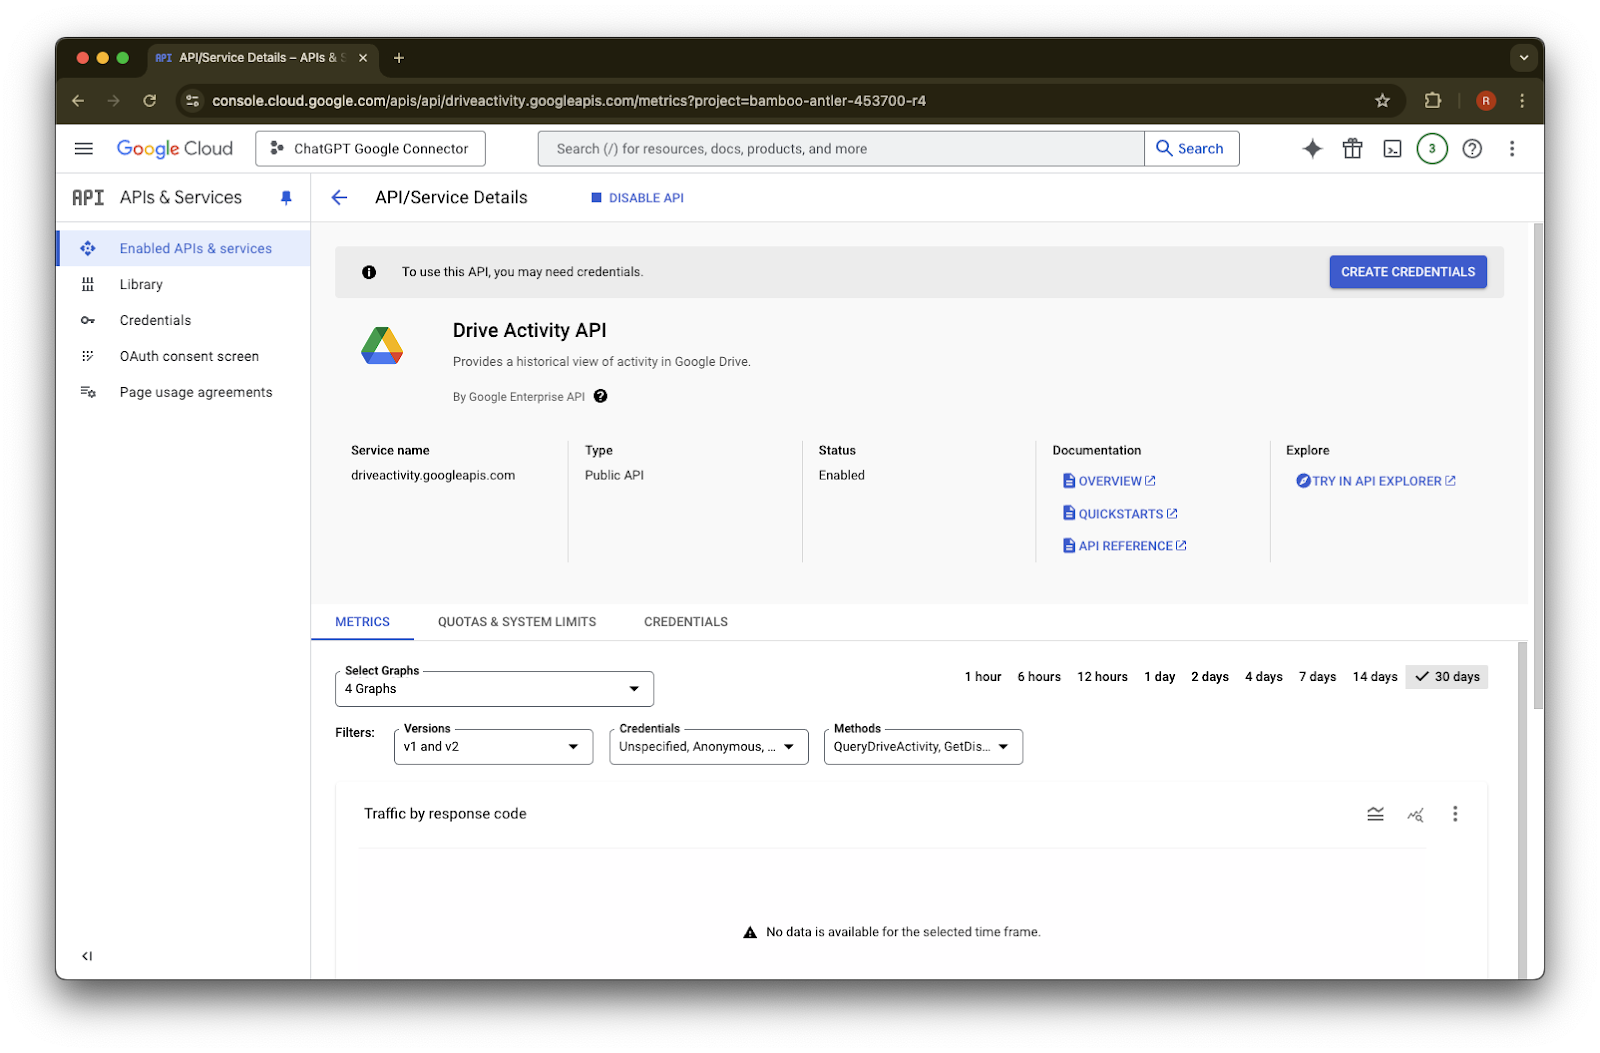
Google Drive Activity를 검색합니다.
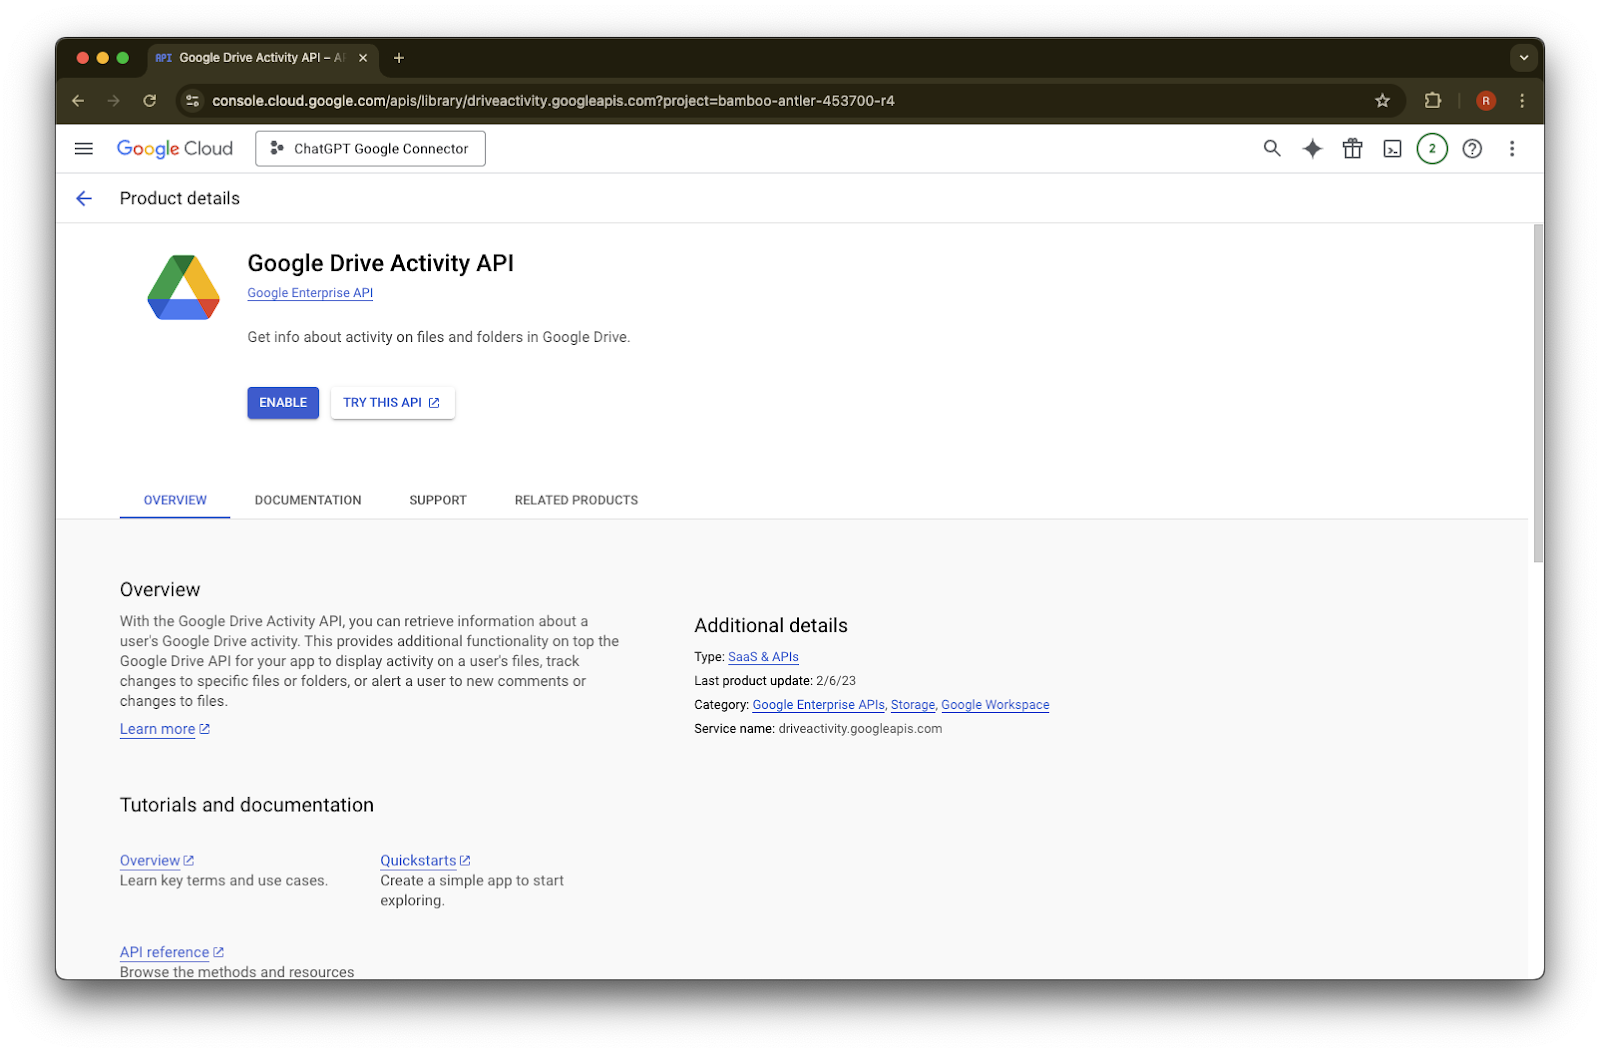
Google Drive Activity API를 선택합니다.
Enable을 클릭합니다.
Library를 클릭합니다.
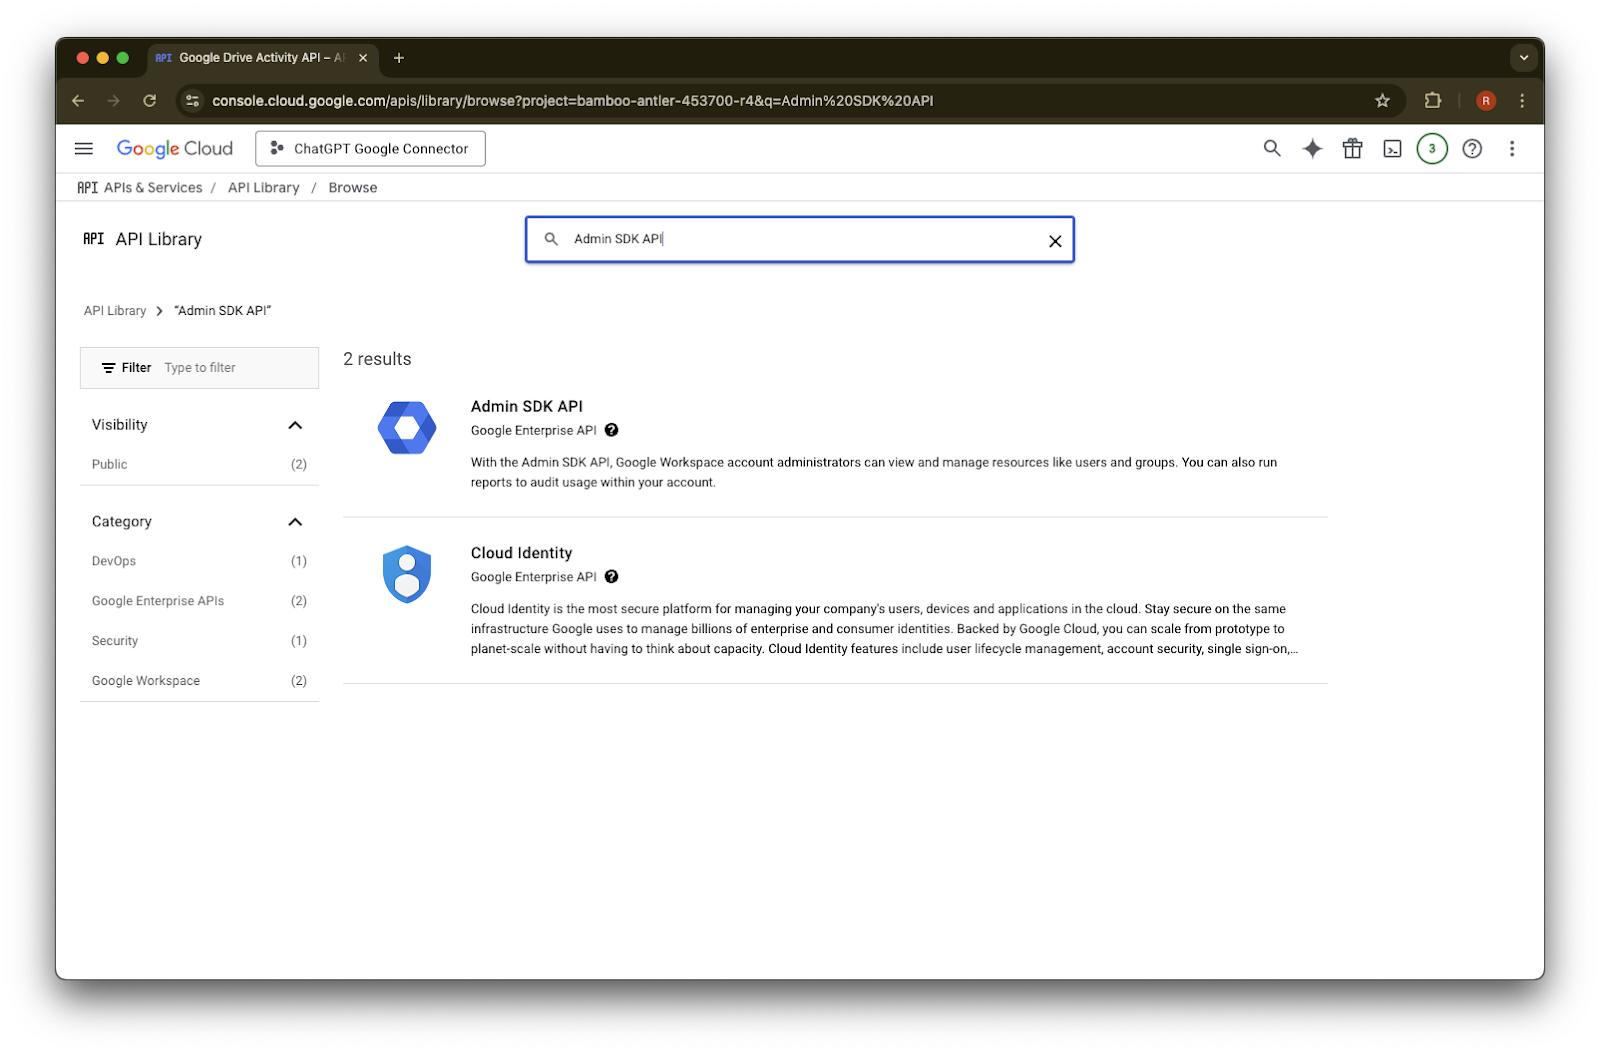
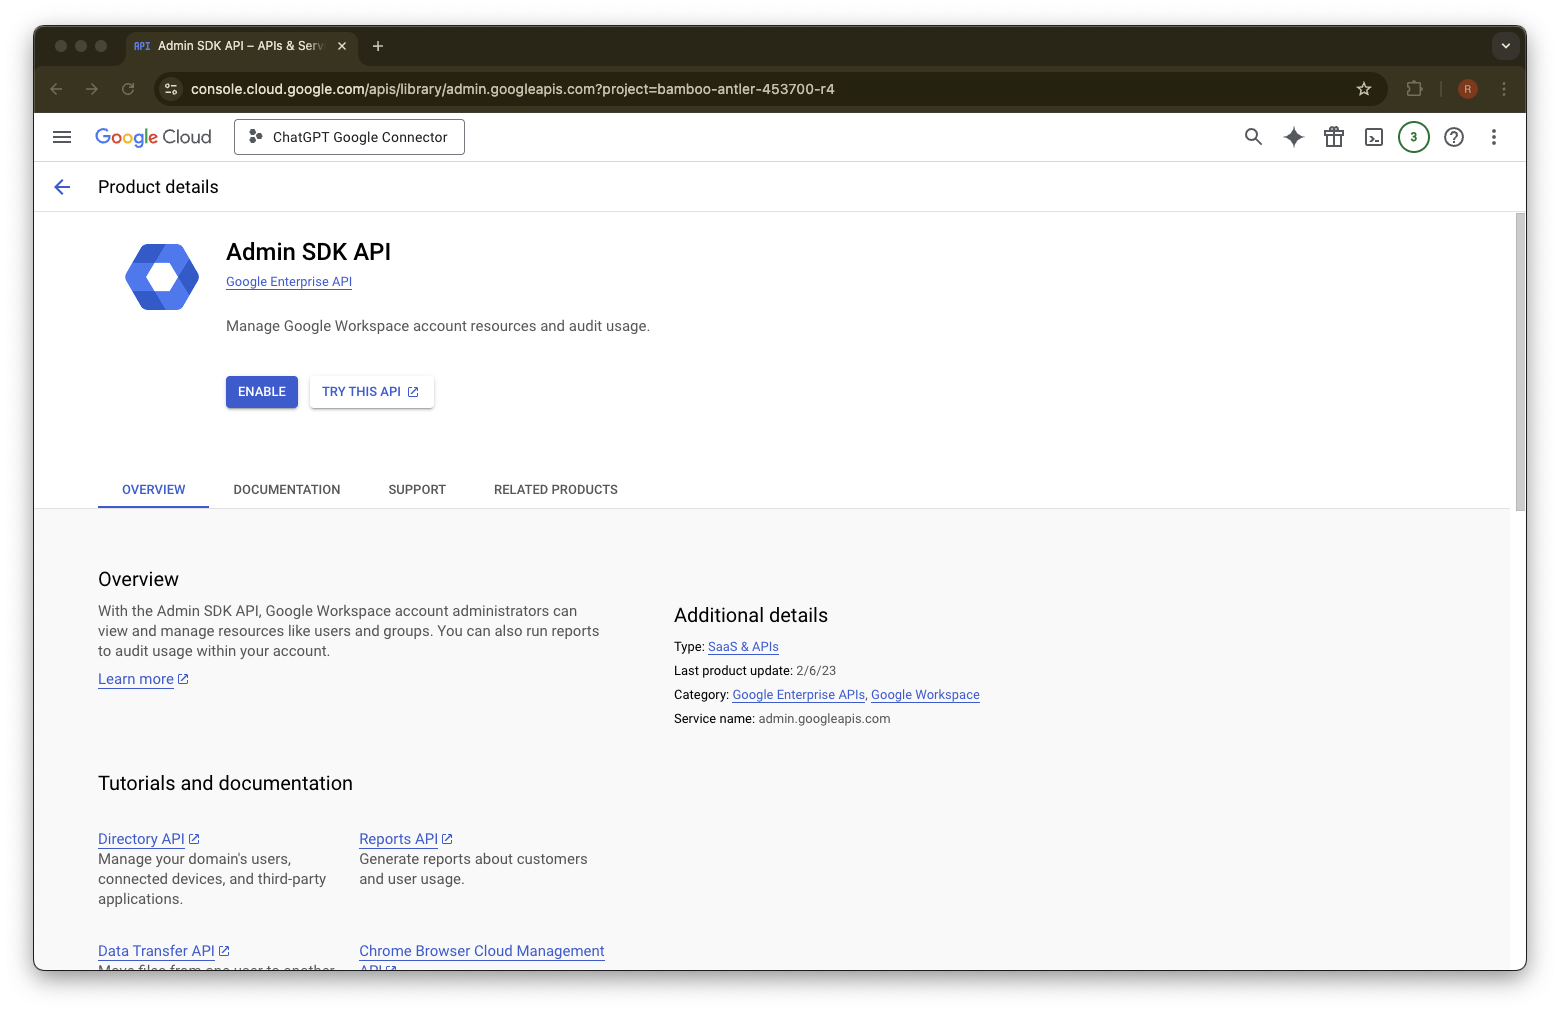
Admin SDK API를 검색합니다.
Admin SDK API
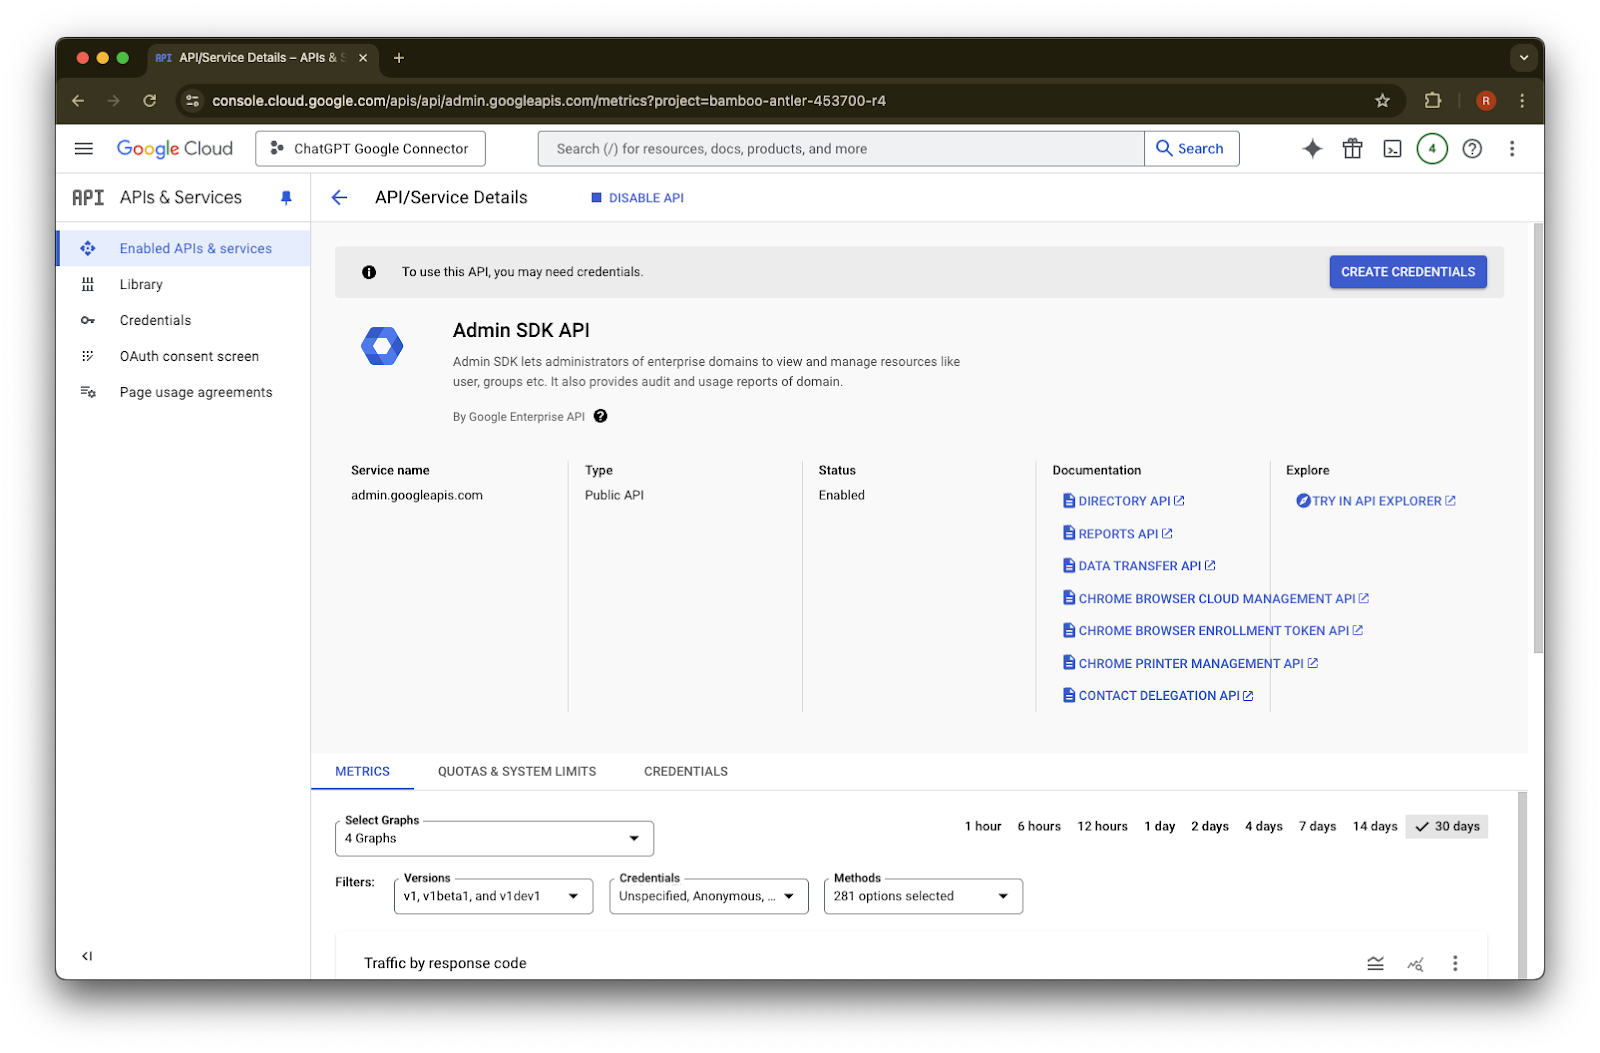
를 선택합니다.Enable을 클릭합니다.
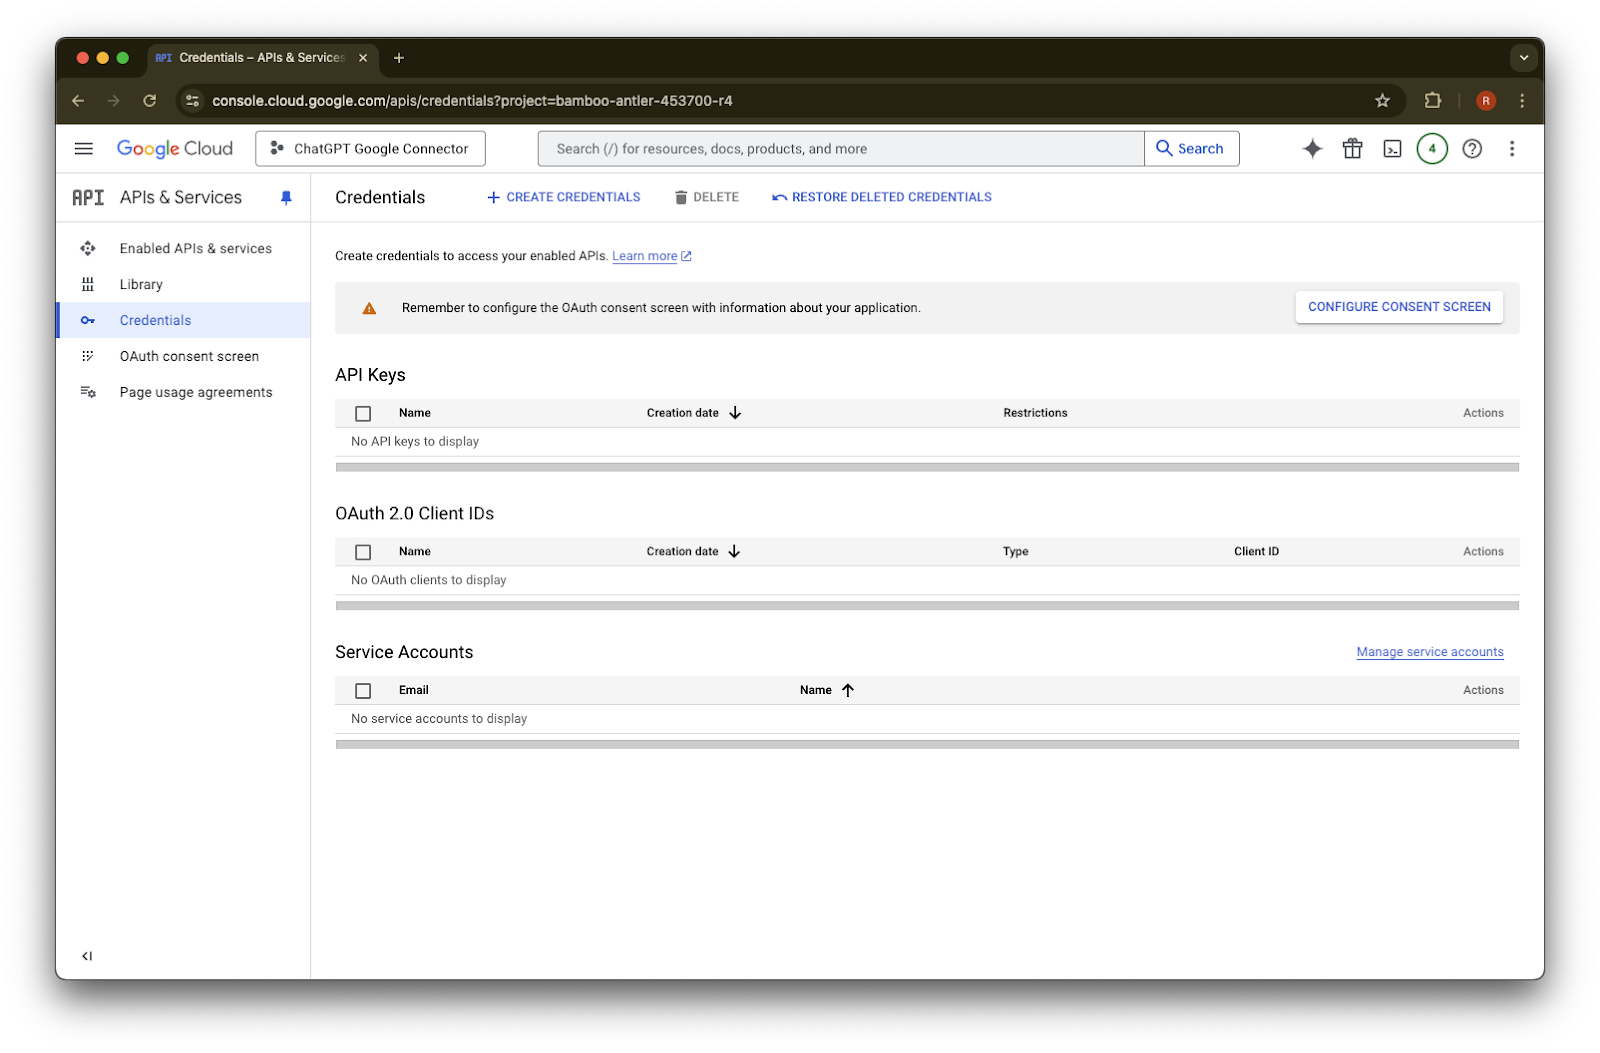
Credentials를 클릭합니다.
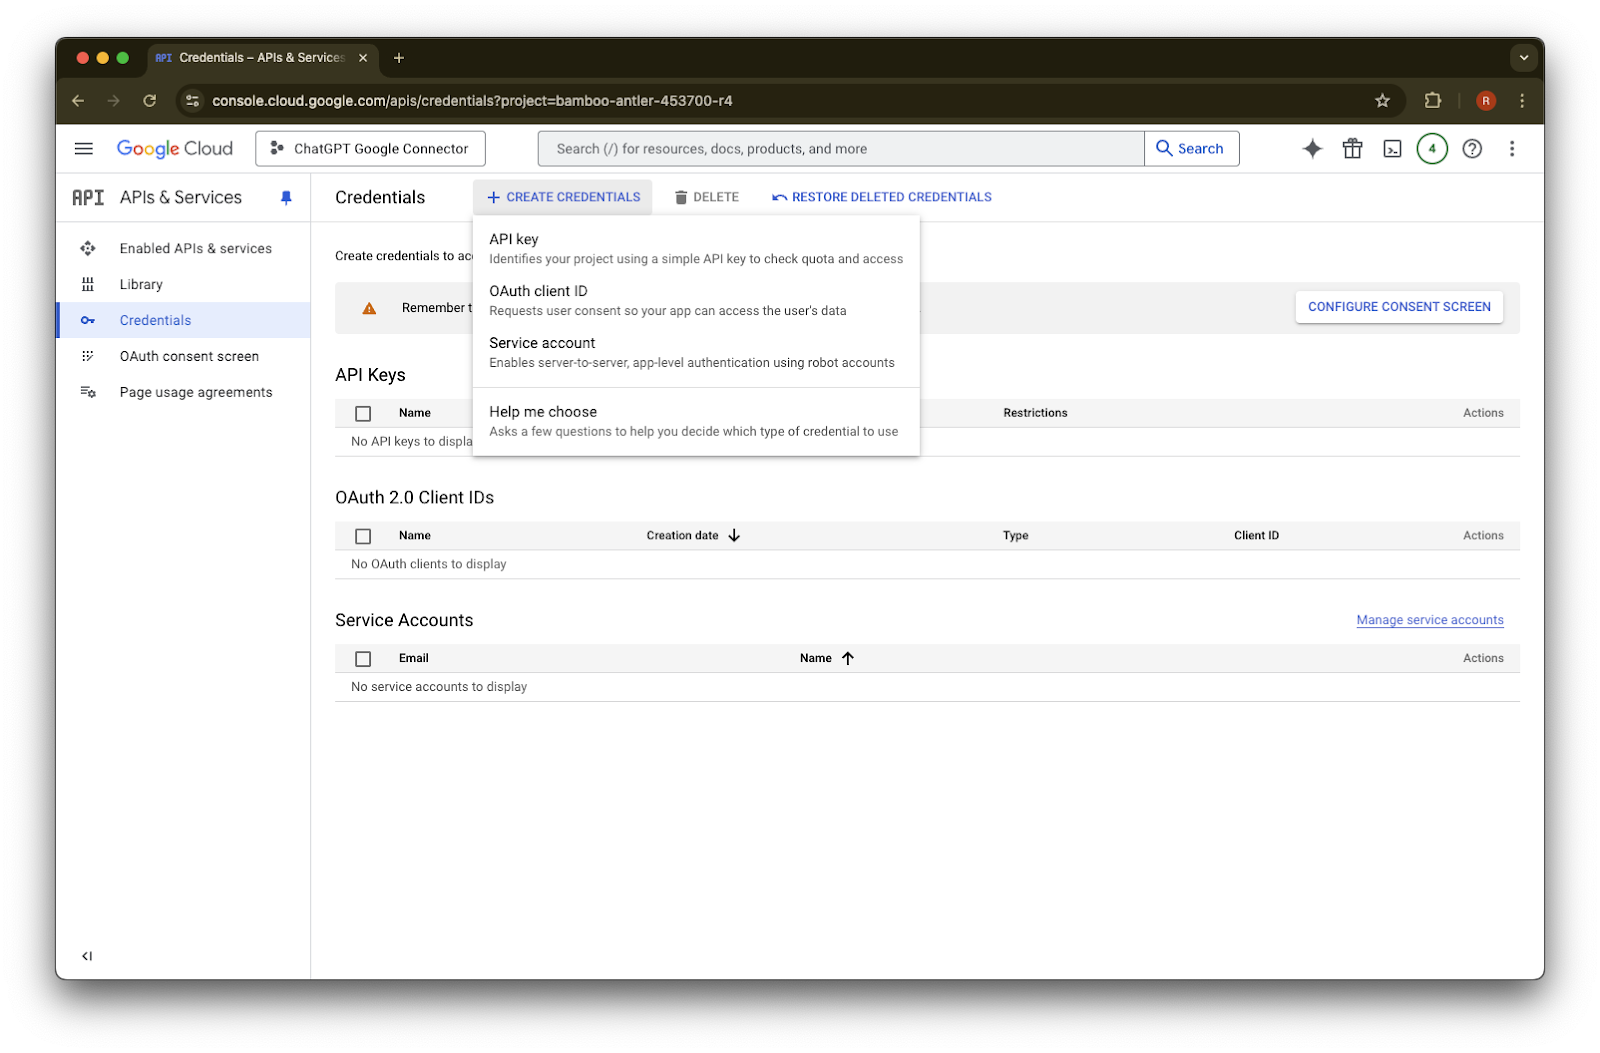
Create Credentials를 클릭합니다.
Service account를 클릭합니다.
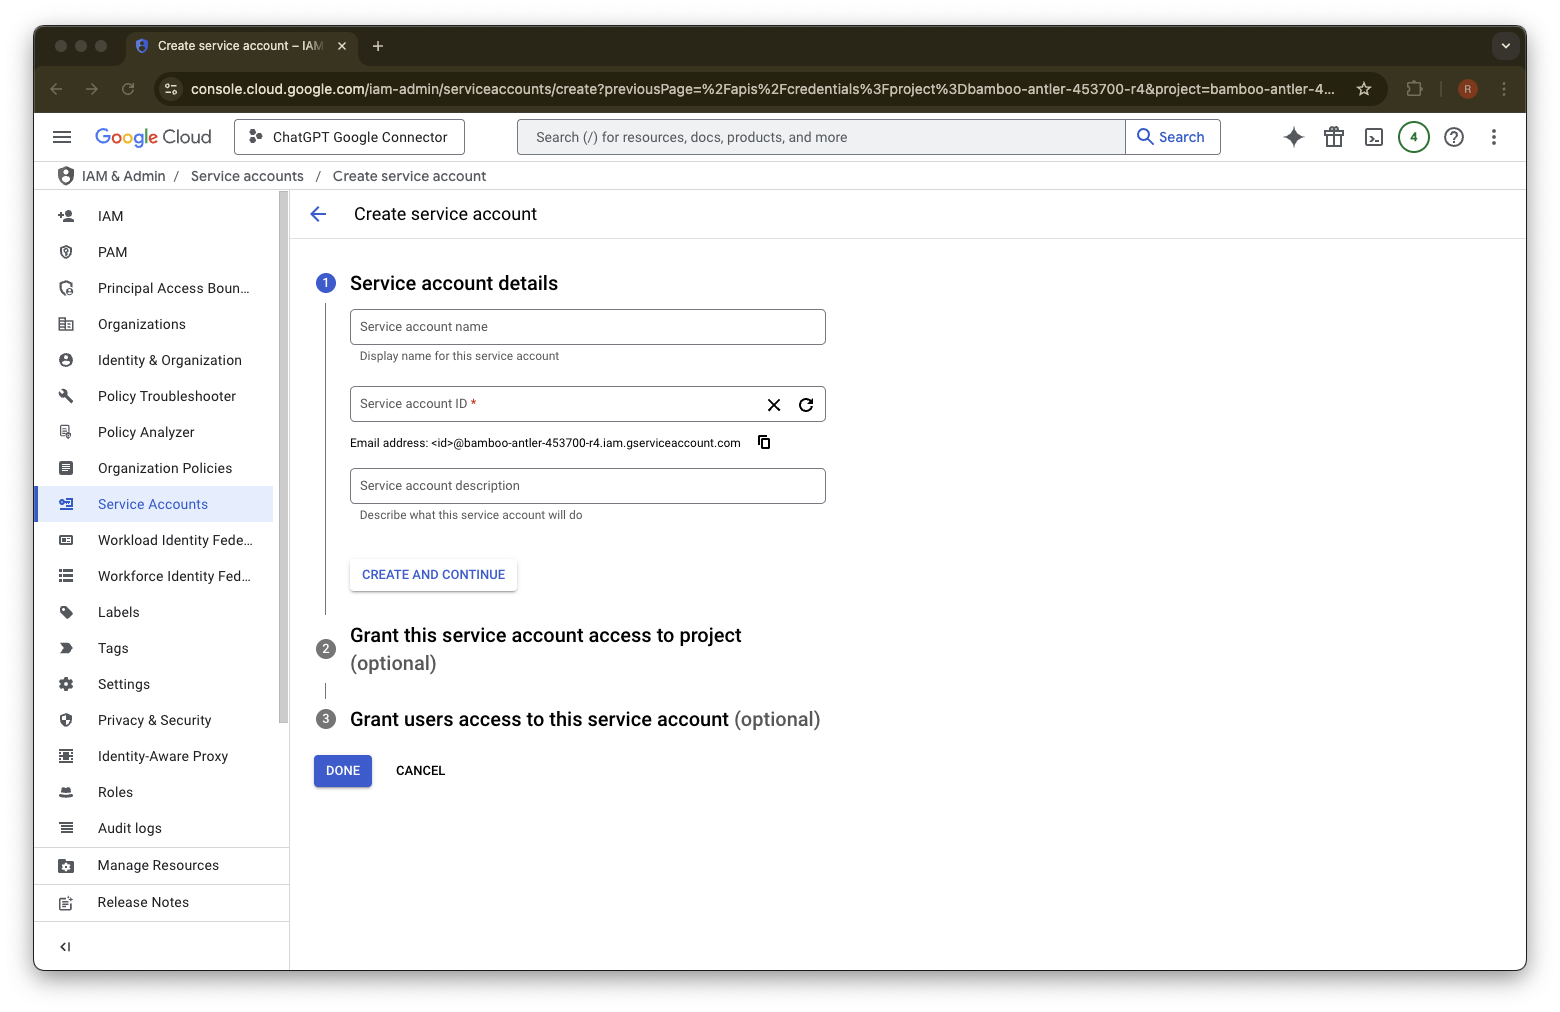
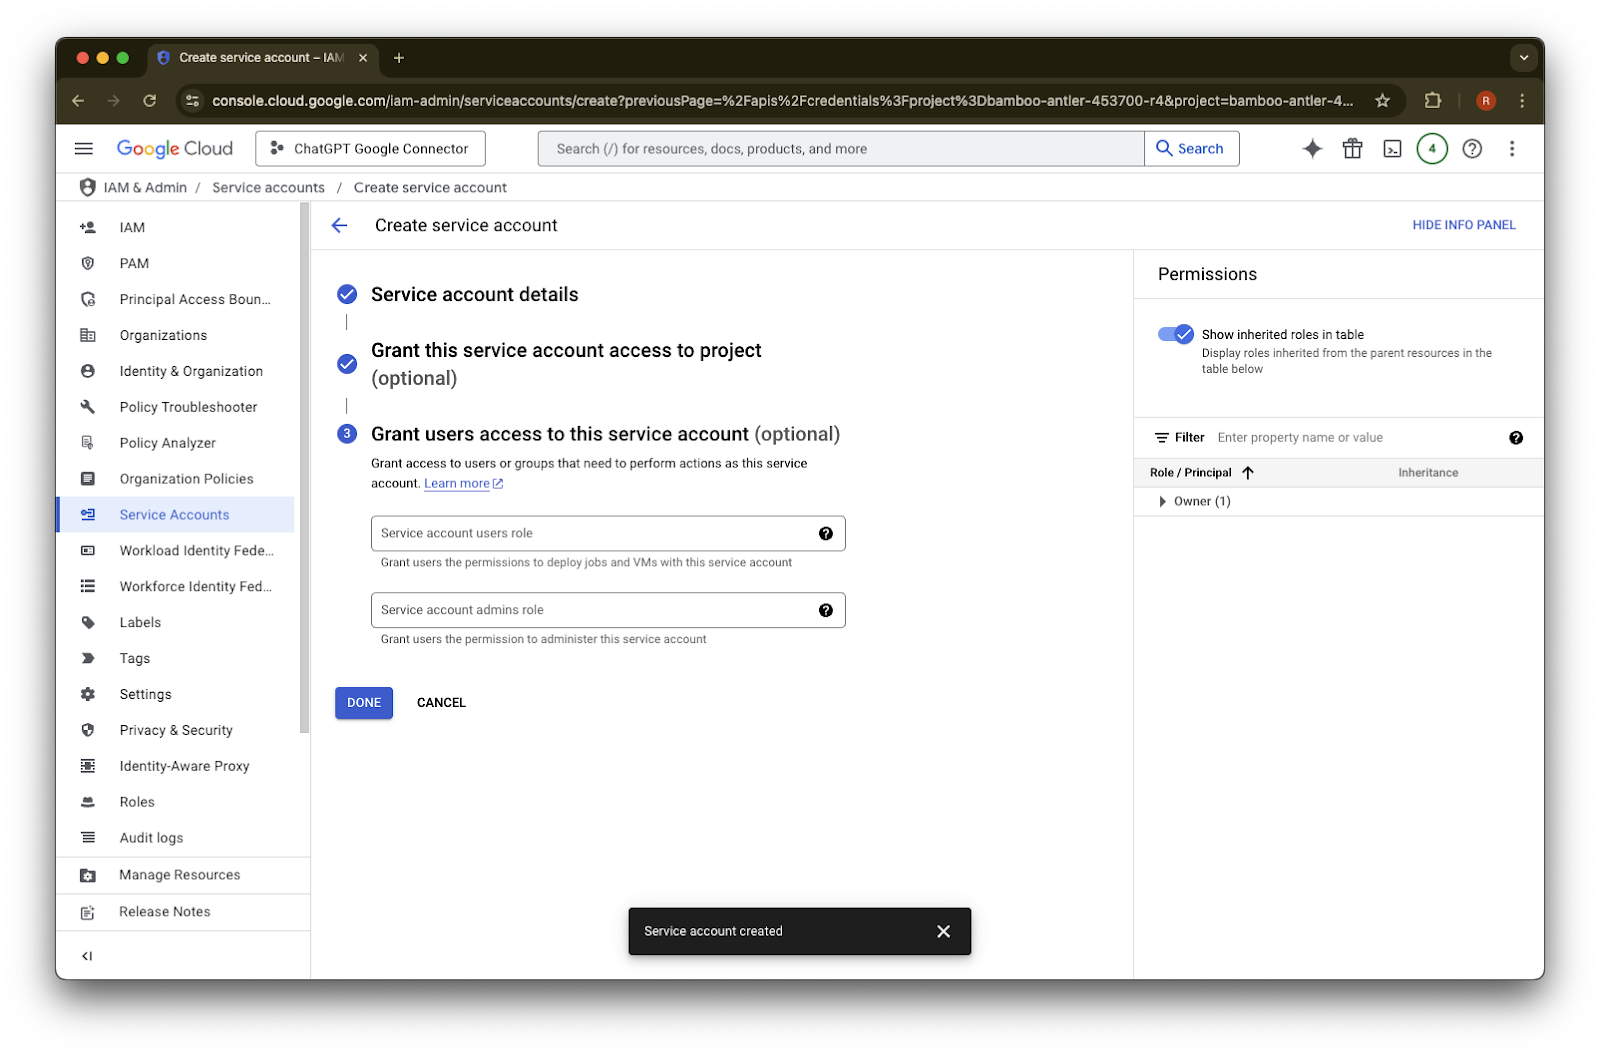
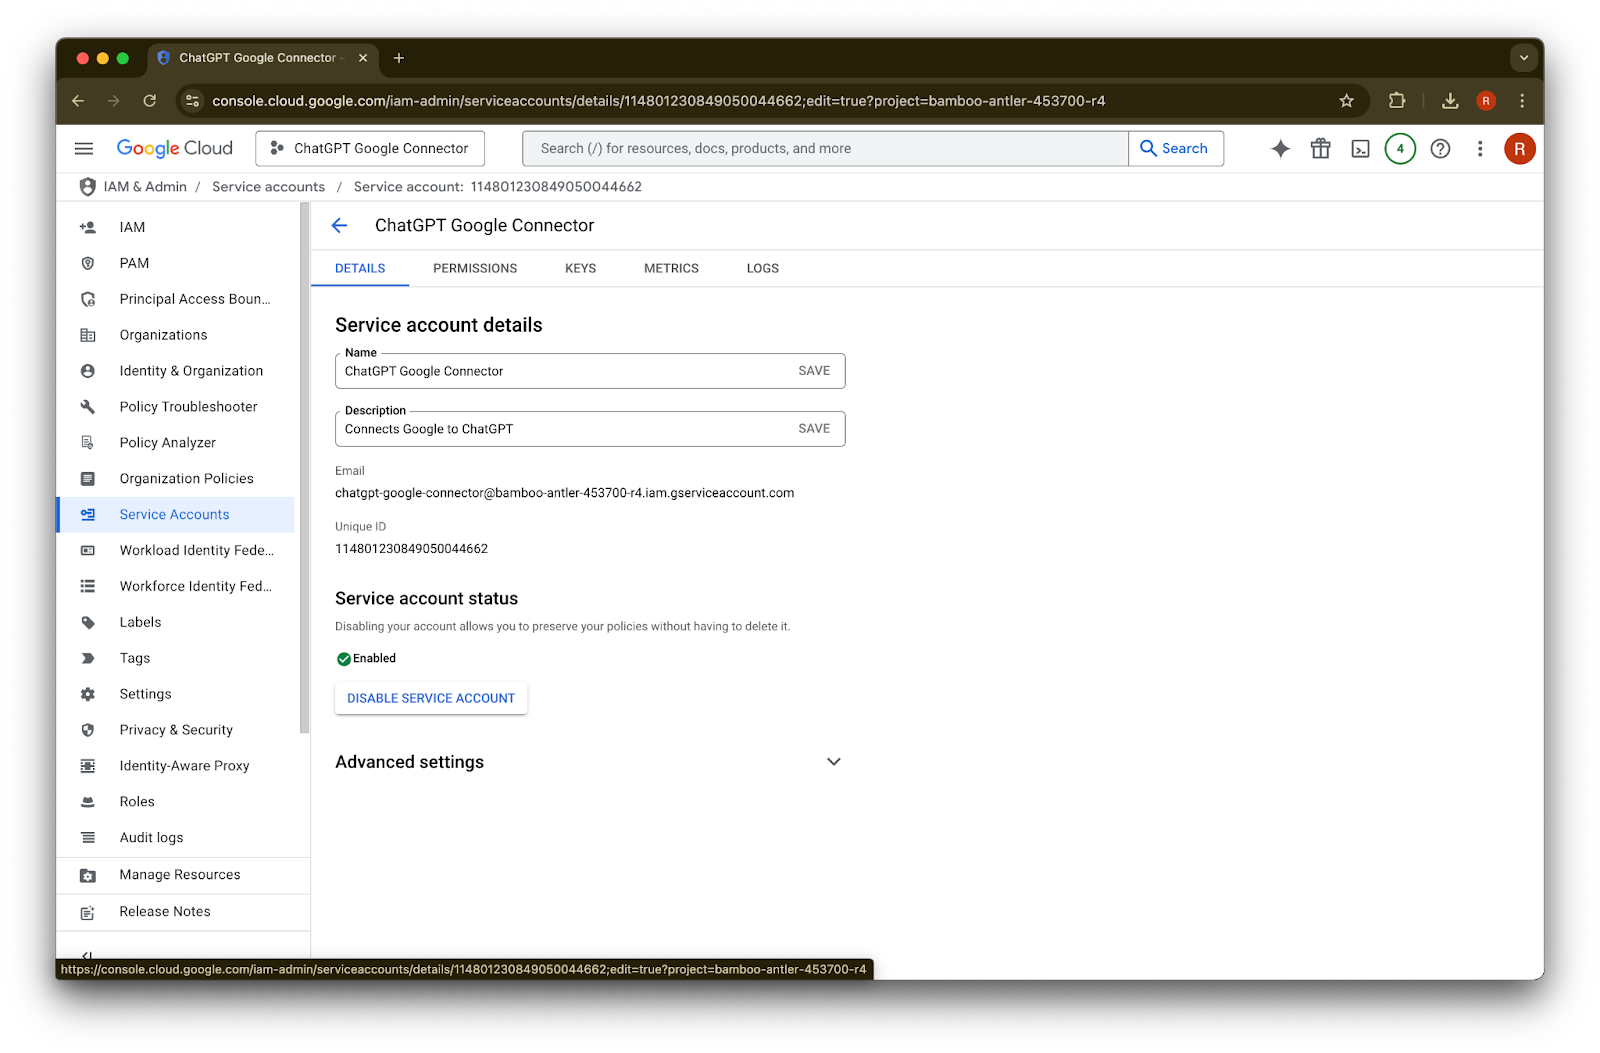
이 서비스 계정의 name과 description을 원하는 대로 입력합니다.
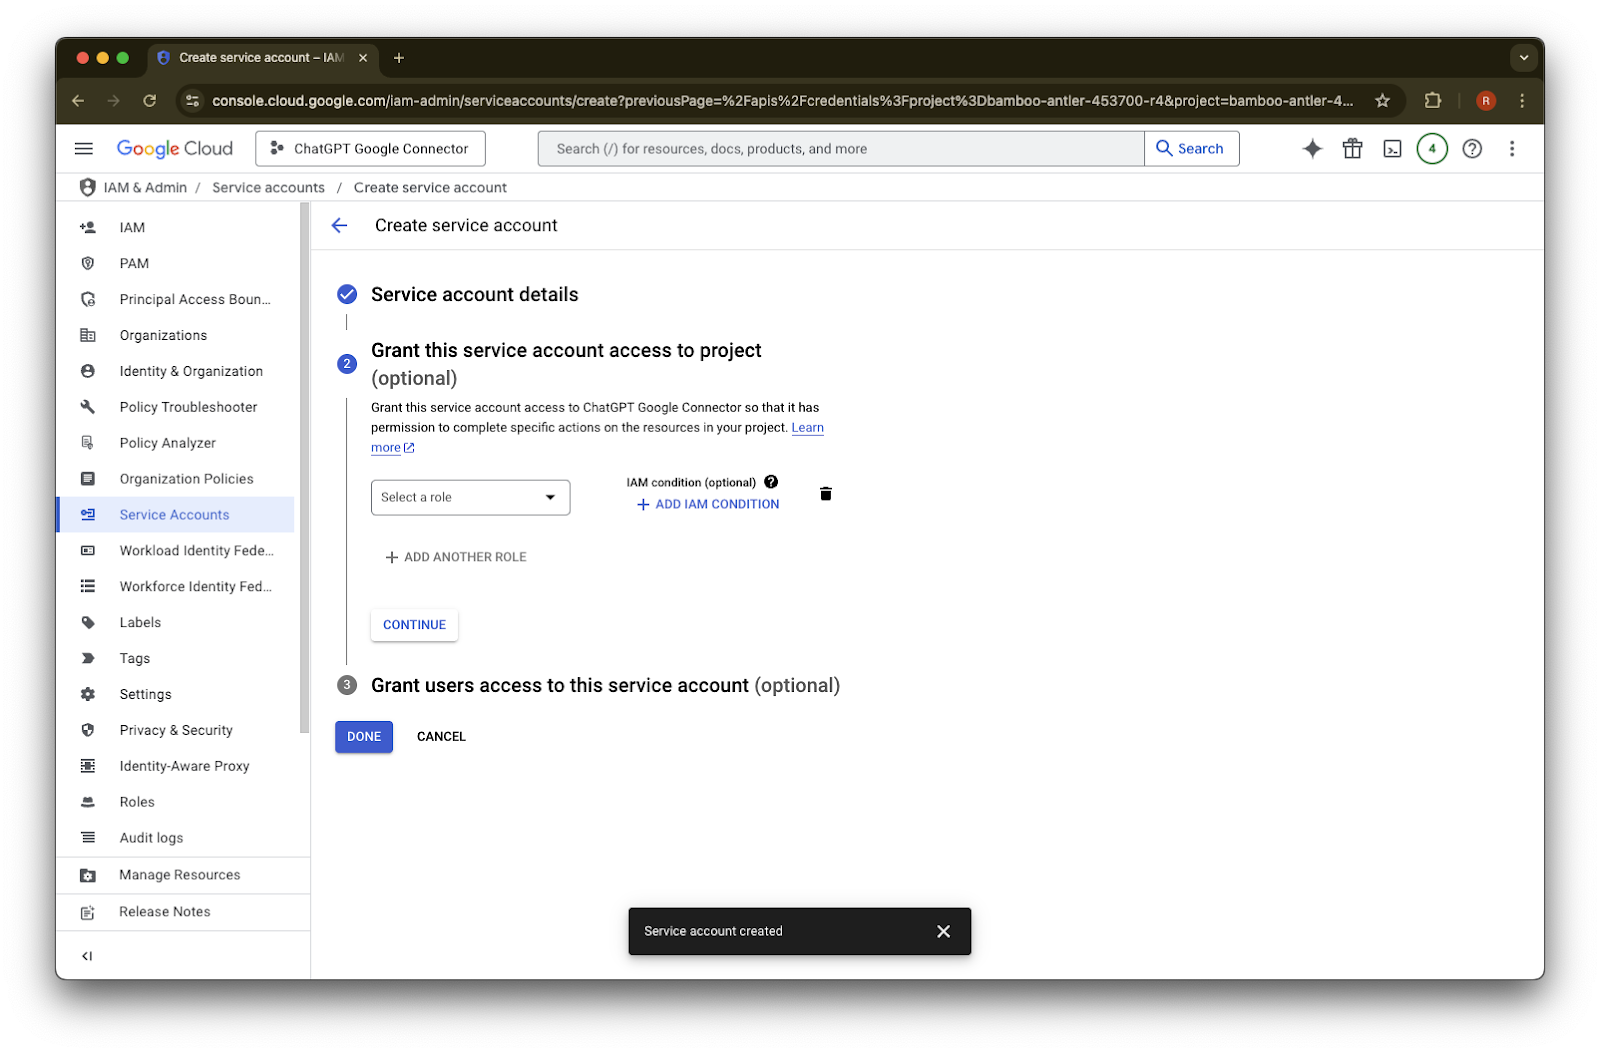
(선택 사항) 역할을 할당할 수 있지만 ChatGPT에는 필요하지 않습니다.
(선택 사항) 서비스 계정에 액세스 권한을 부여할 수 있지만 ChatGPT에는 필요하지 않습니다.
Done을 클릭합니다.
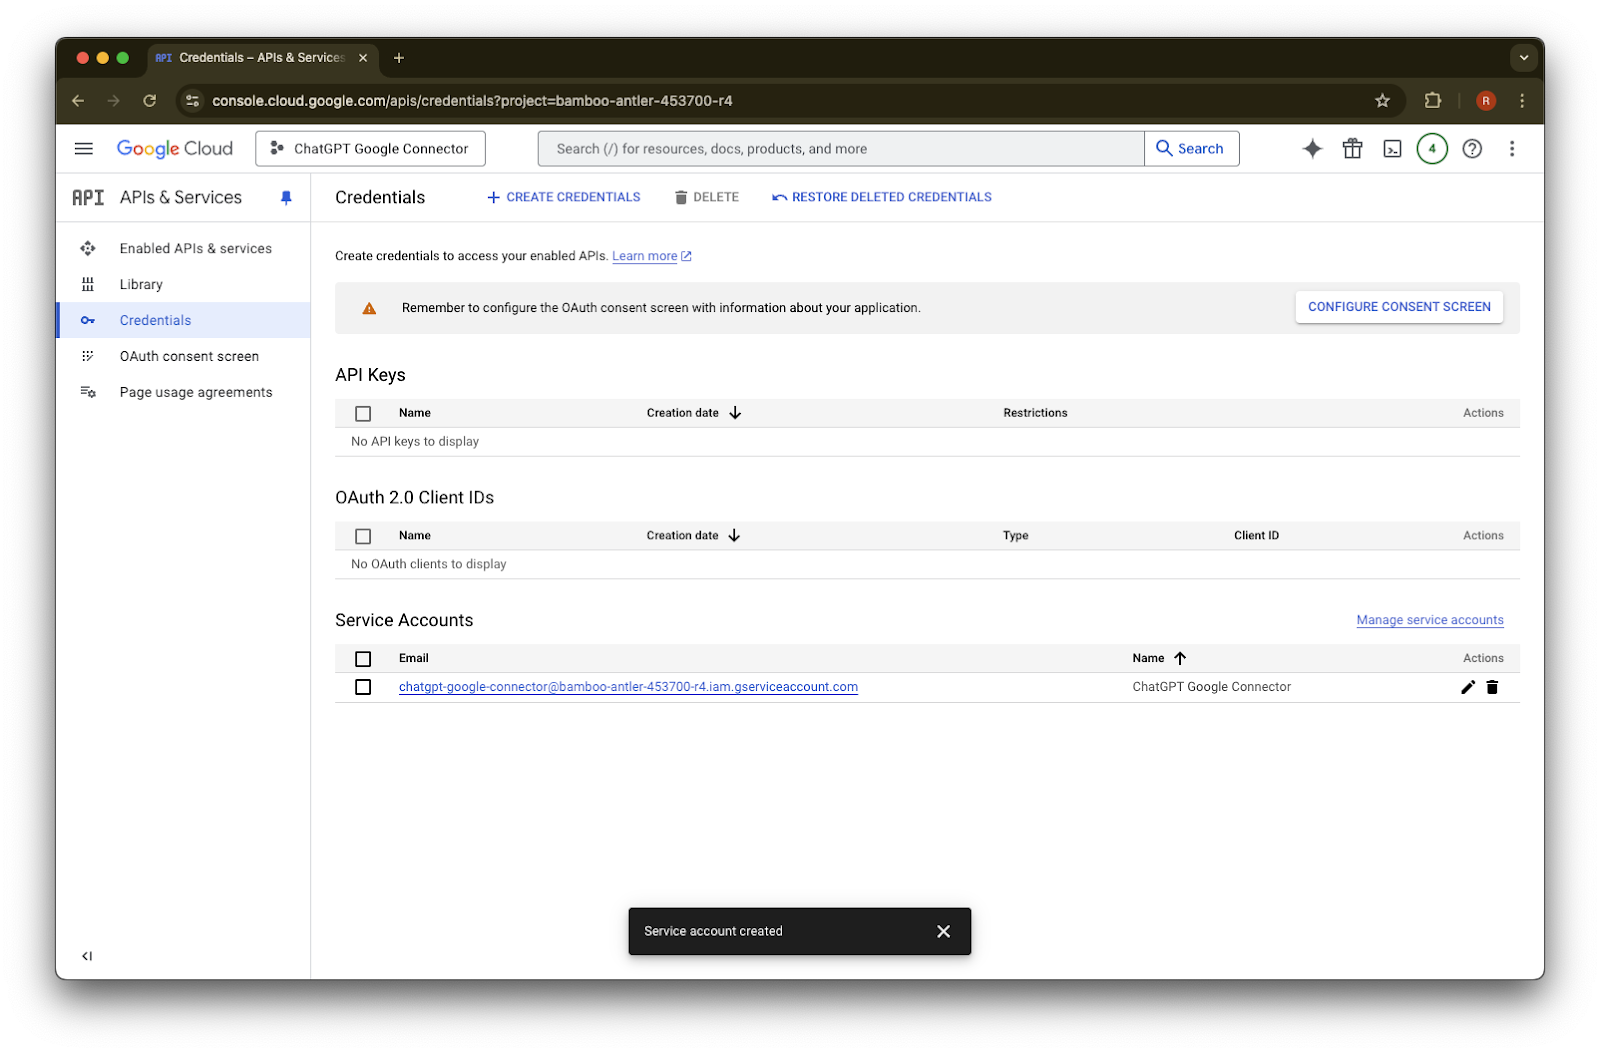
이제 생성된 service account를 클릭합니다.
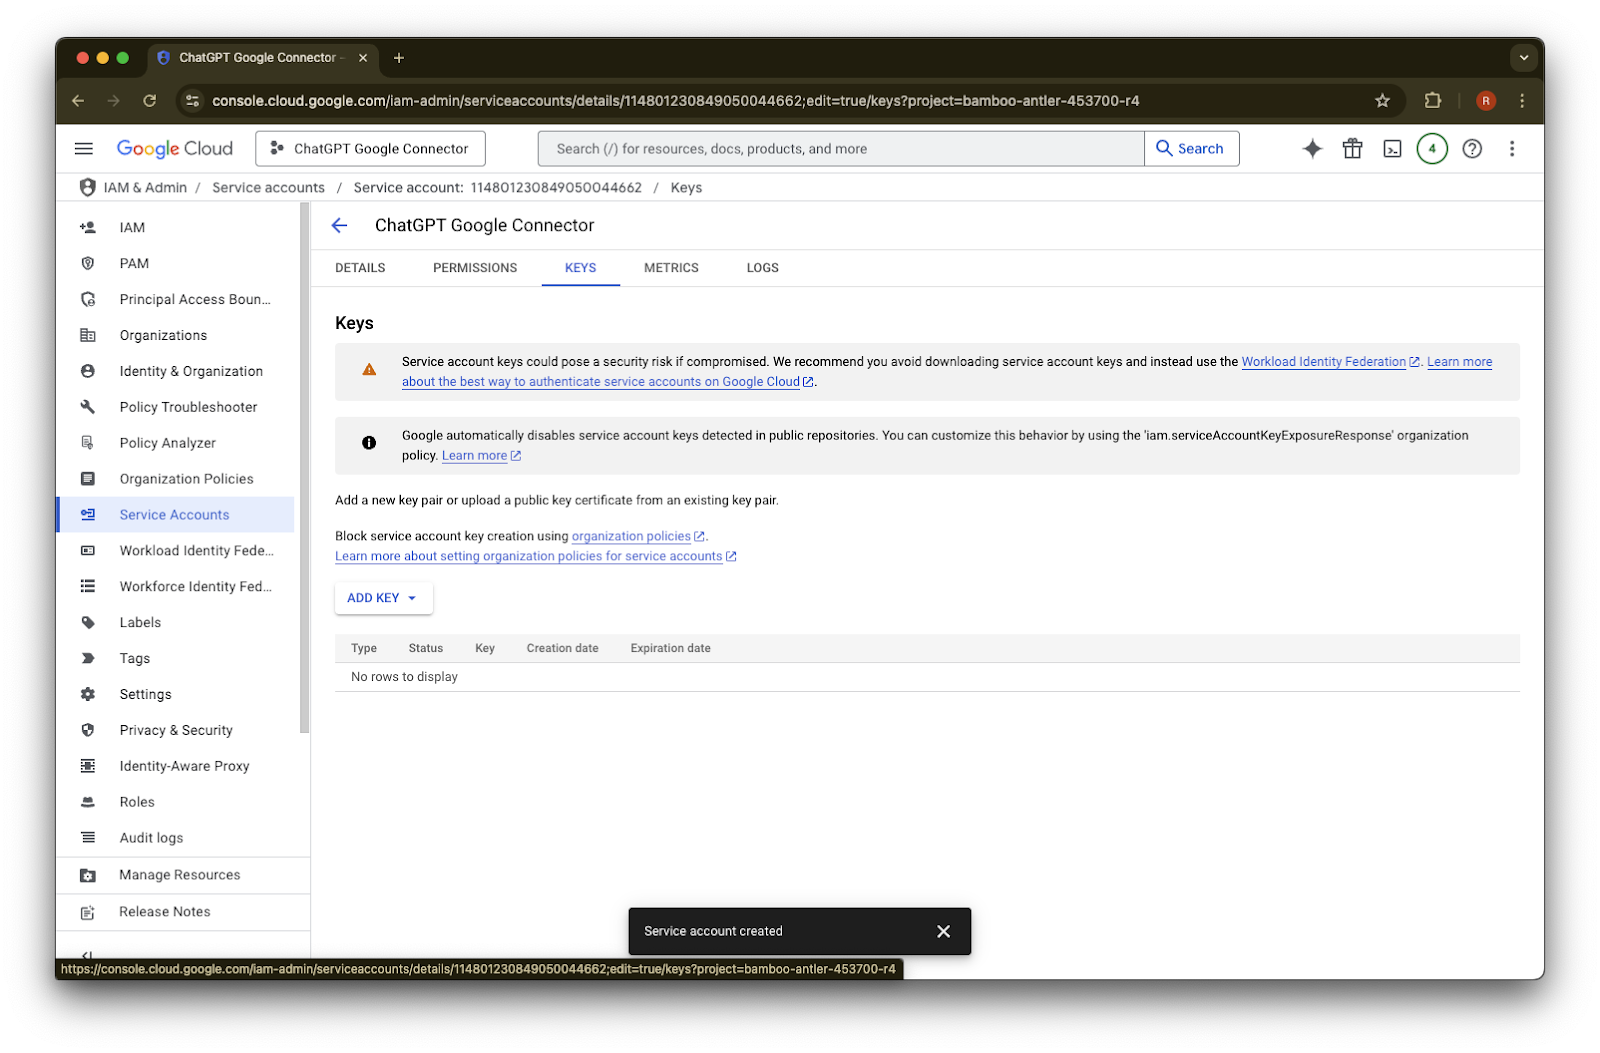
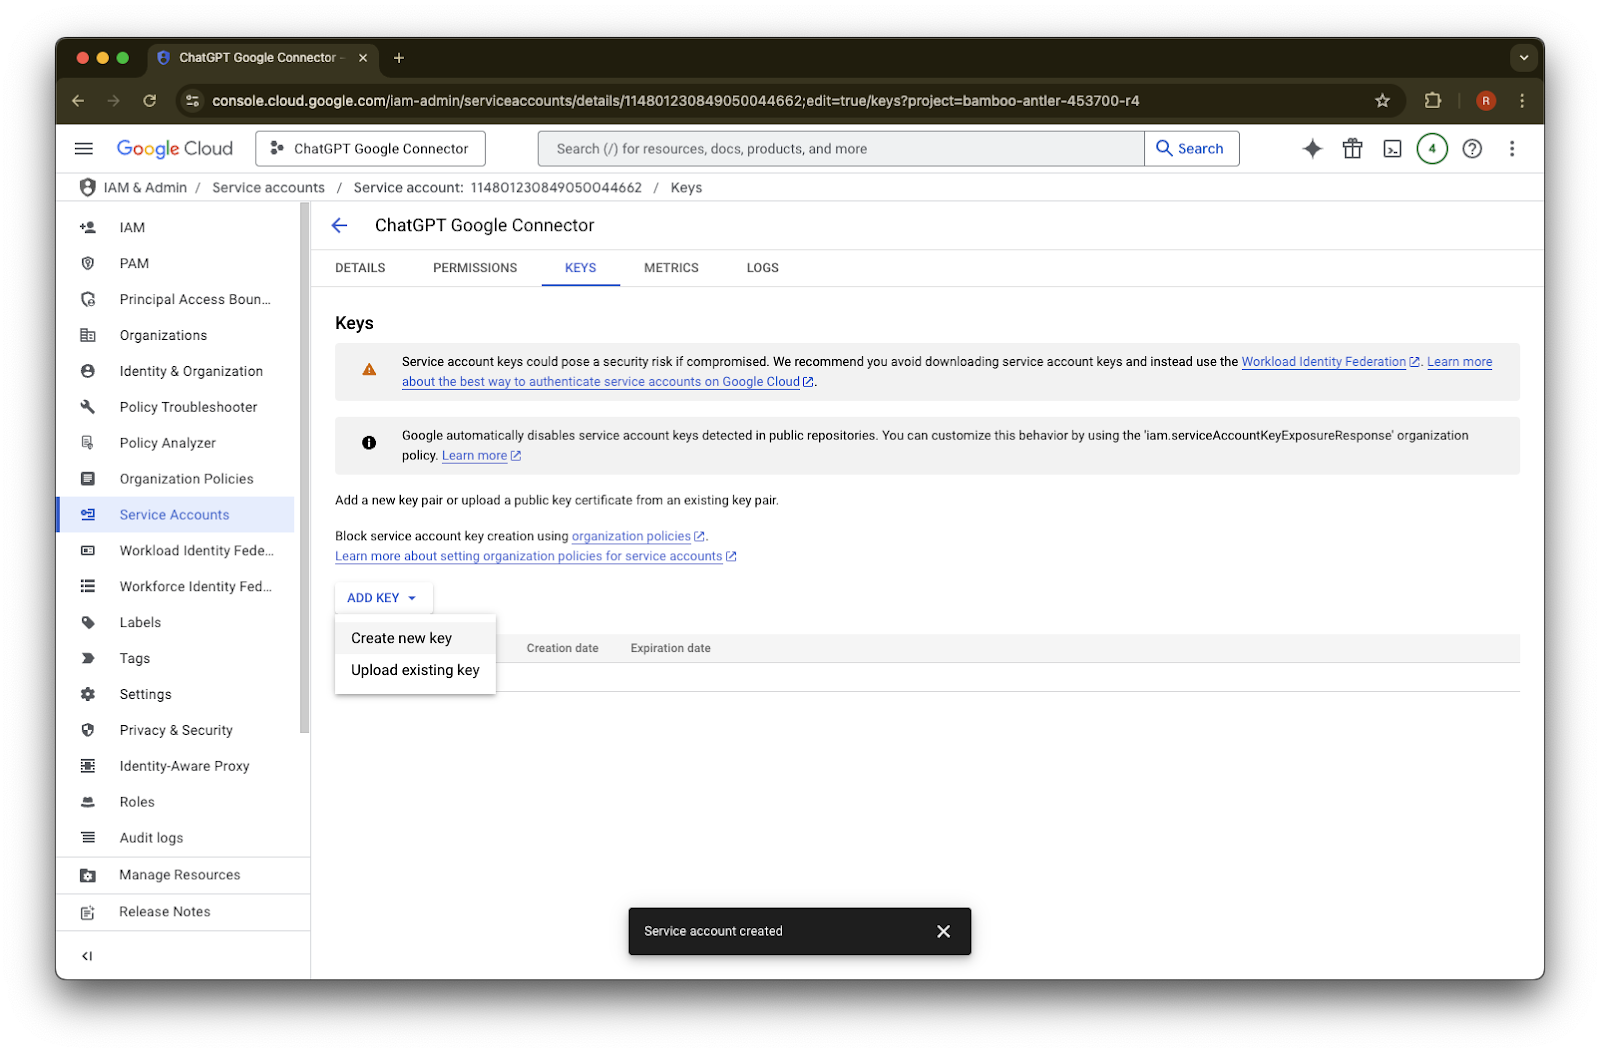
keys.를 클릭합니다.
Add Key를 클릭합니다.
Create new key를 클릭합니다.
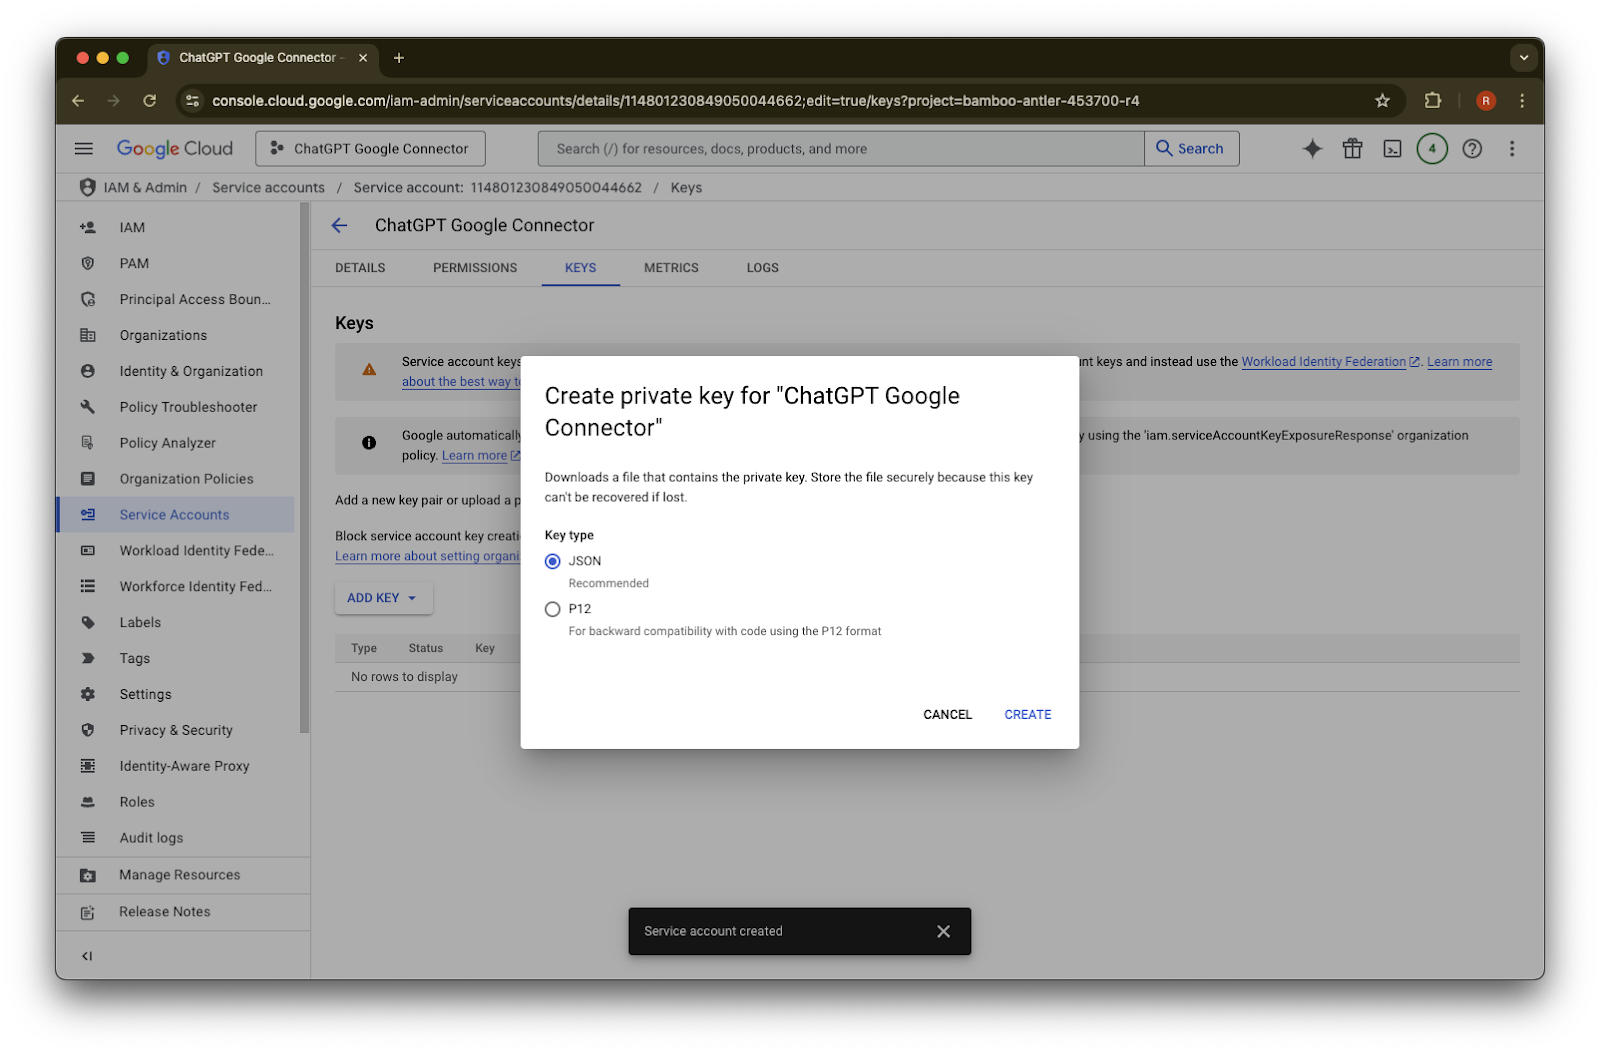
기본 JSON 키 유형을 유지하고 Create를 클릭합니다.
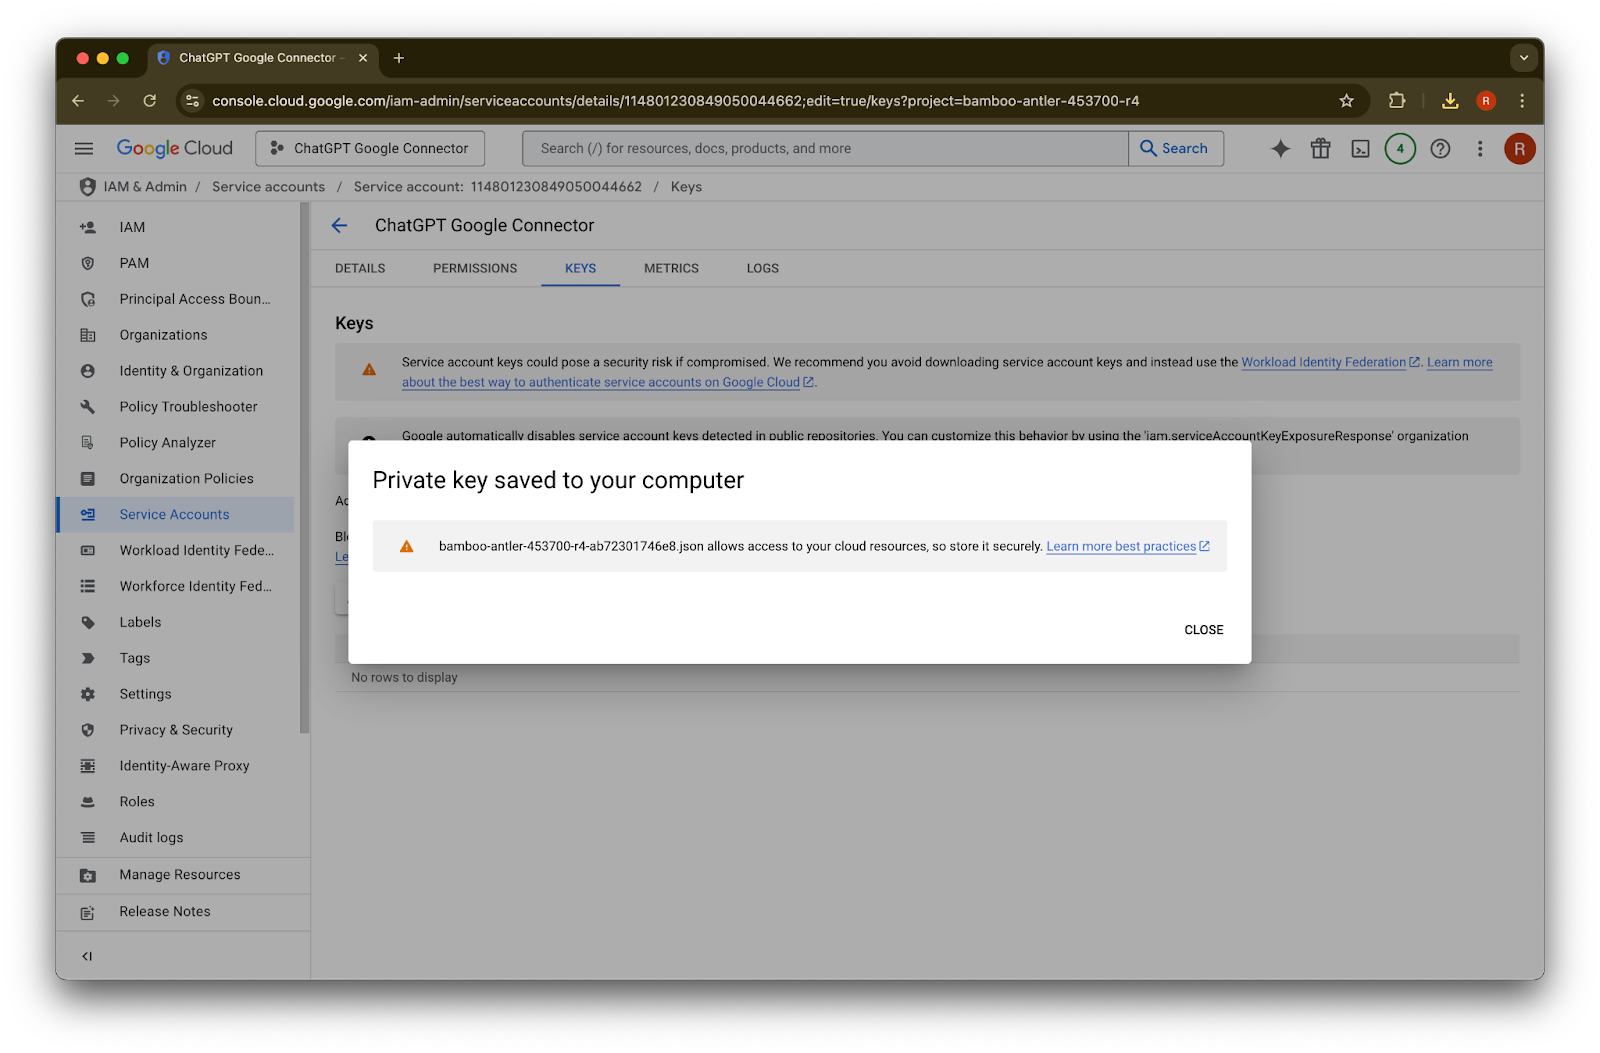
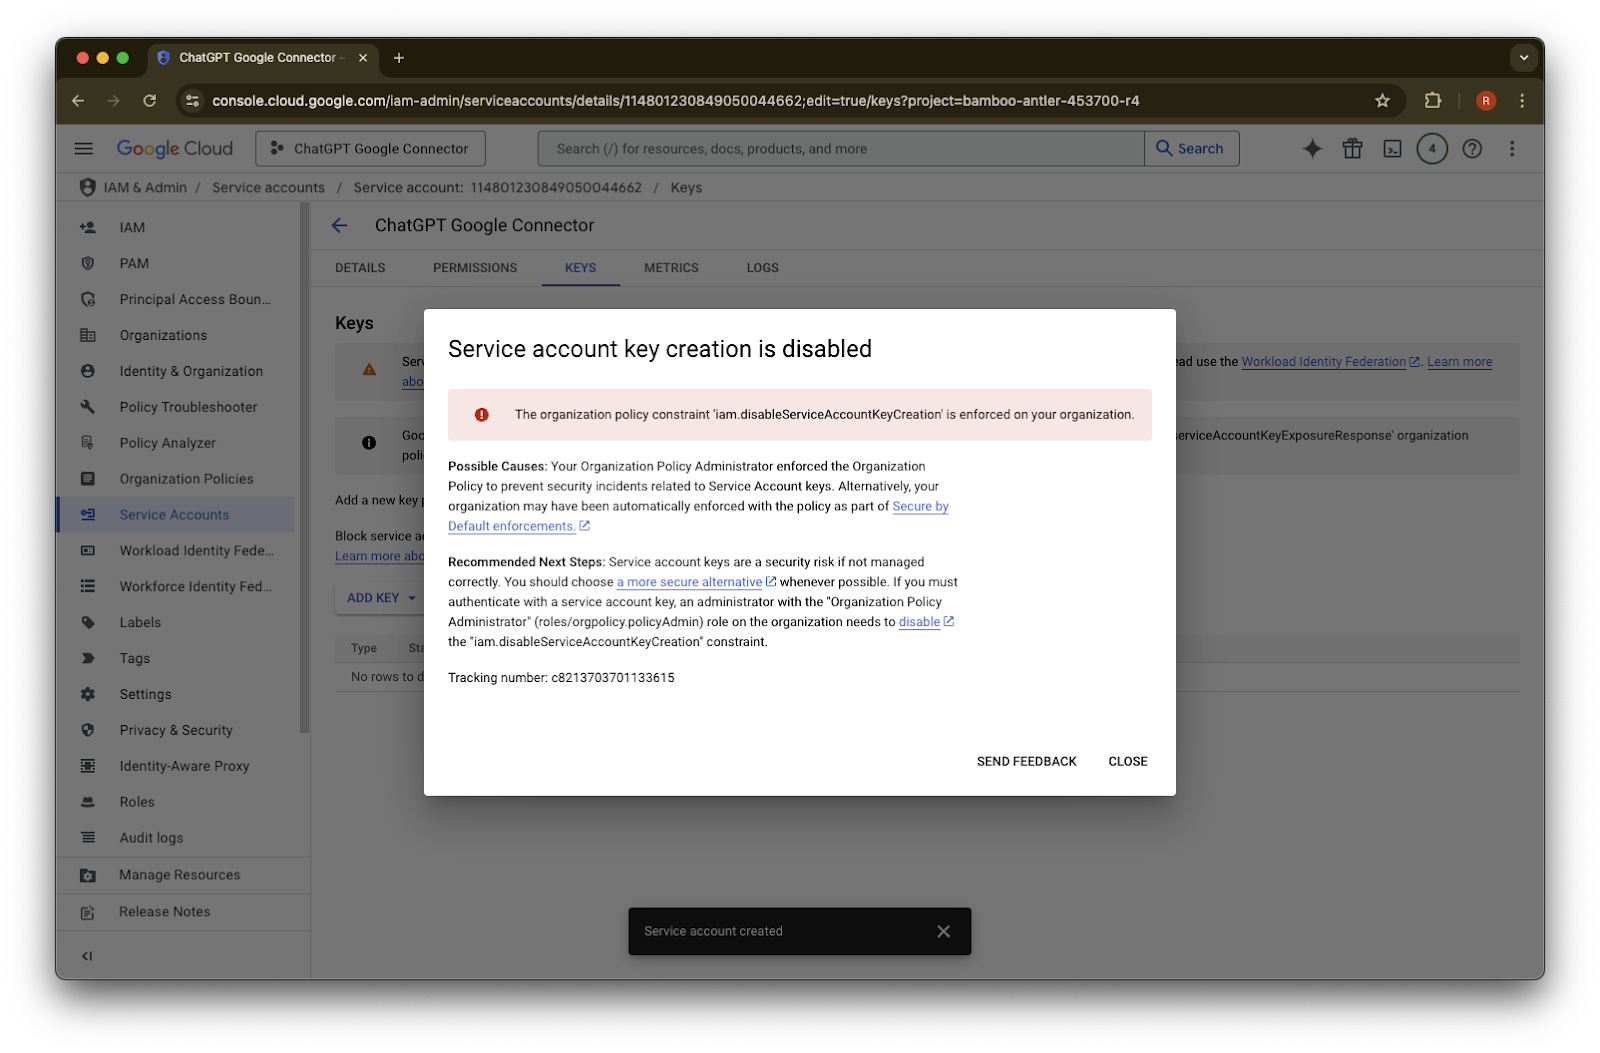
“Service account key creation is disabled”라는 오류 메시지가 표시되면, 생성을 활성화하려면 이 단계를 따르세요.Close를 클릭합니다. 이제 키가 컴퓨터에 다운로드되었습니다. 나중에 이를 ChatGPT 관리자 콘솔에 업로드하게 됩니다.
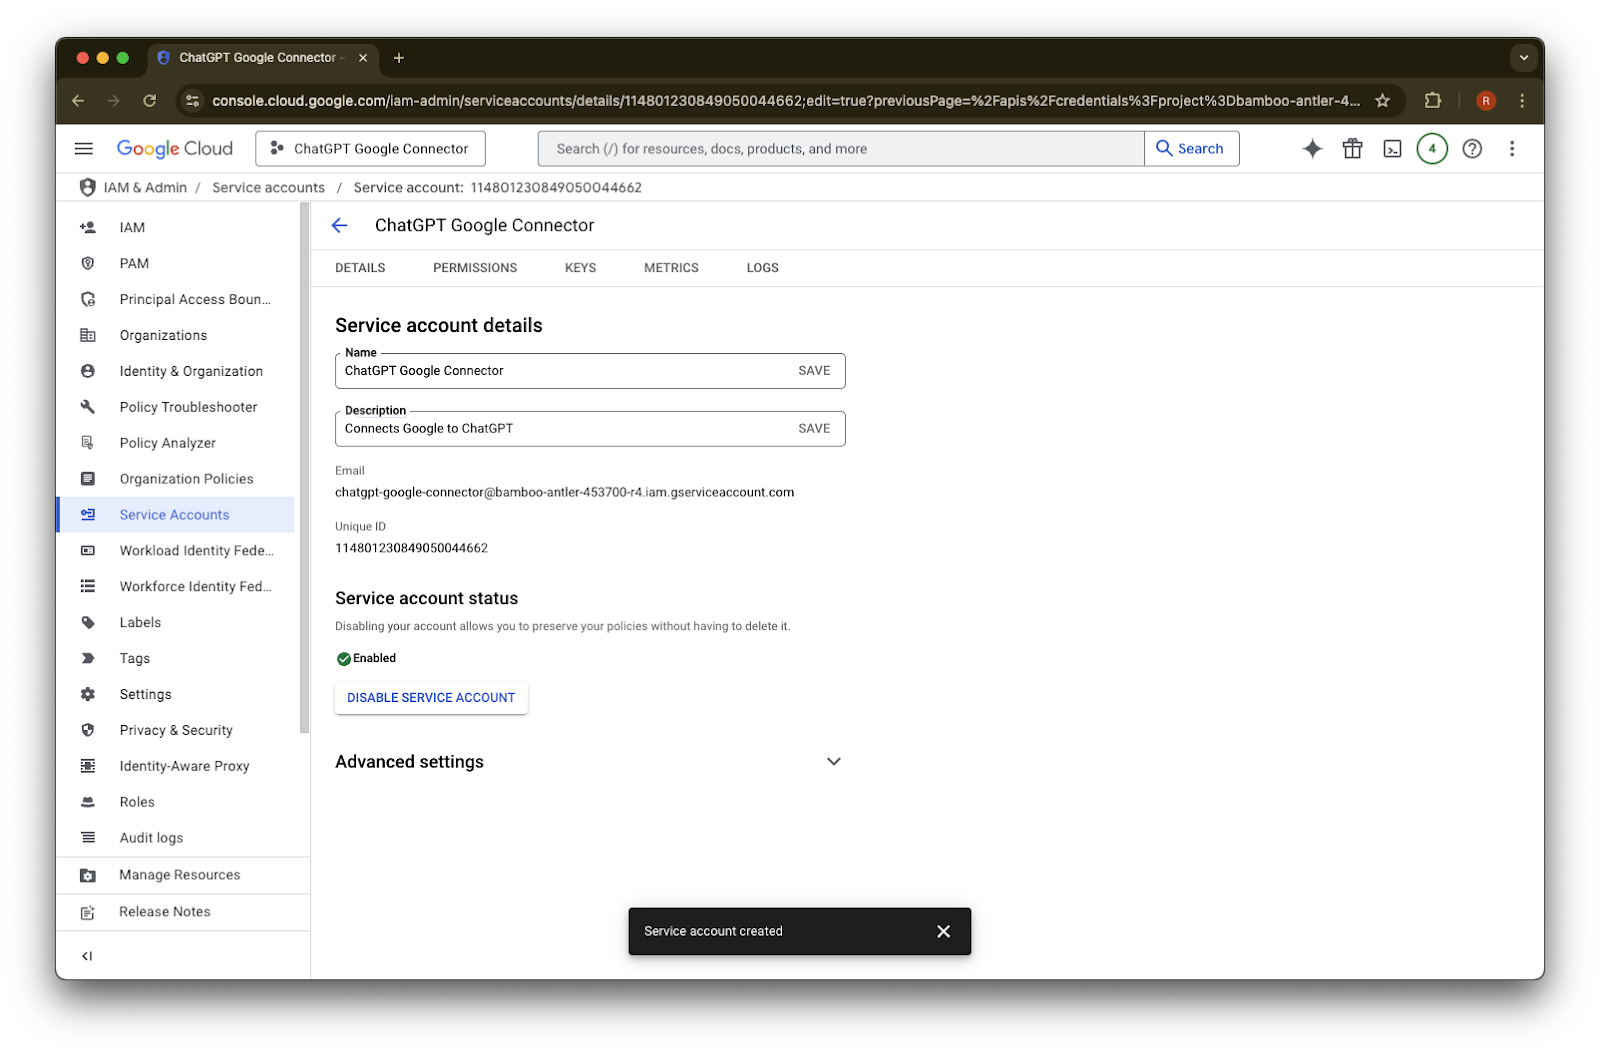
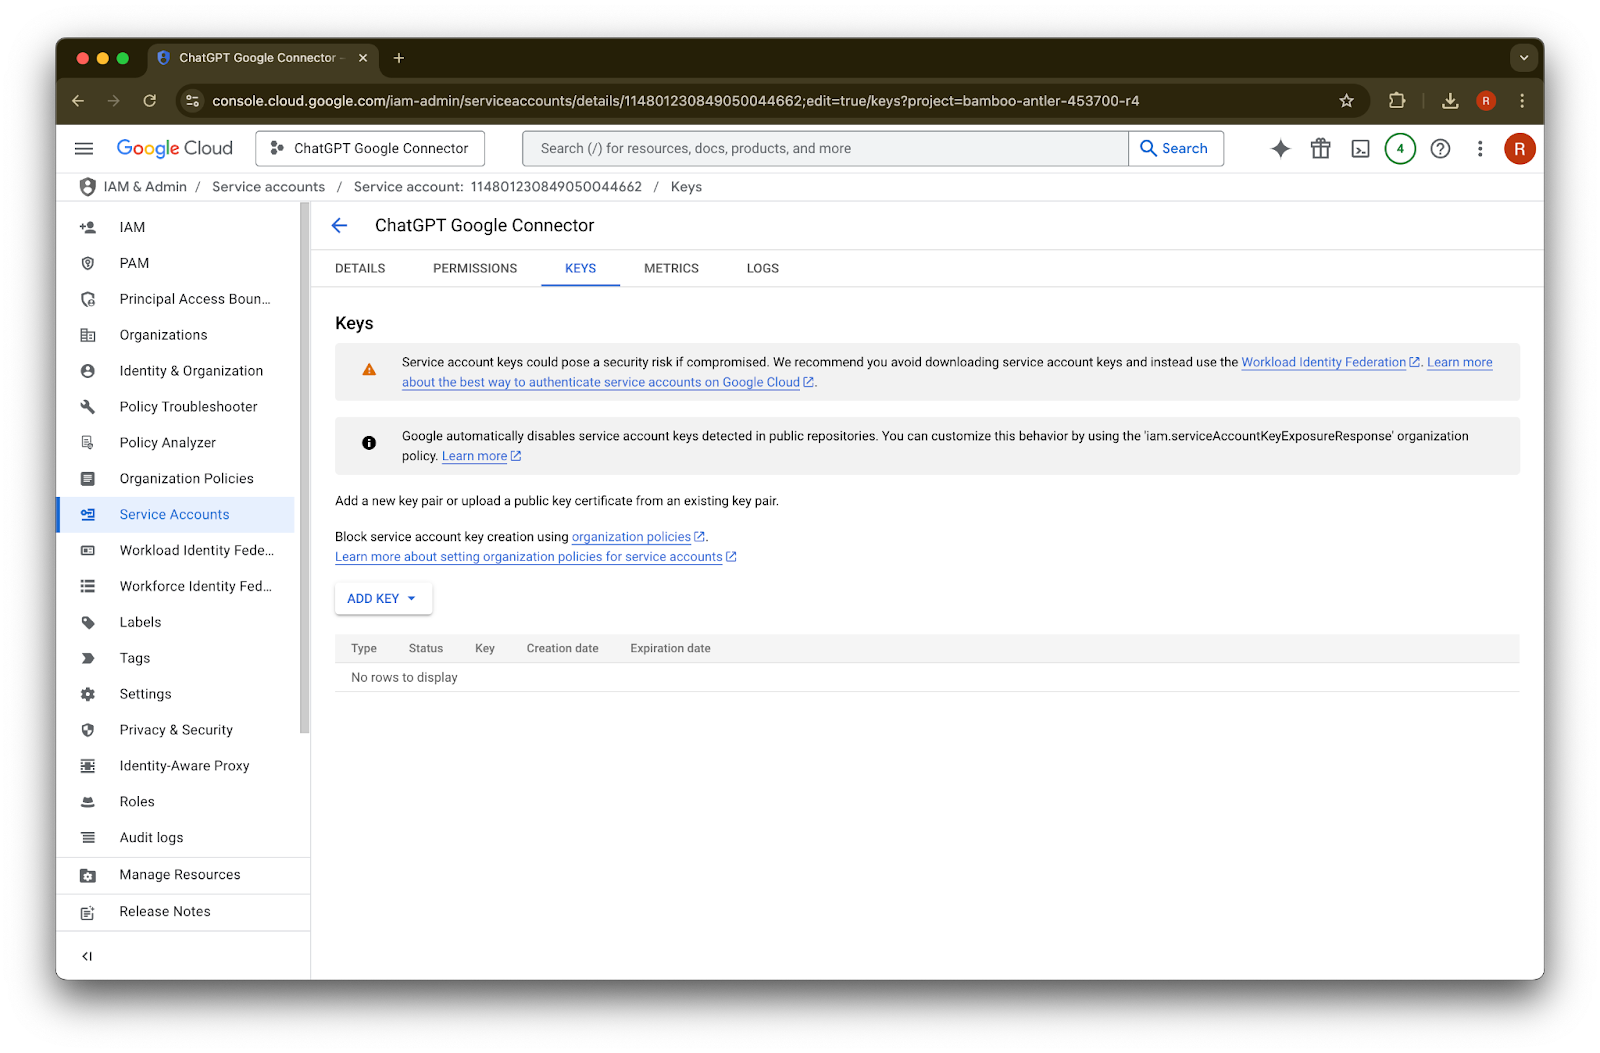
details를 클릭합니다.
Unique ID를 기록해 두세요. 42단계에서 필요합니다.
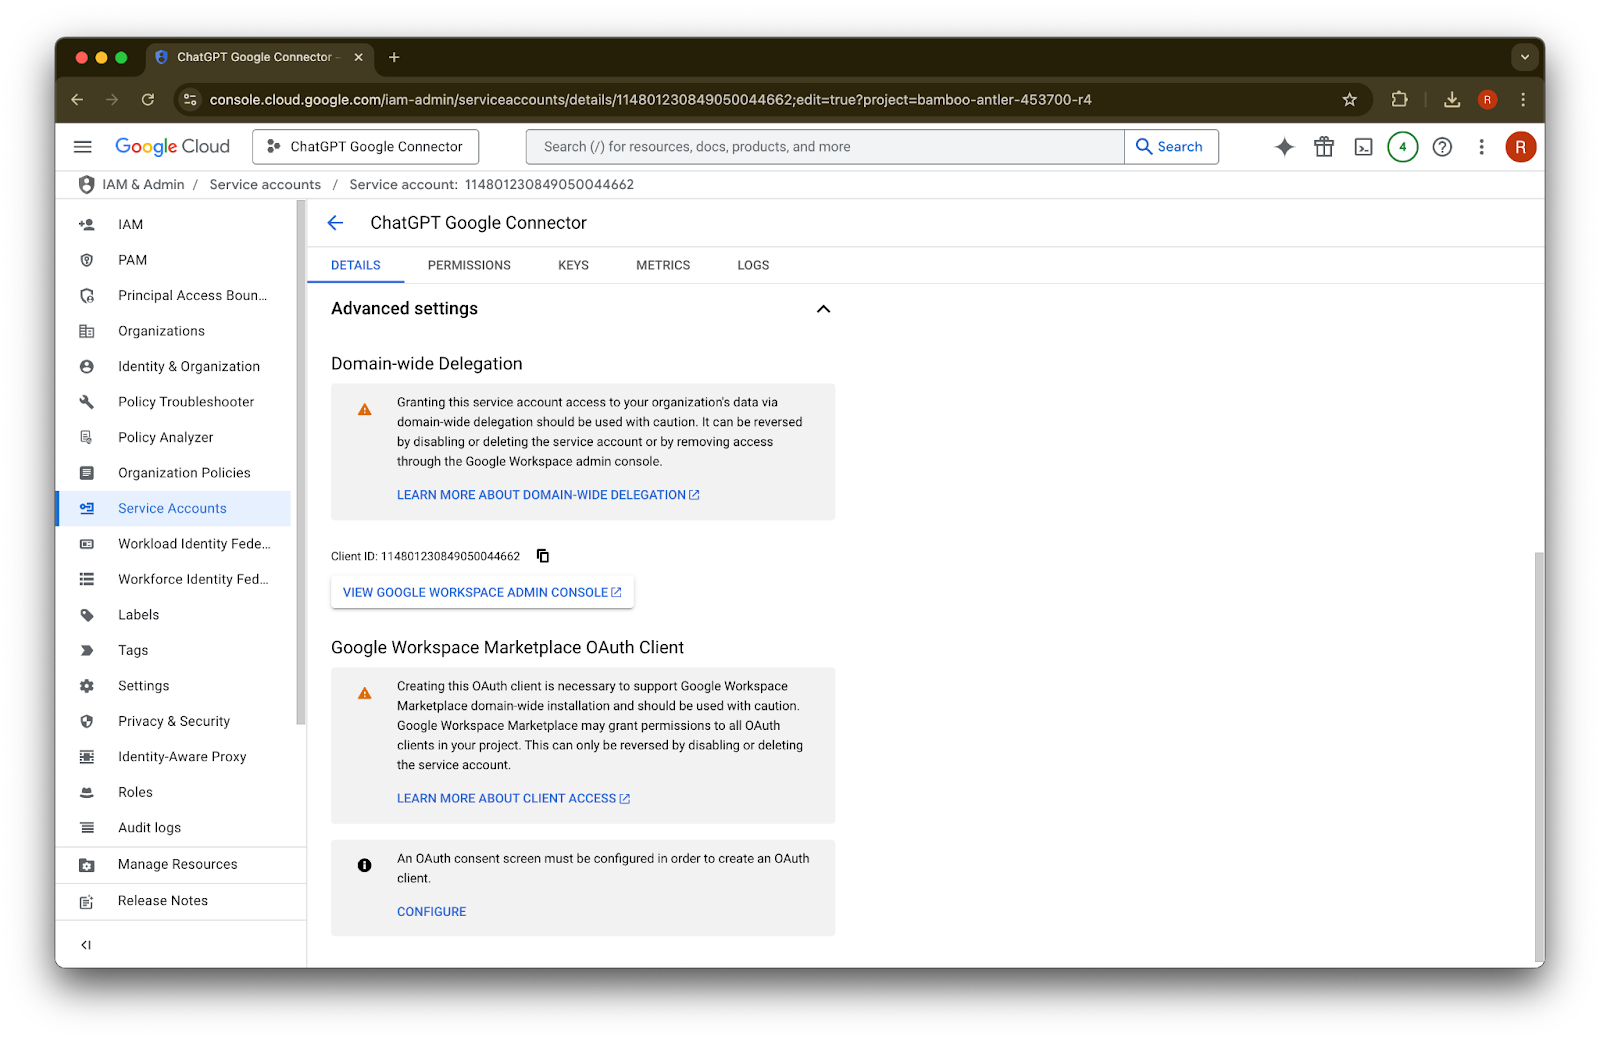
Advanced settings를 펼칩니다.
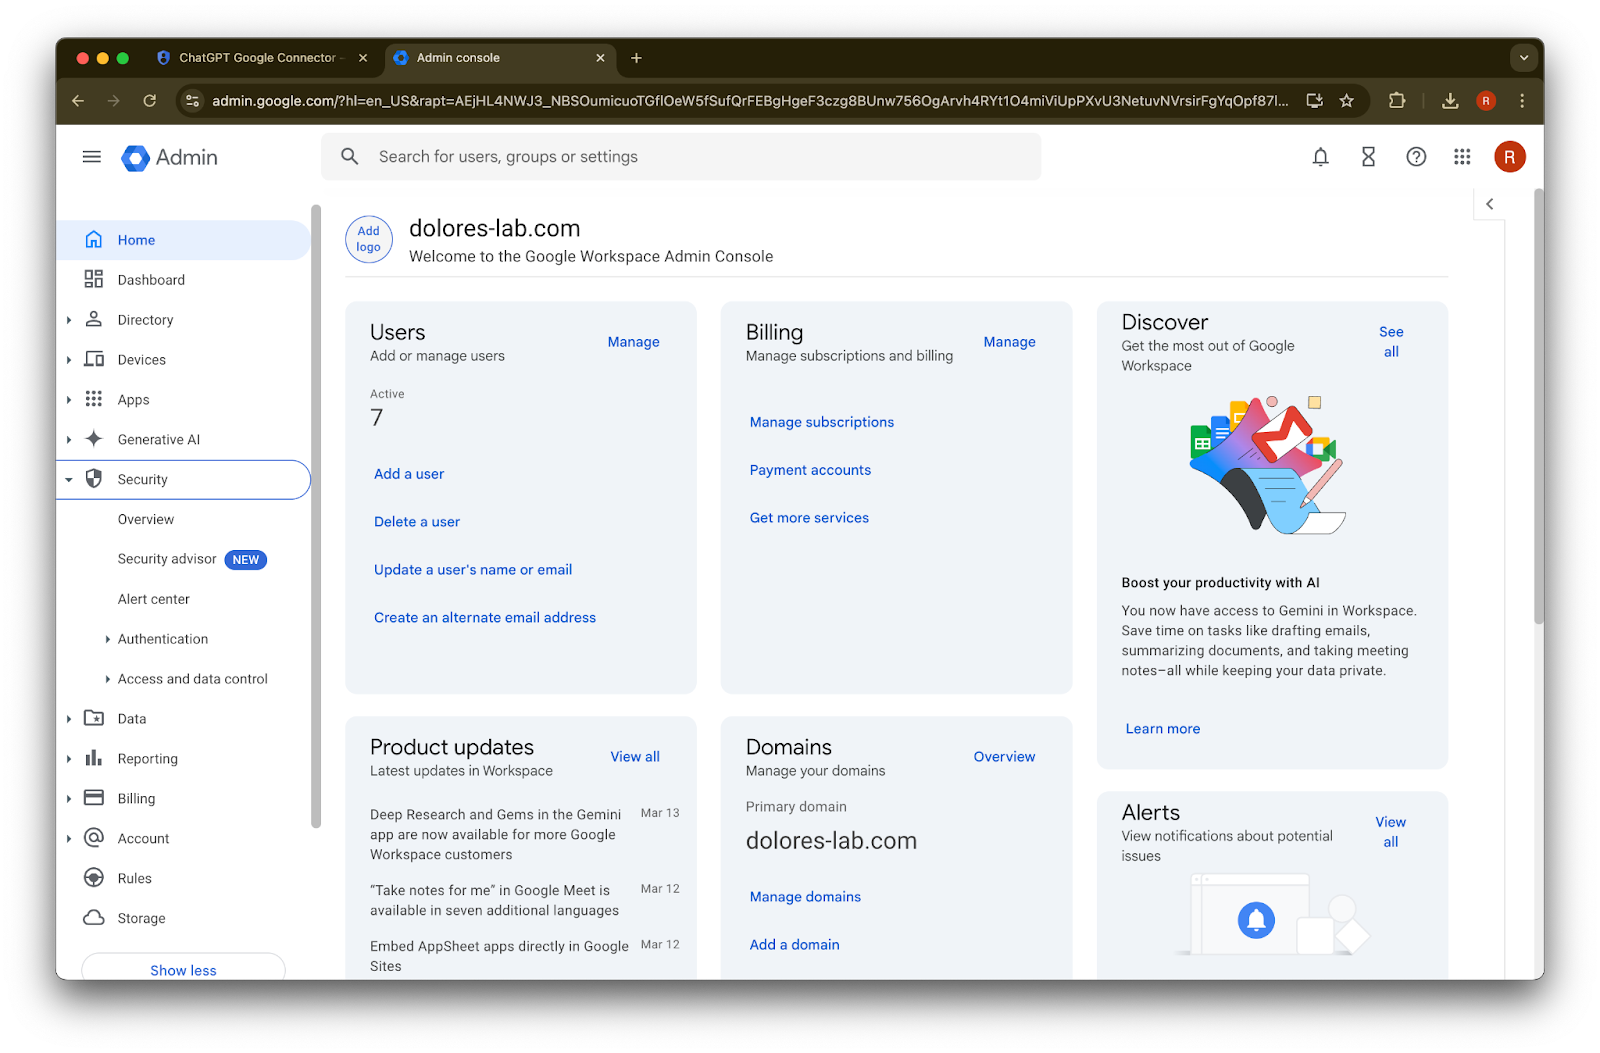
아래로 스크롤하여 View Google Workspace Admin Console를 클릭합니다. Google Workspace 콘솔이 새 탭에서 열립니다.
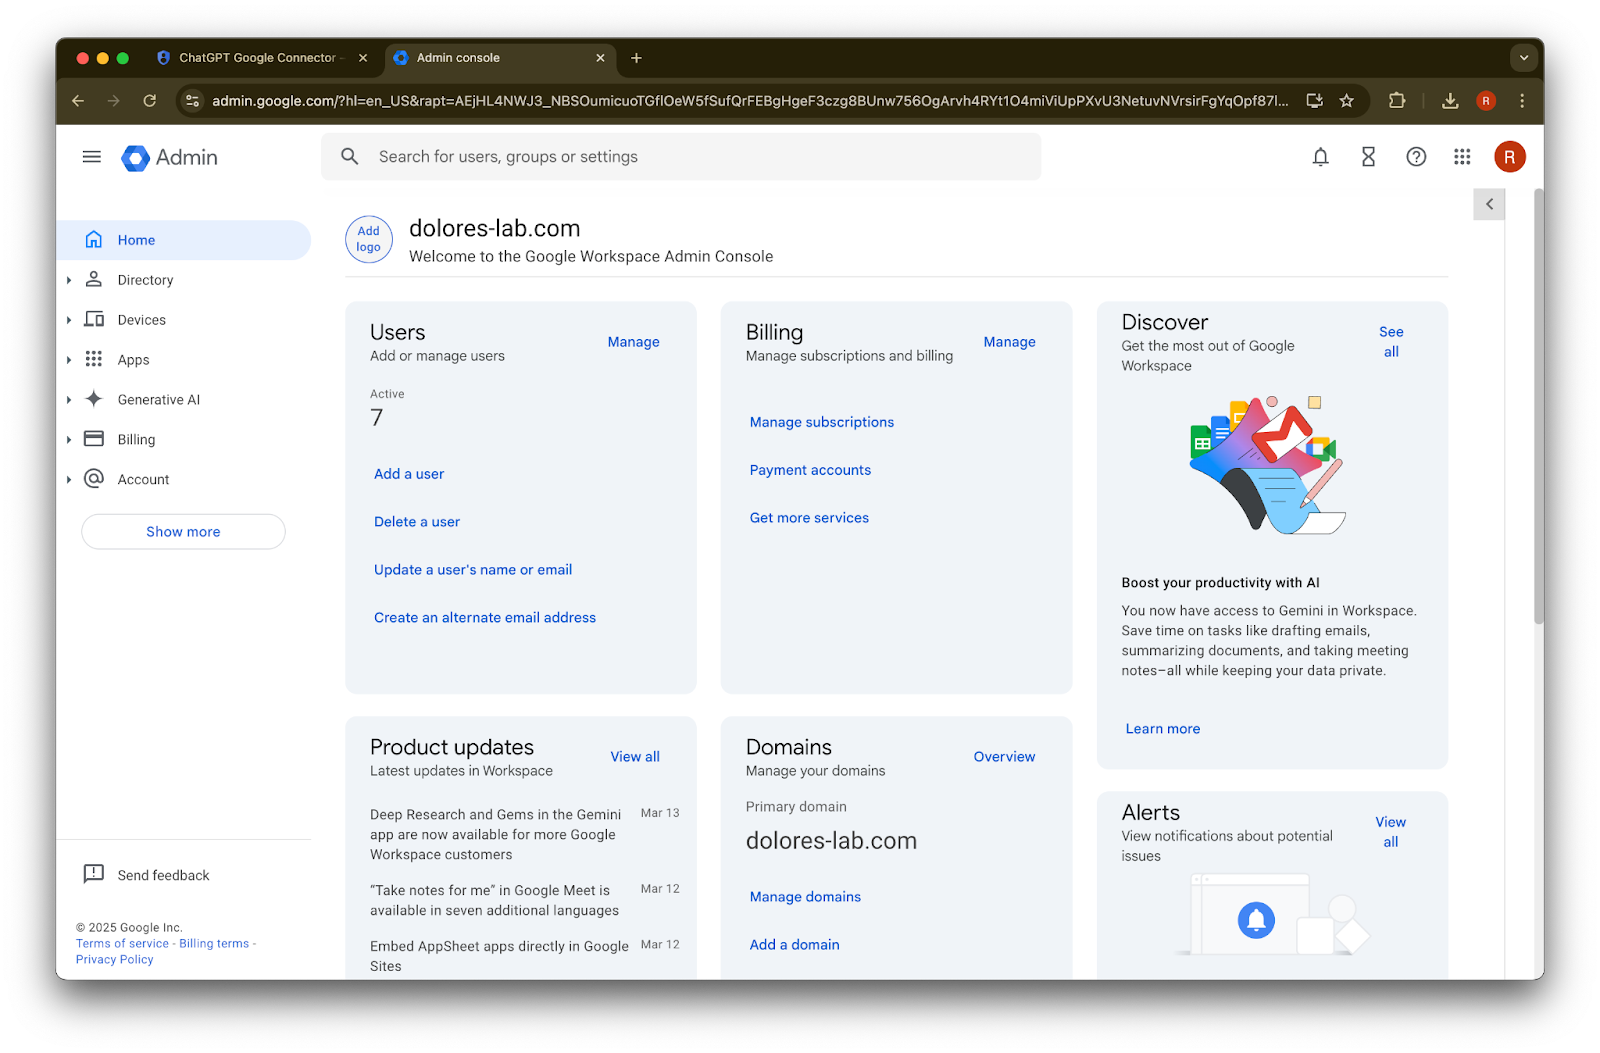
Show more를 클릭합니다.
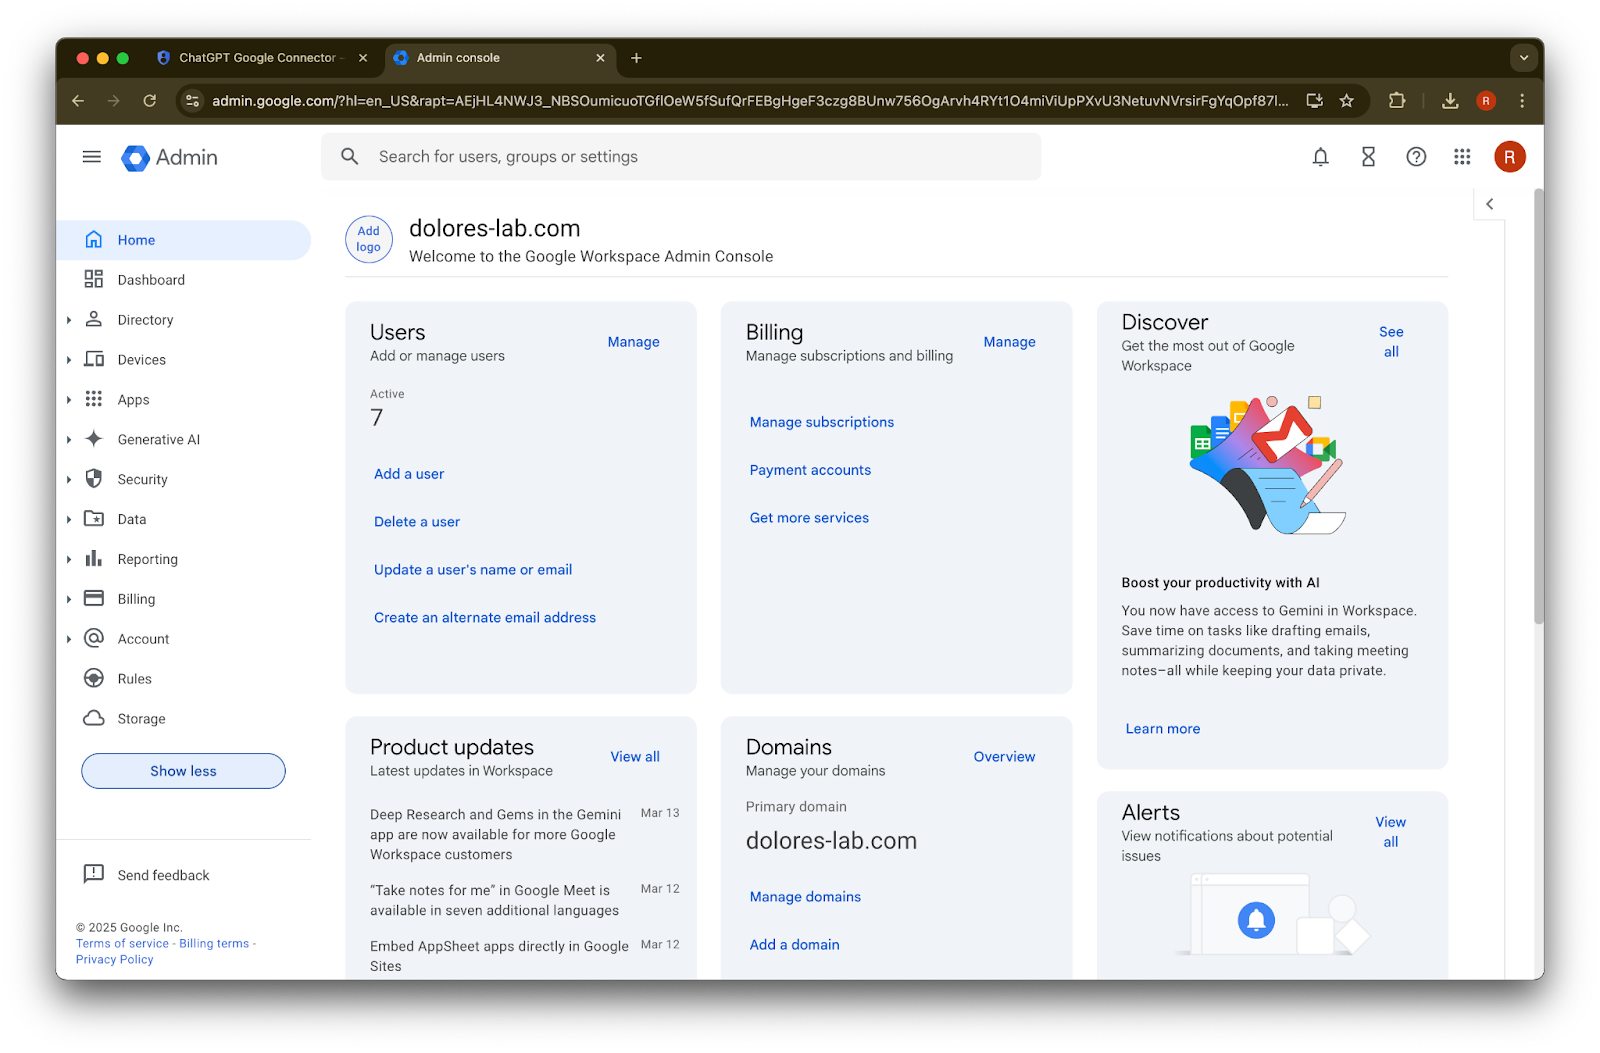
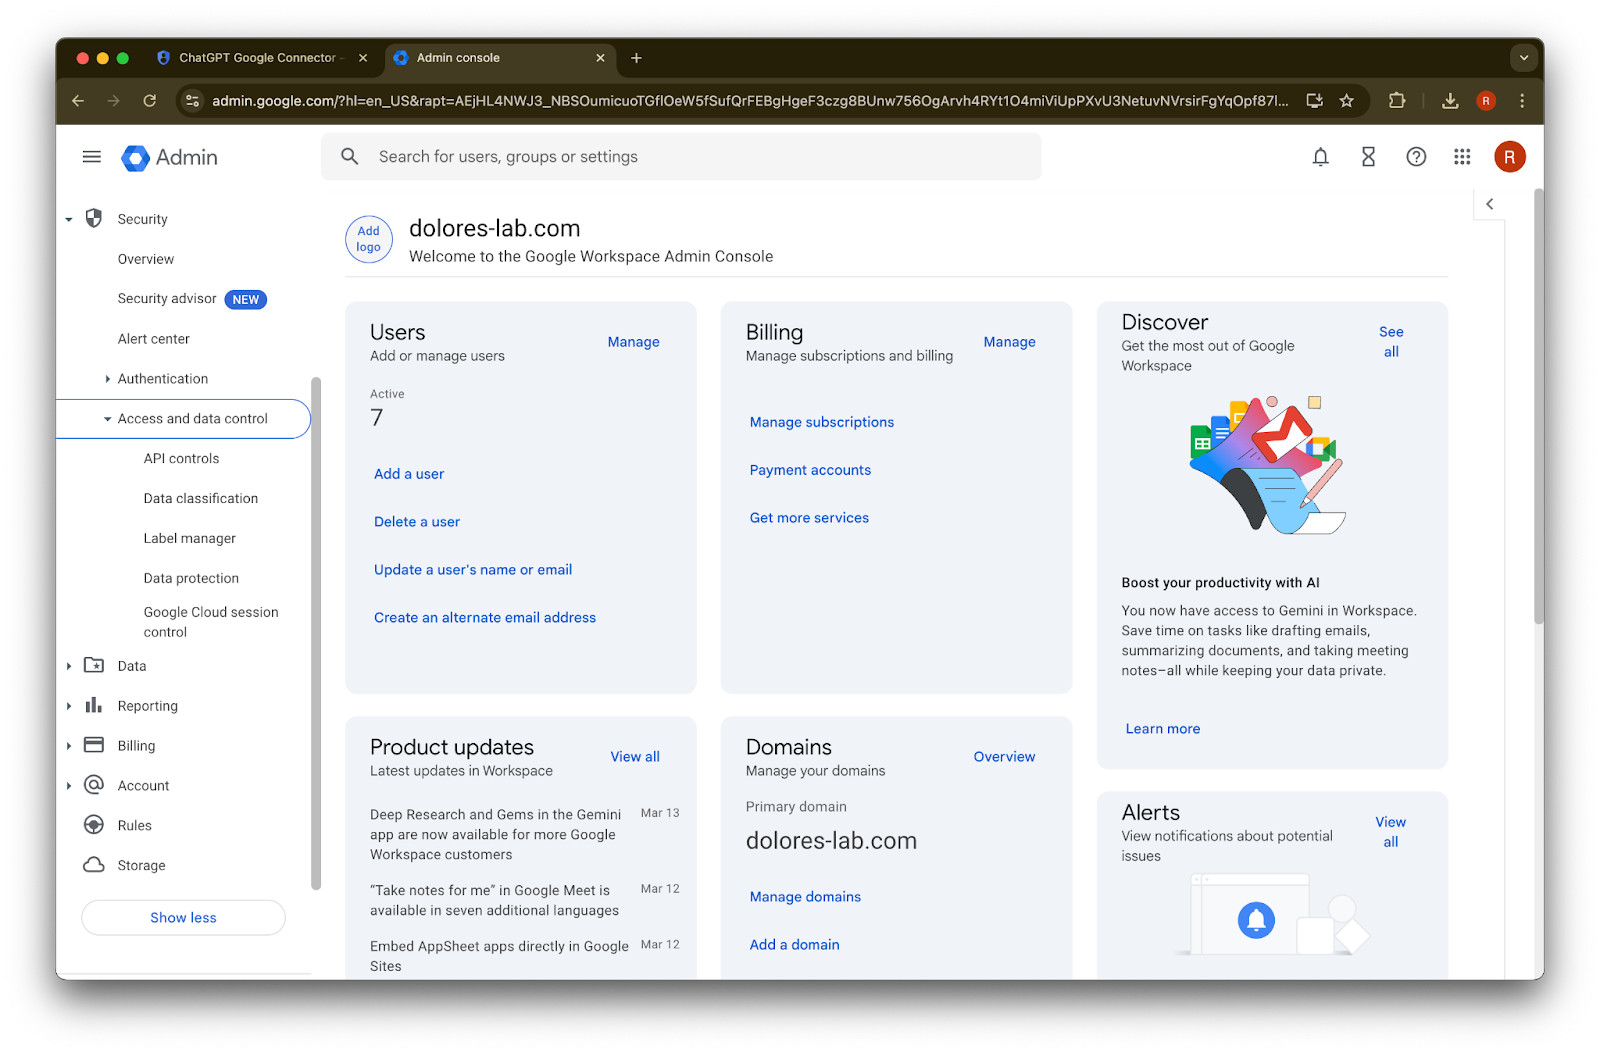
Security 섹션을 펼칩니다.
Access and data controls 섹션을 펼칩니다.
API controls 섹션을 클릭합니다.
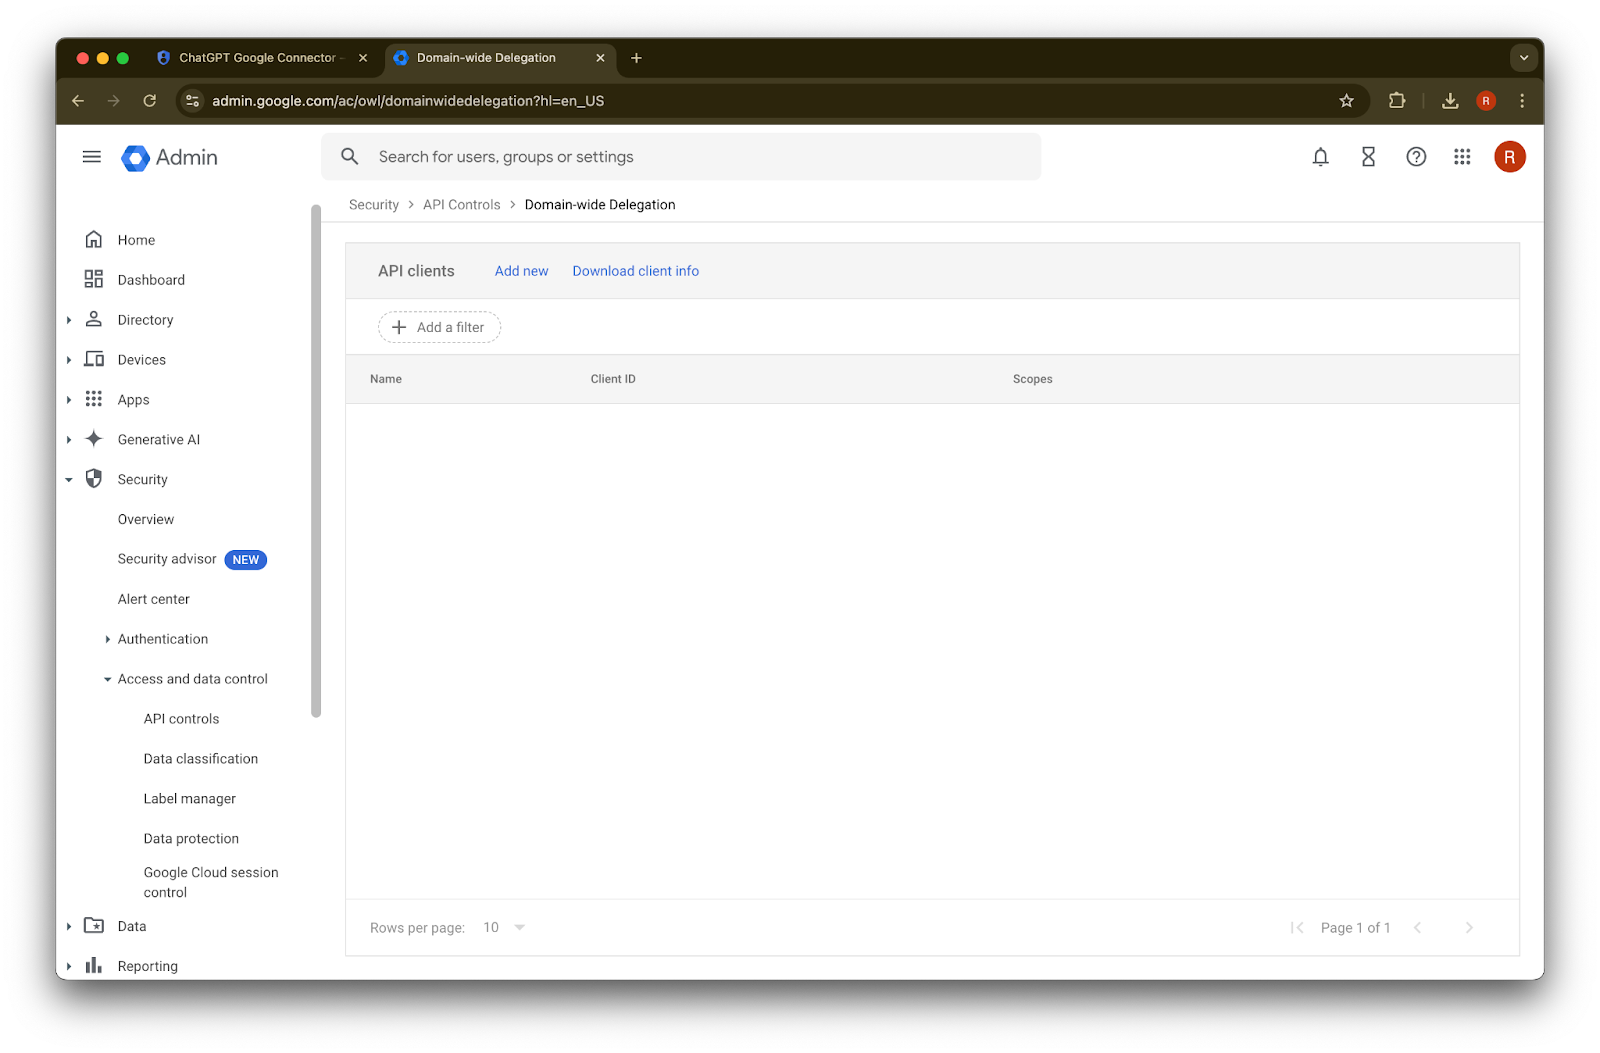
Manage Domain Wide Delegation을 클릭합니다.
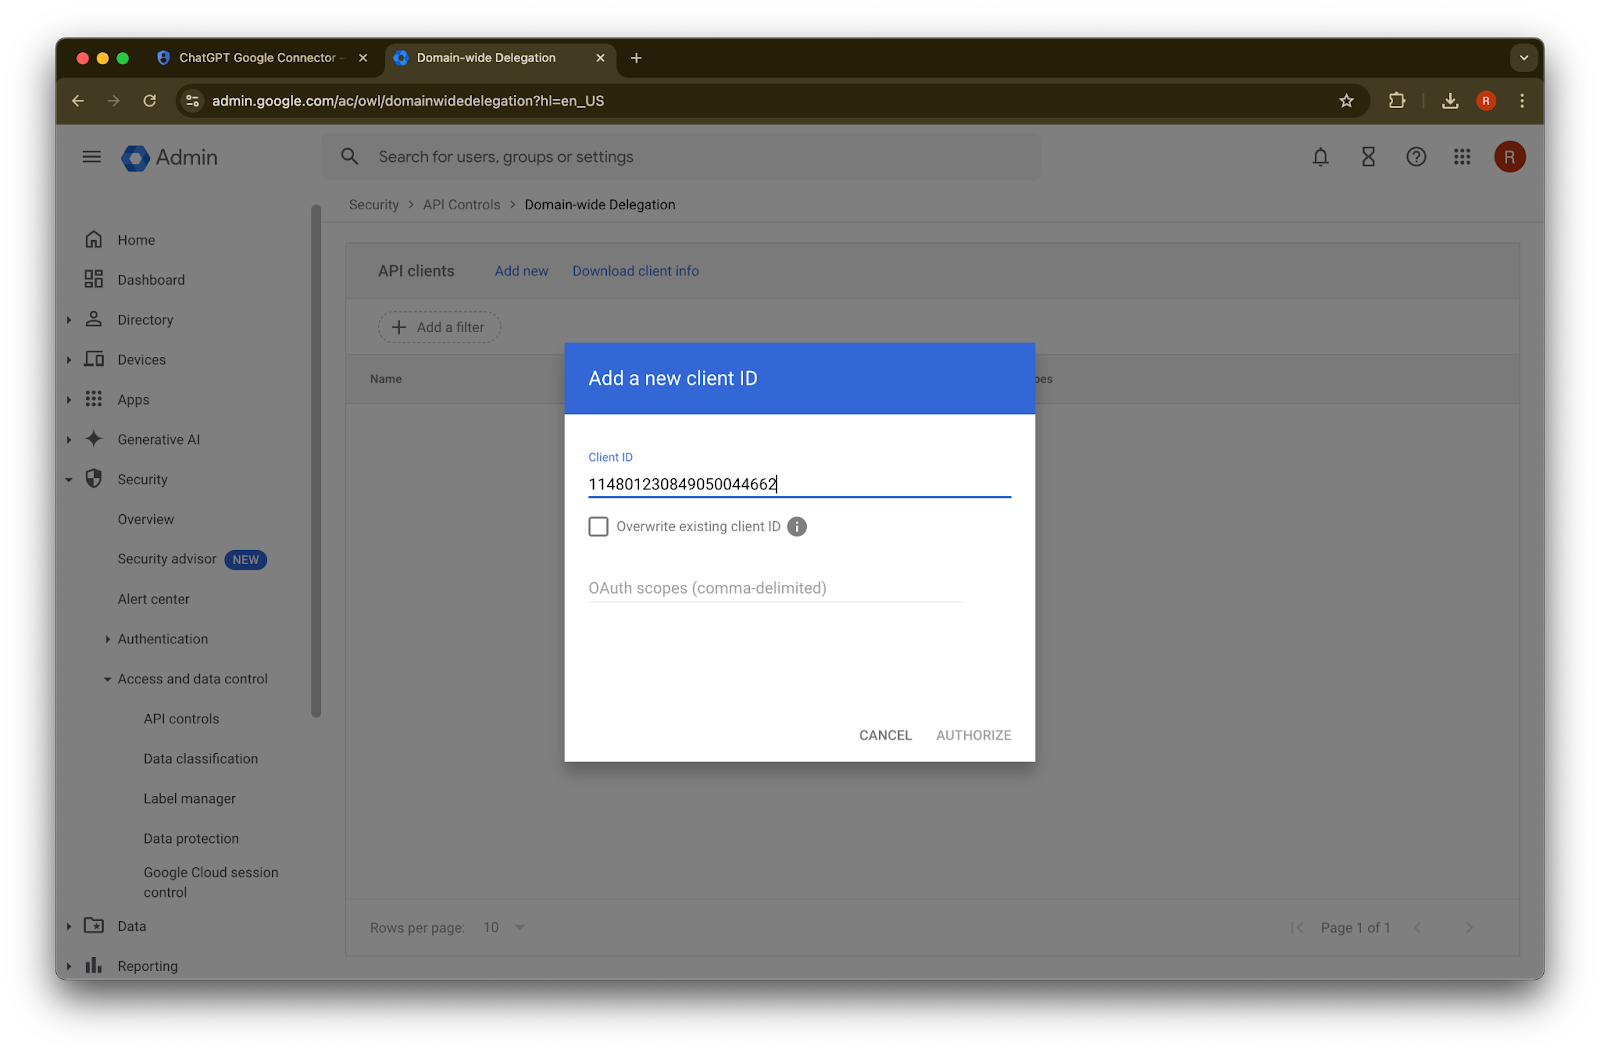
Add new를 클릭합니다.
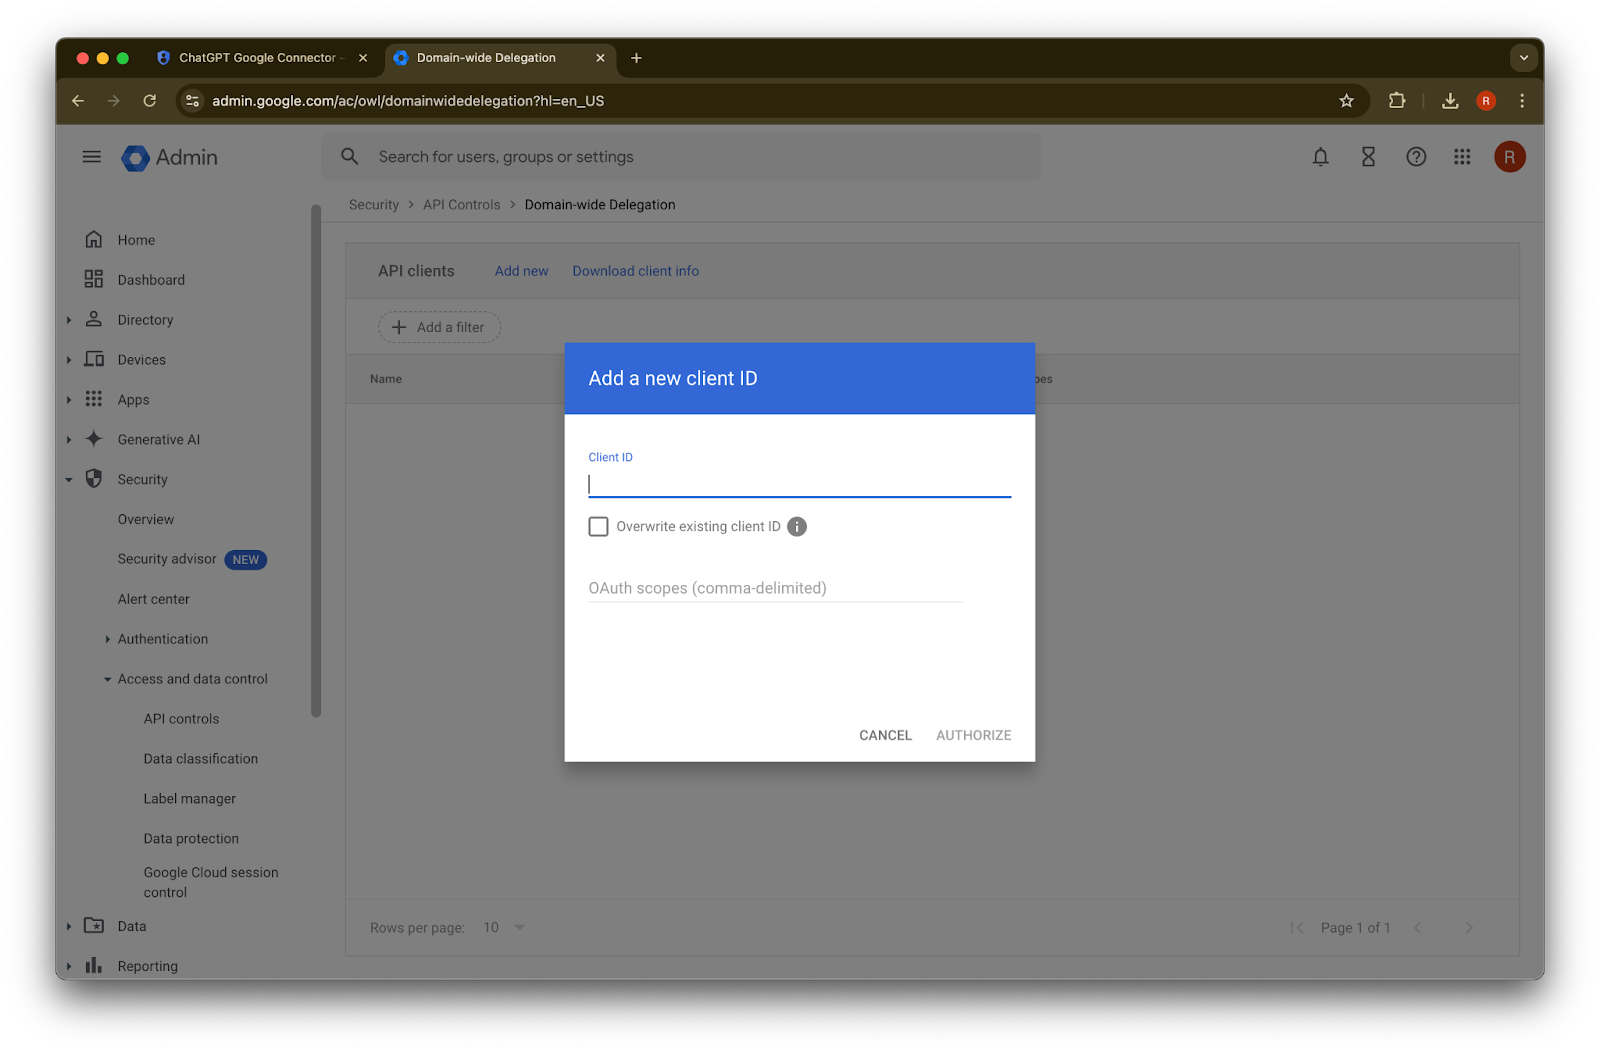
앞서 기록한 Unique ID 를 이 Client ID의 값으로 사용합니다.
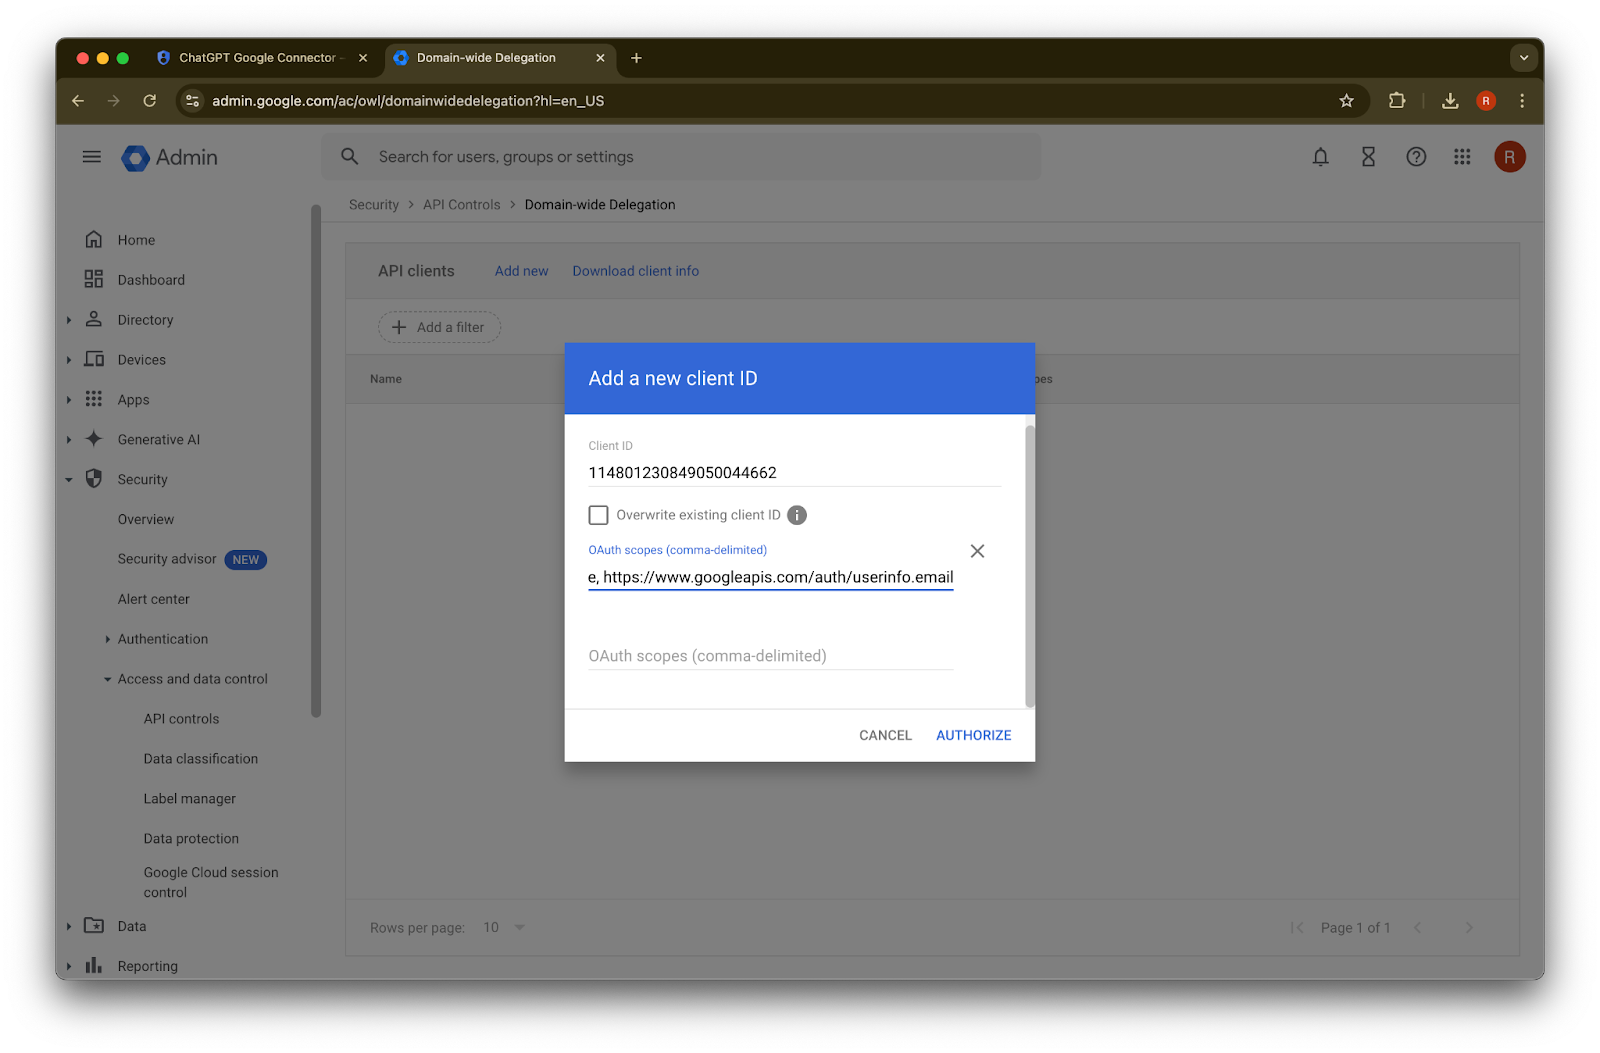
OAuth scopes에는 아래의 쉼표로 구분된 auth scopes 값을 참고하여 복사해 붙여넣으세요.


https://www.googleapis.com/auth/admin.directory.group.readonly, https://www.googleapis.com/auth/admin.directory.group.member.readonly, https://www.googleapis.com/auth/admin.directory.user.readonly, https://www.googleapis.com/auth/admin.directory.user.alias.readonly, https://www.googleapis.com/auth/drive.activity.readonly, https://www.googleapis.com/auth/drive.metadata.readonly, https://www.googleapis.com/auth/drive.readonly, https://www.googleapis.com/auth/userinfo.profile, https://www.googleapis.com/auth/userinfo.email| 범위 | 추론 |
| admin.directory.group.readonly | 그룹 기반 권한 적용 |
| admin.directory.group.member.readonly | 그룹 기반 권한 적용 |
| admin.directory.user.alias.readonly | 사용자에게 별칭을 통해 권한이 부여된 경우 처리 |
| drive.activity.readonly | 파일 변경 시 알림 수신 |
| drive.metadata.readonly | 파일 콘텐츠와 관련 메타데이터 동기화(예: 마지막 수정 날짜) |
| drive.readonly | 파일 콘텐츠와 관련 메타데이터 동기화(예: 마지막 수정 날짜) |
| userinfo.profile | 파일을 동기화하는 대상 사용자 확인 |
| userinfo.email | 파일을 동기화하는 대상 사용자 확인 |
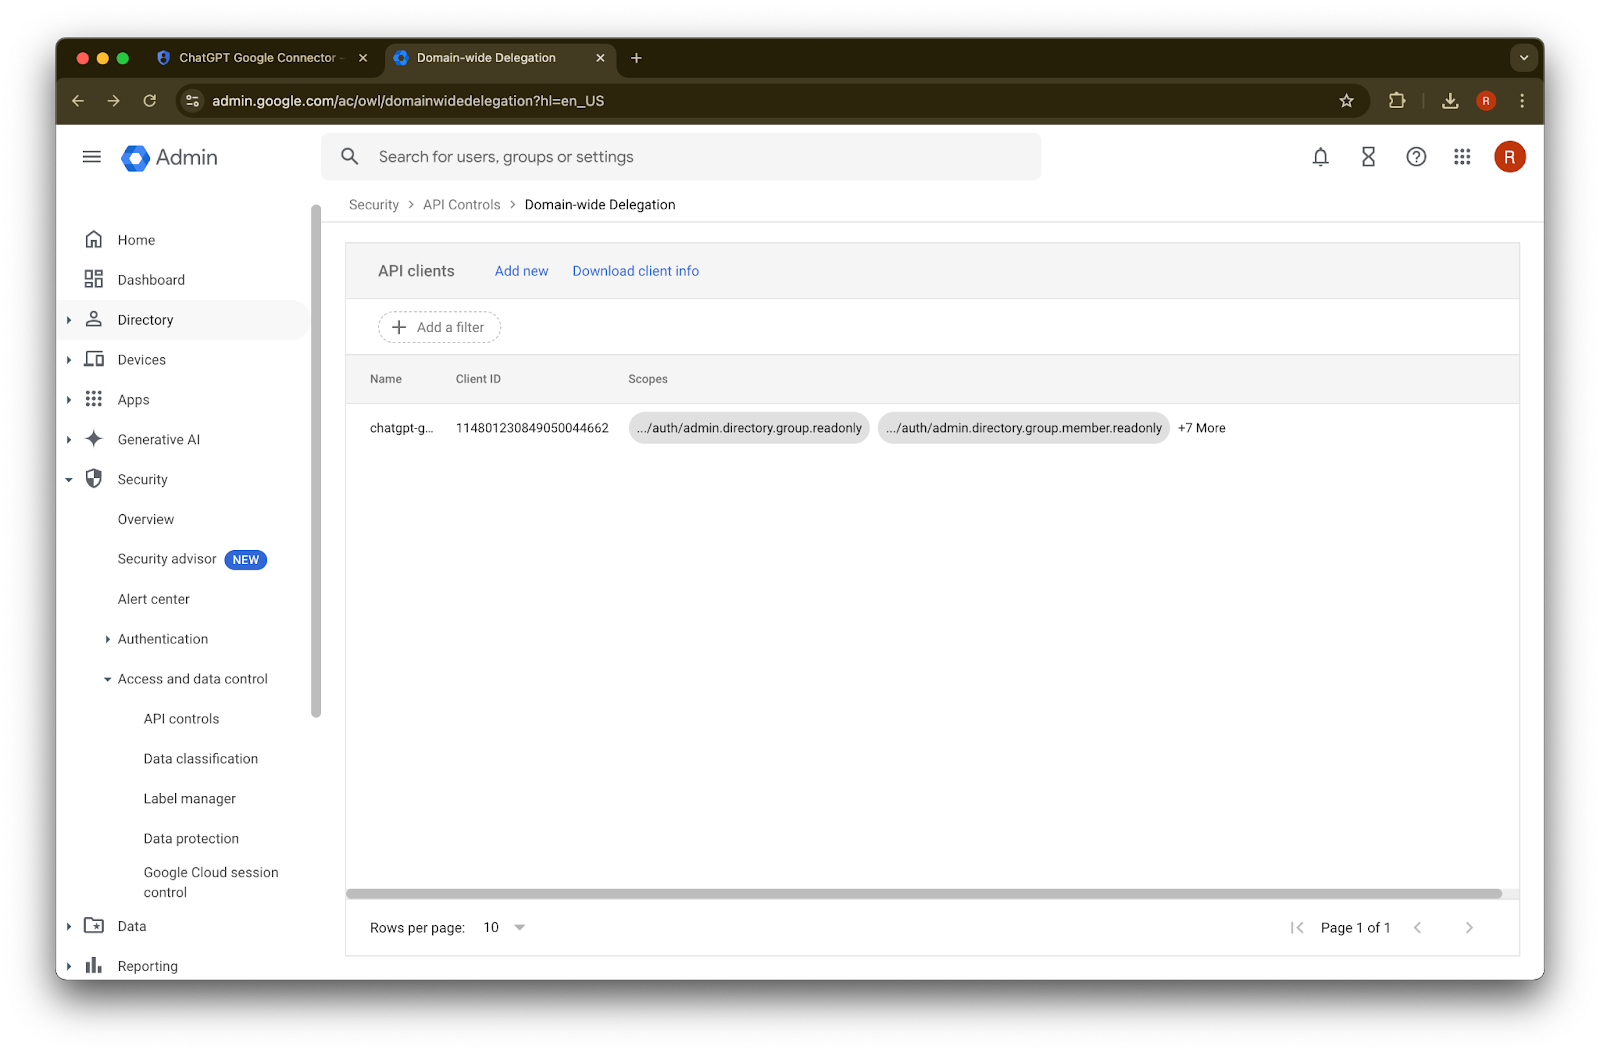
45. Authorize를 클릭합니다.
46. 성공!
관리자 계정 설정하기
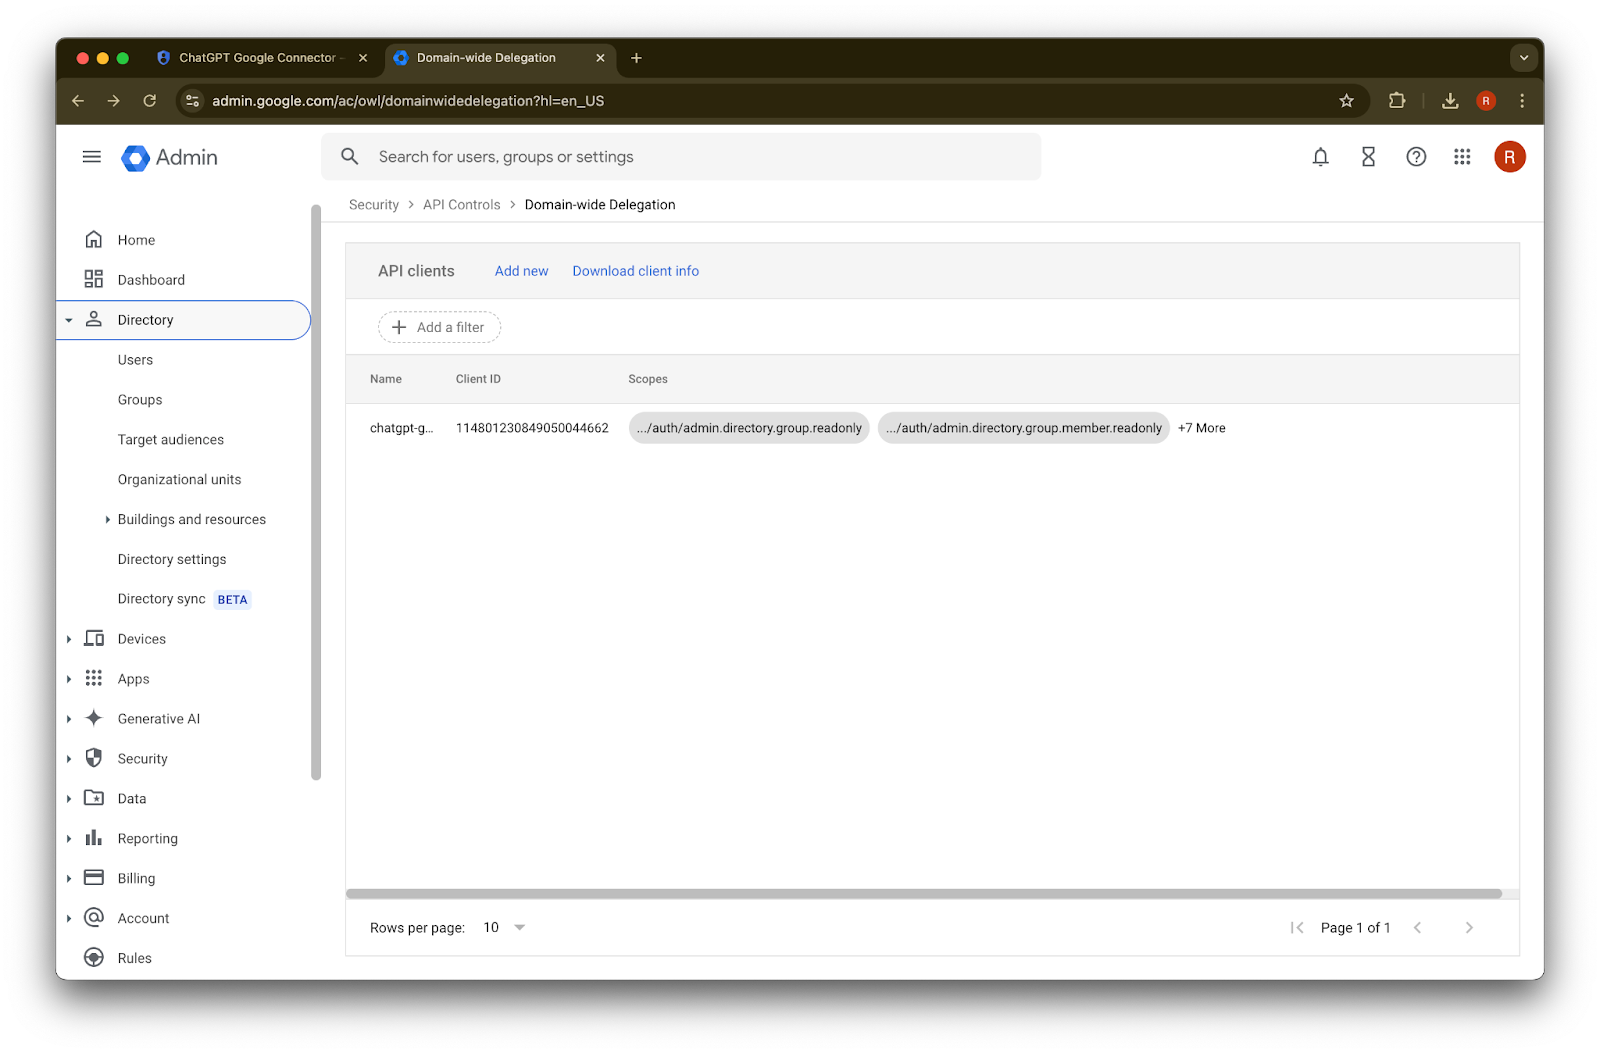
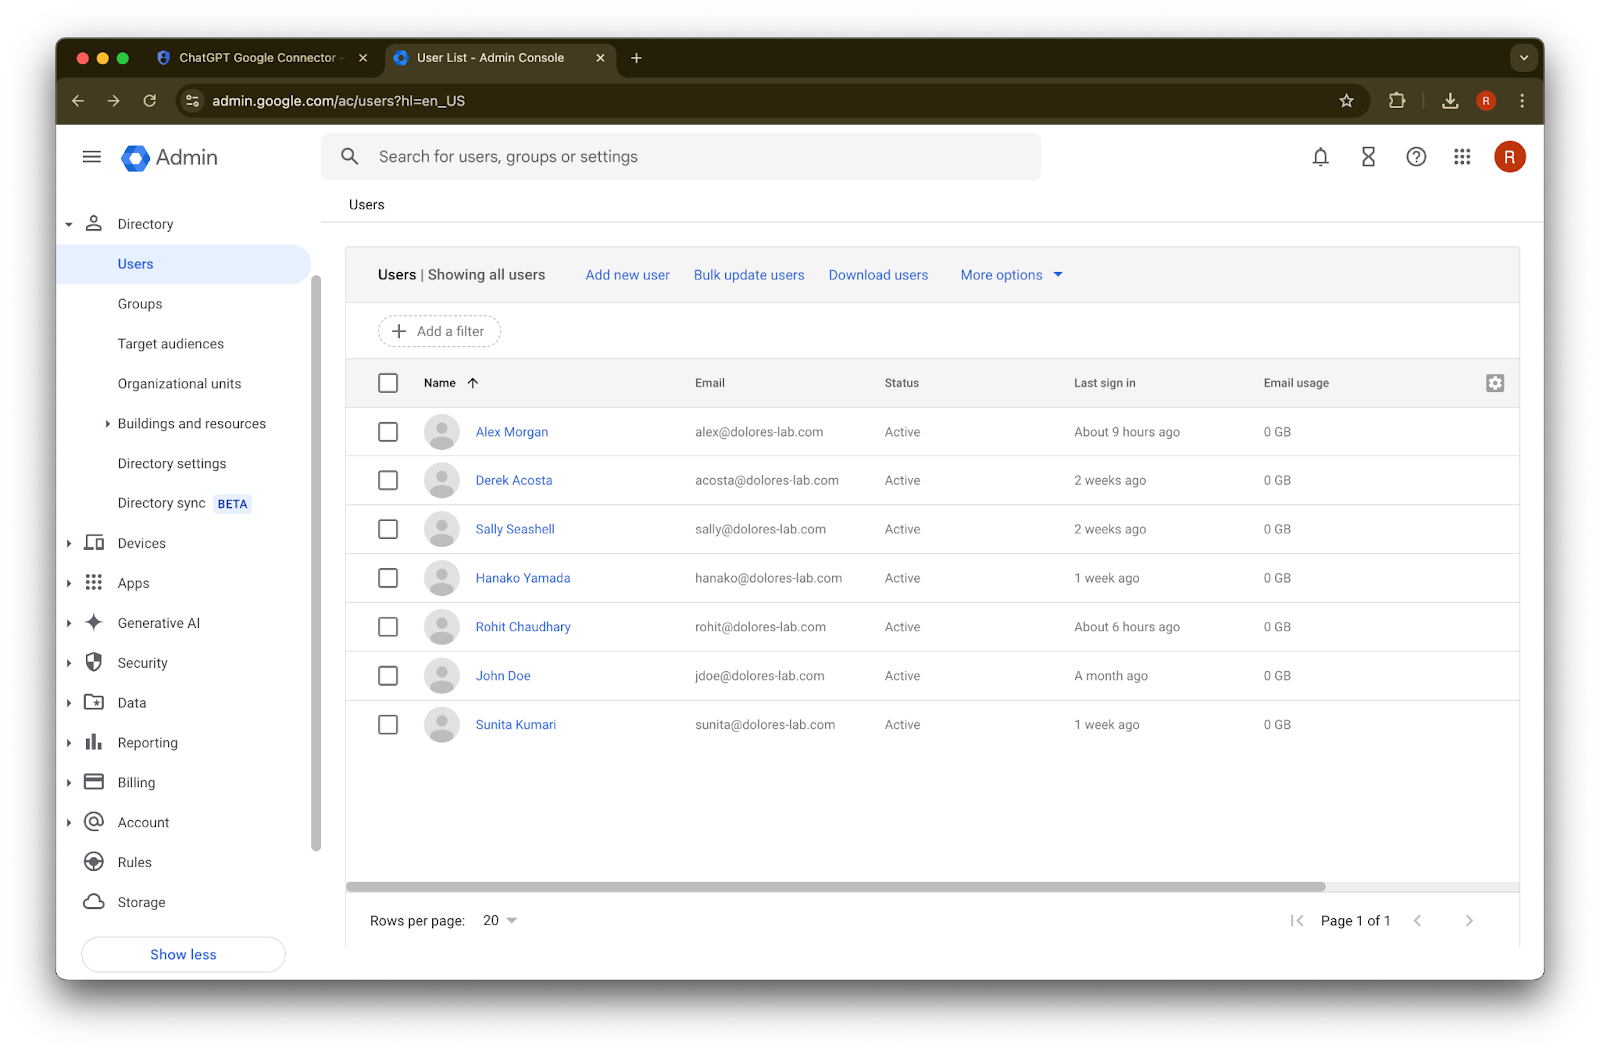
Directory를 펼칩니다.
Users를 클릭합니다.
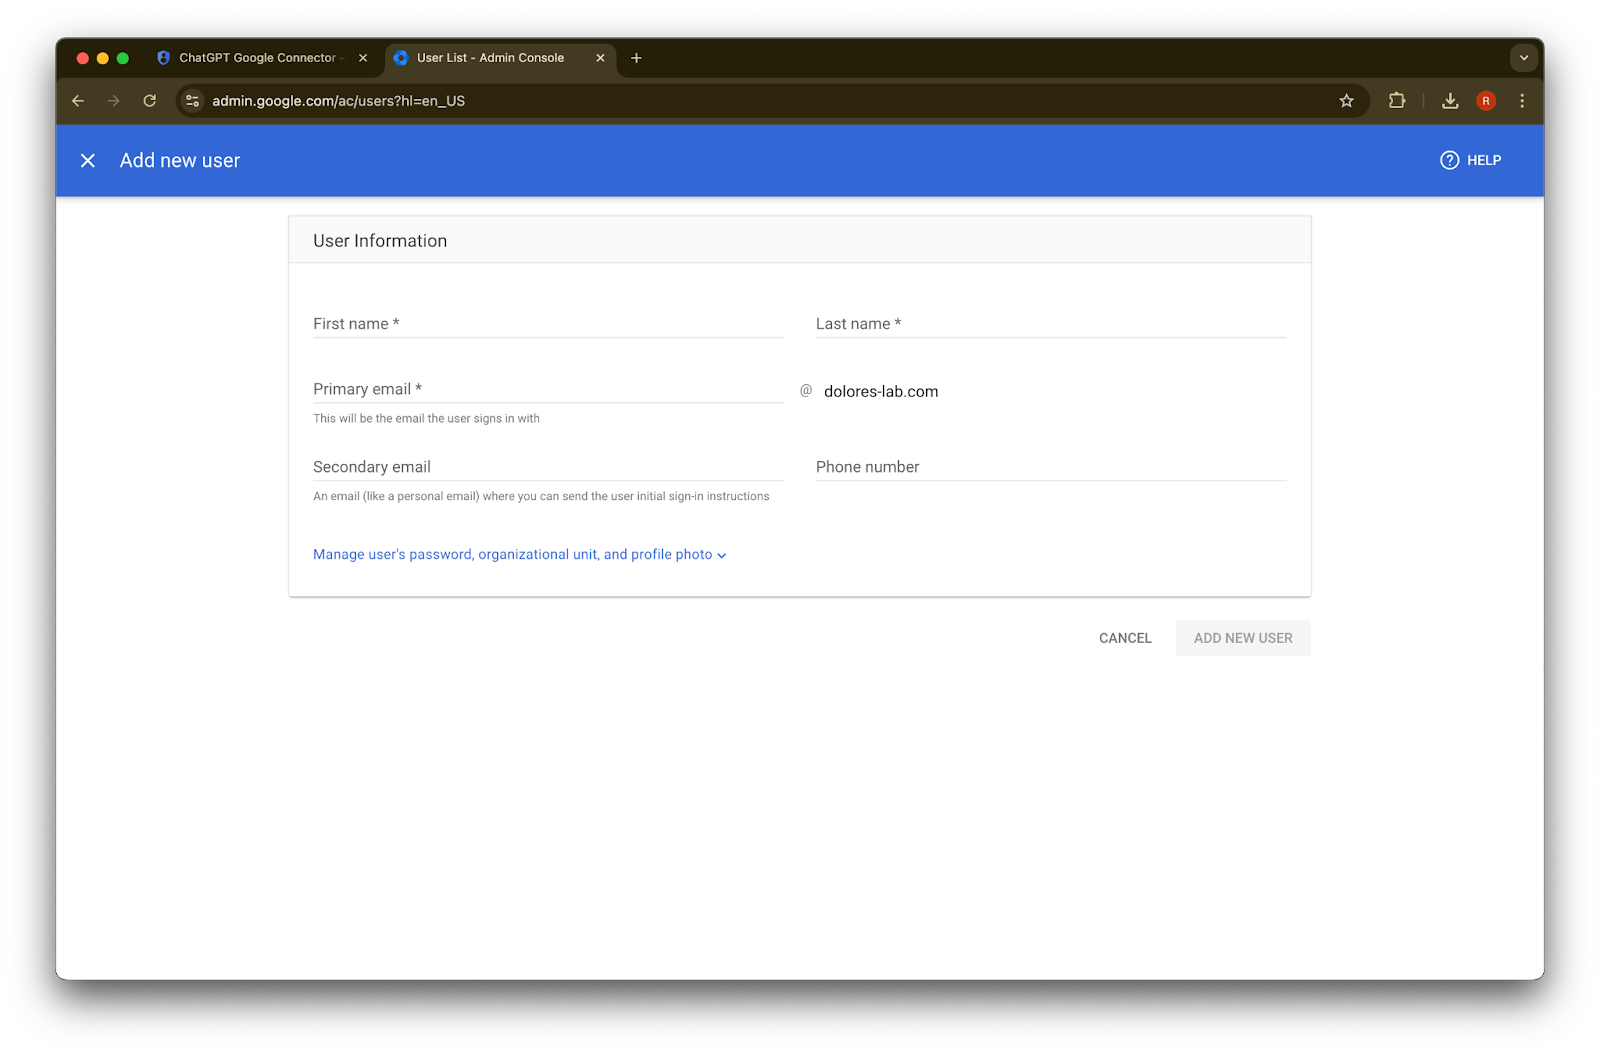
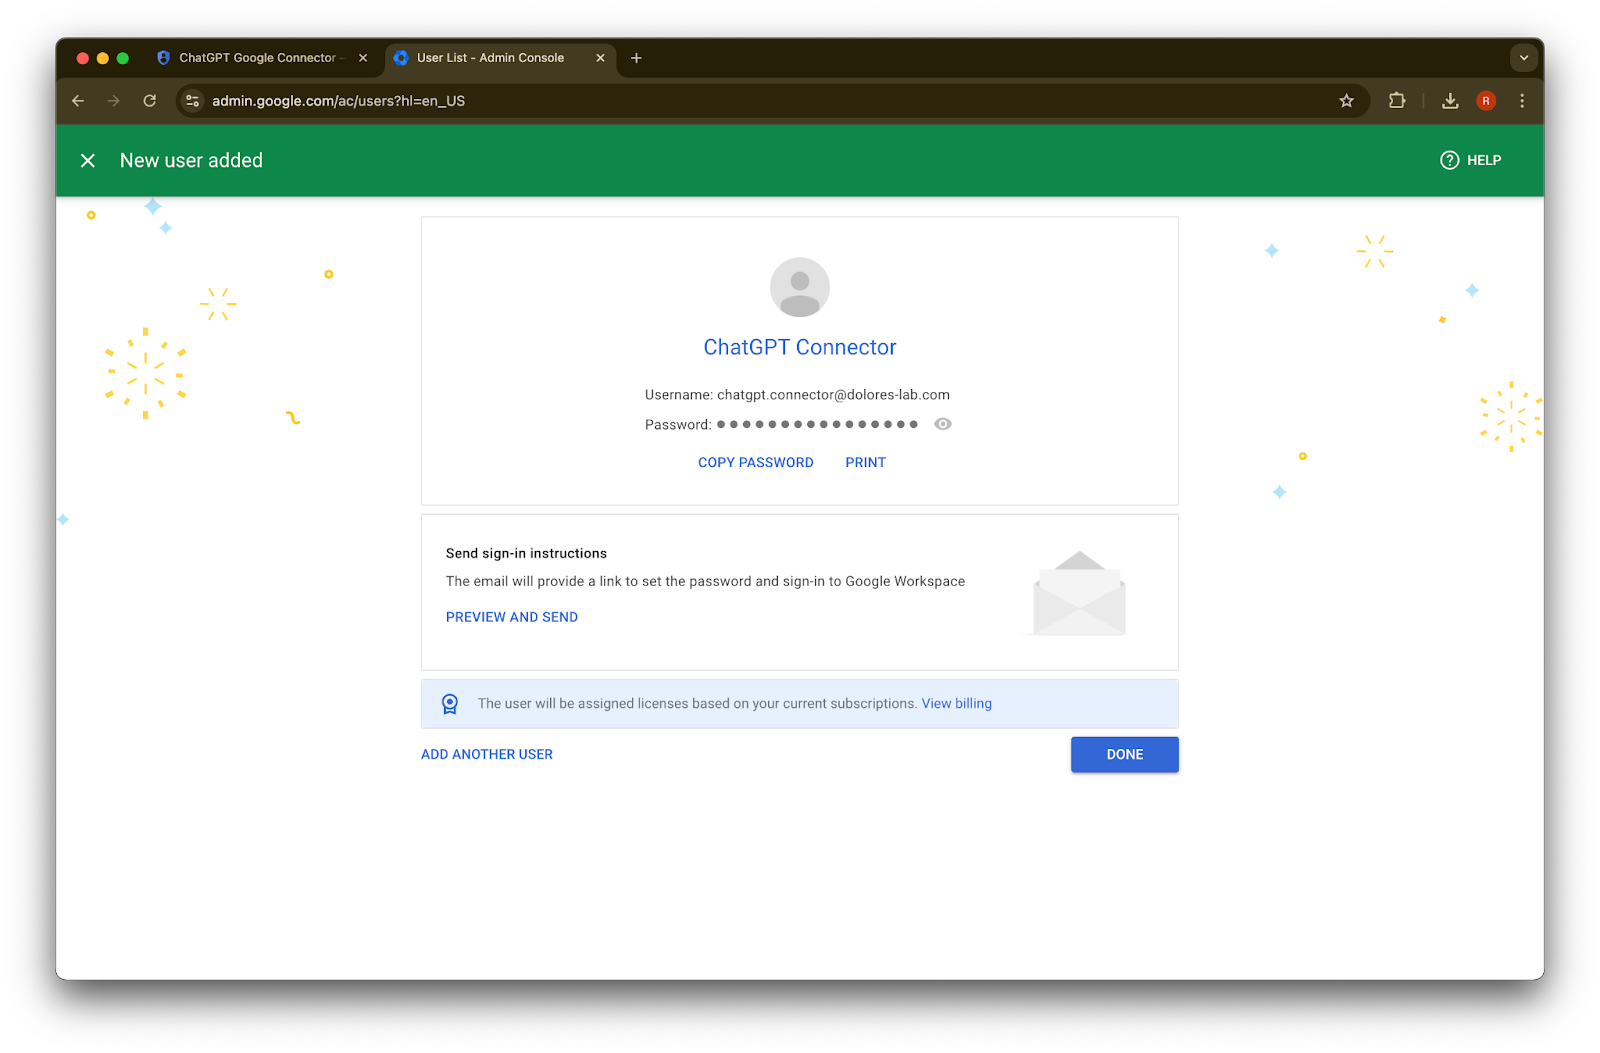
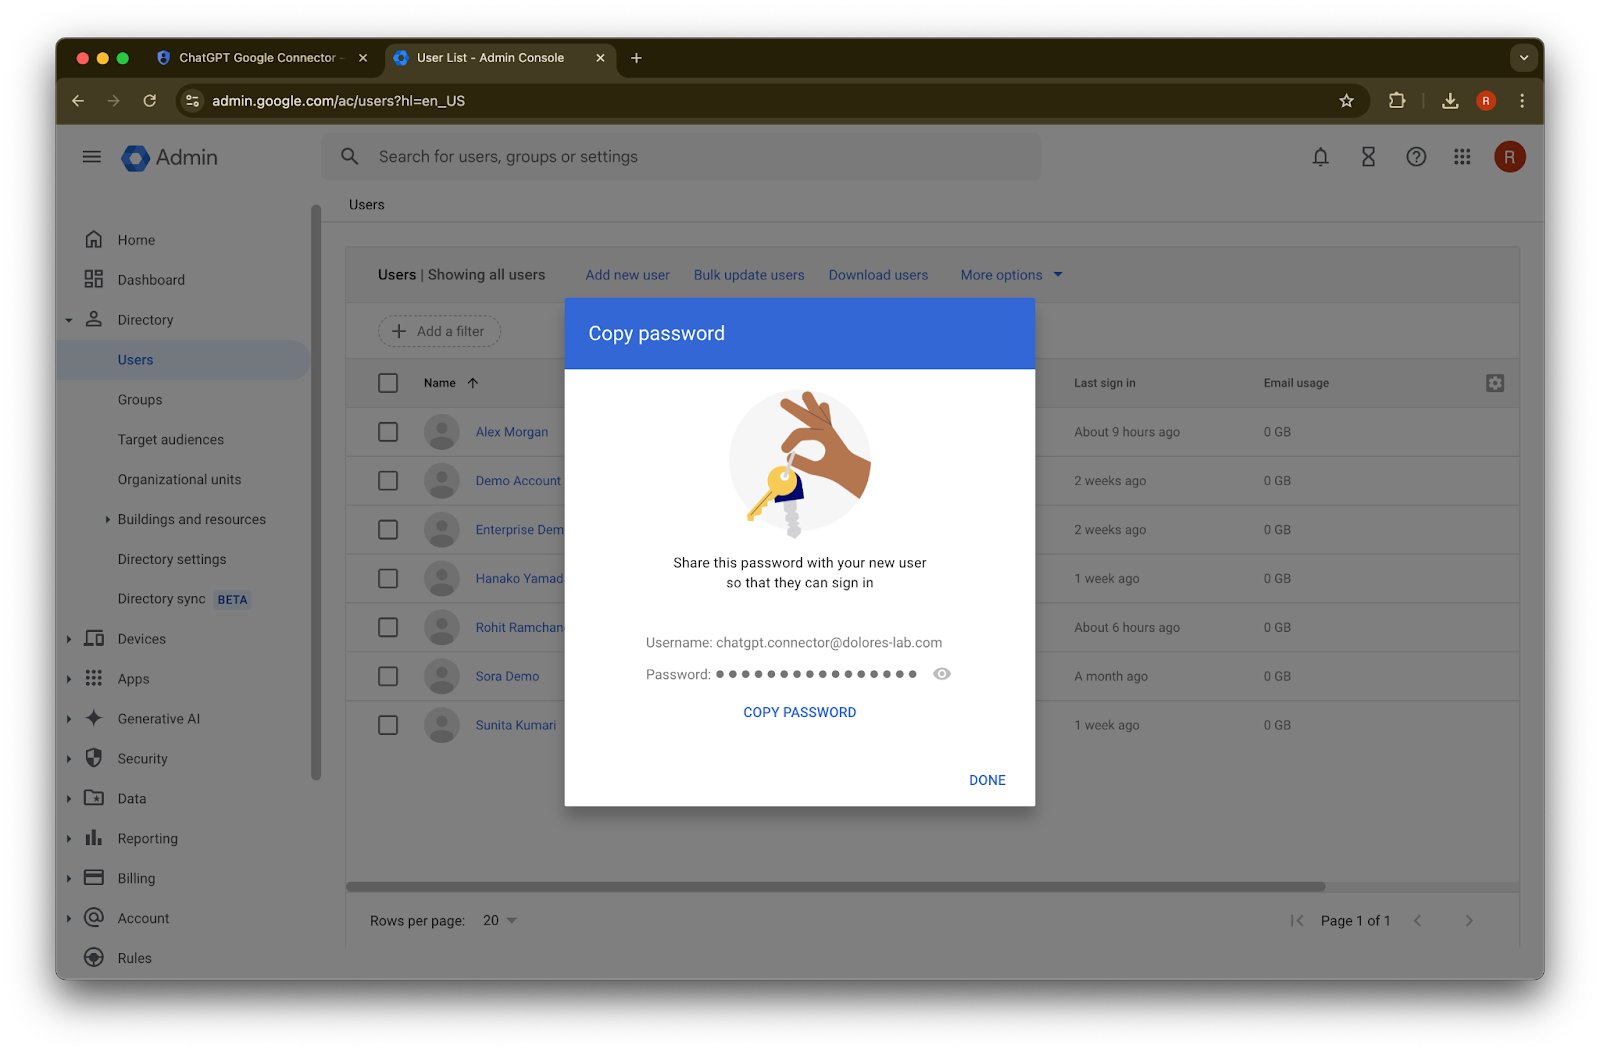
원하는 first name, last name, primary email 주소를 입력합니다.
Add new user
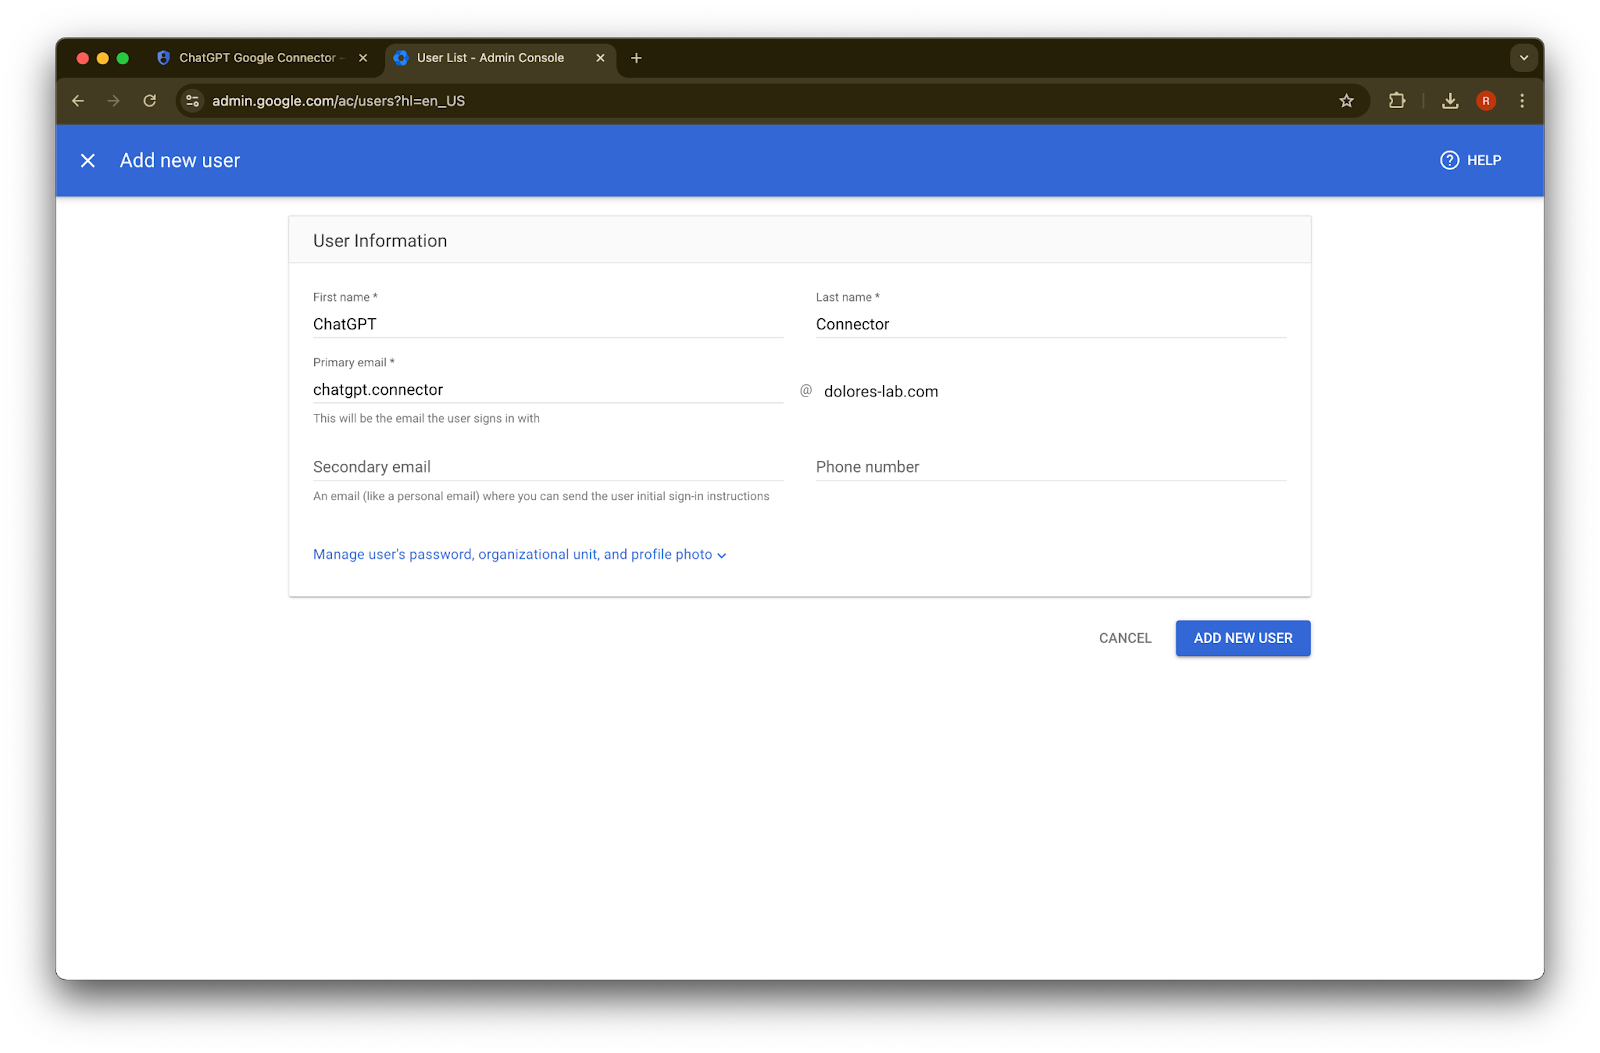
를 클릭합니다.(선택 사항) 이 자격 증명을 기록해 두세요. ChatGPT에는 이 자격 증명이 필요하지 않습니다.
Done을 클릭합니다.
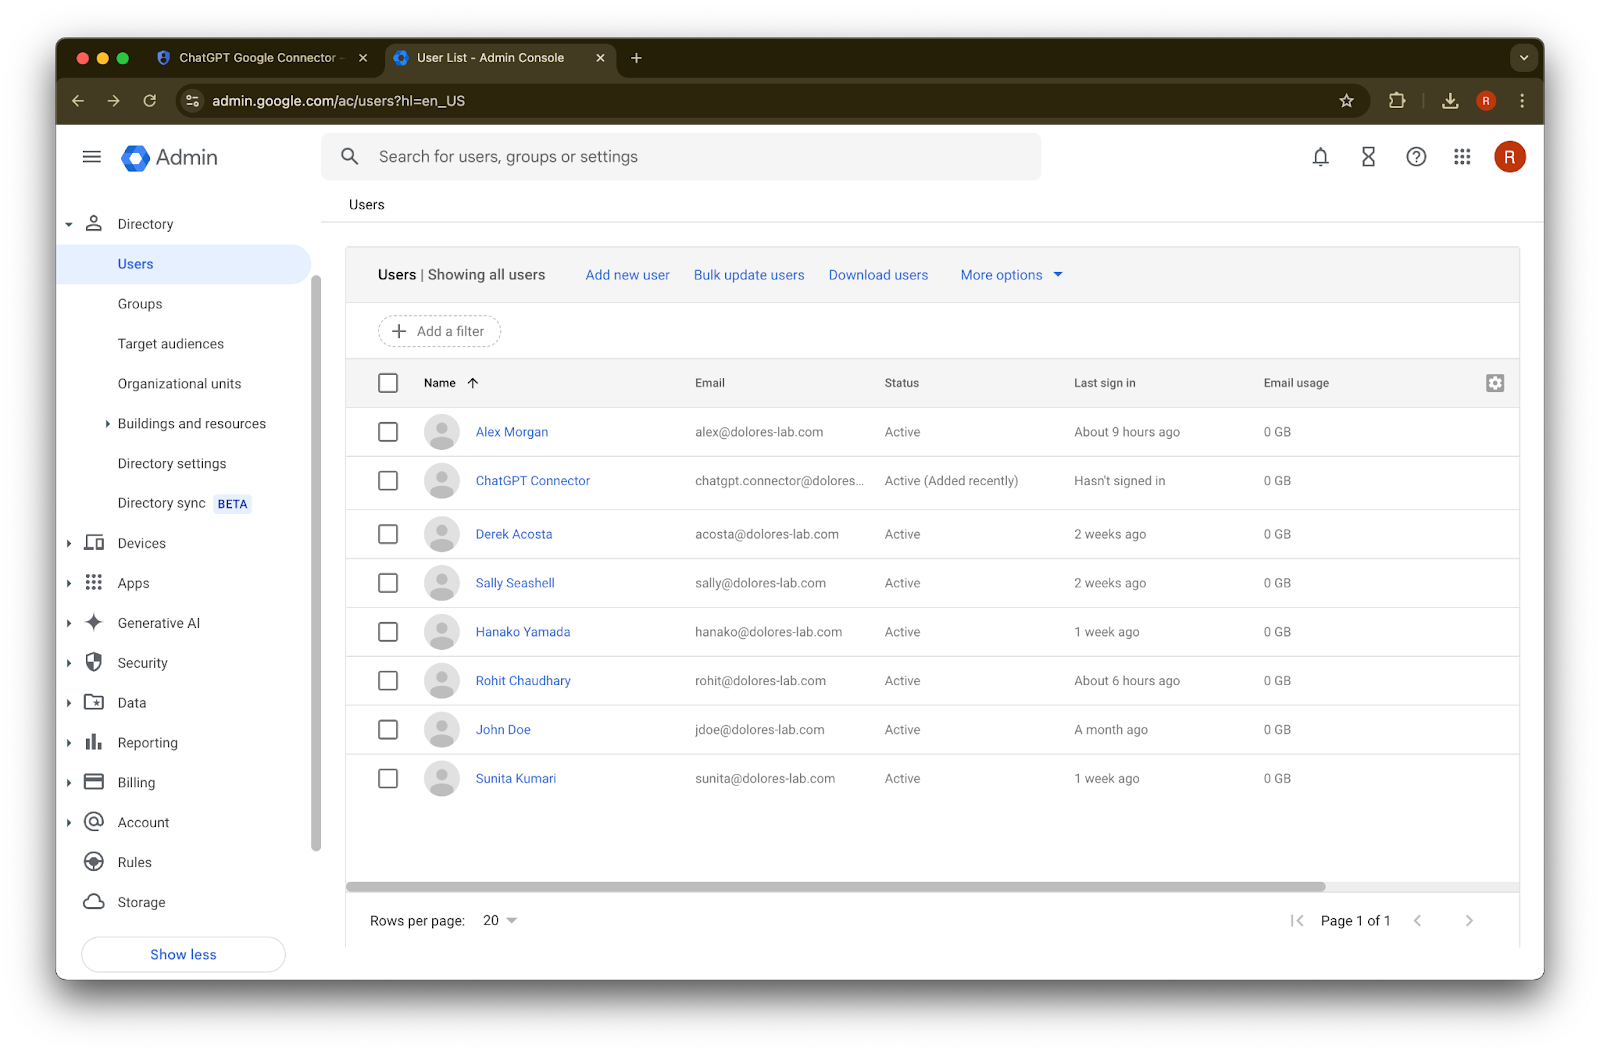
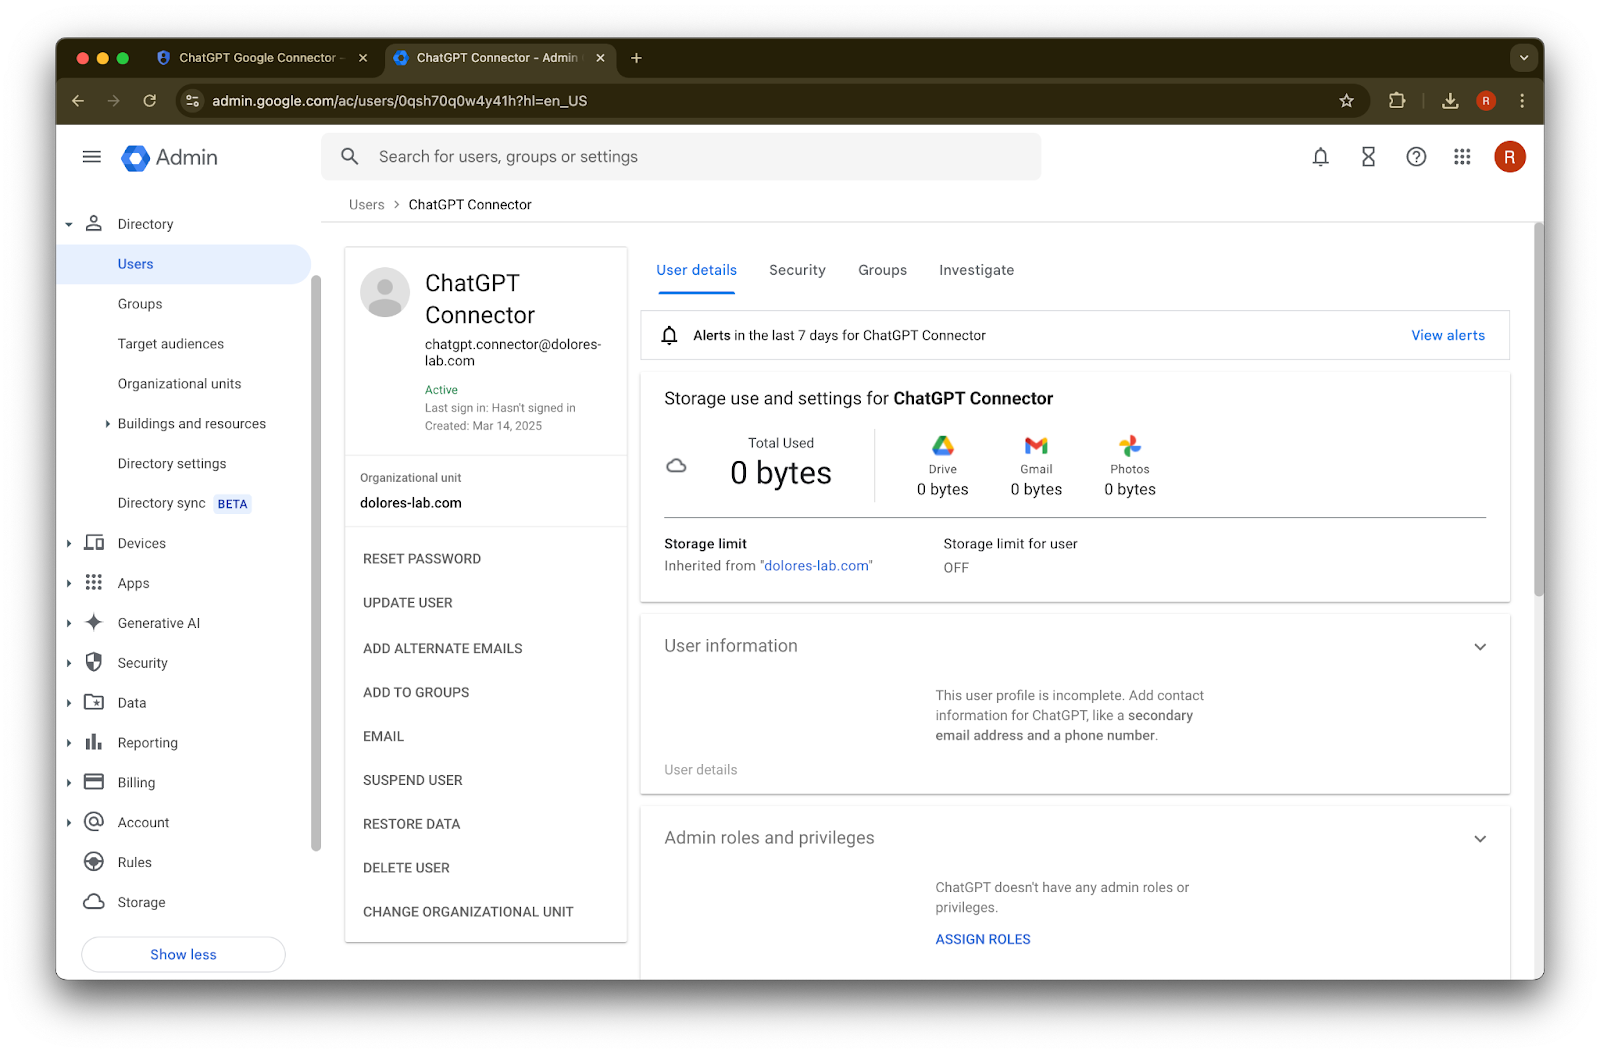
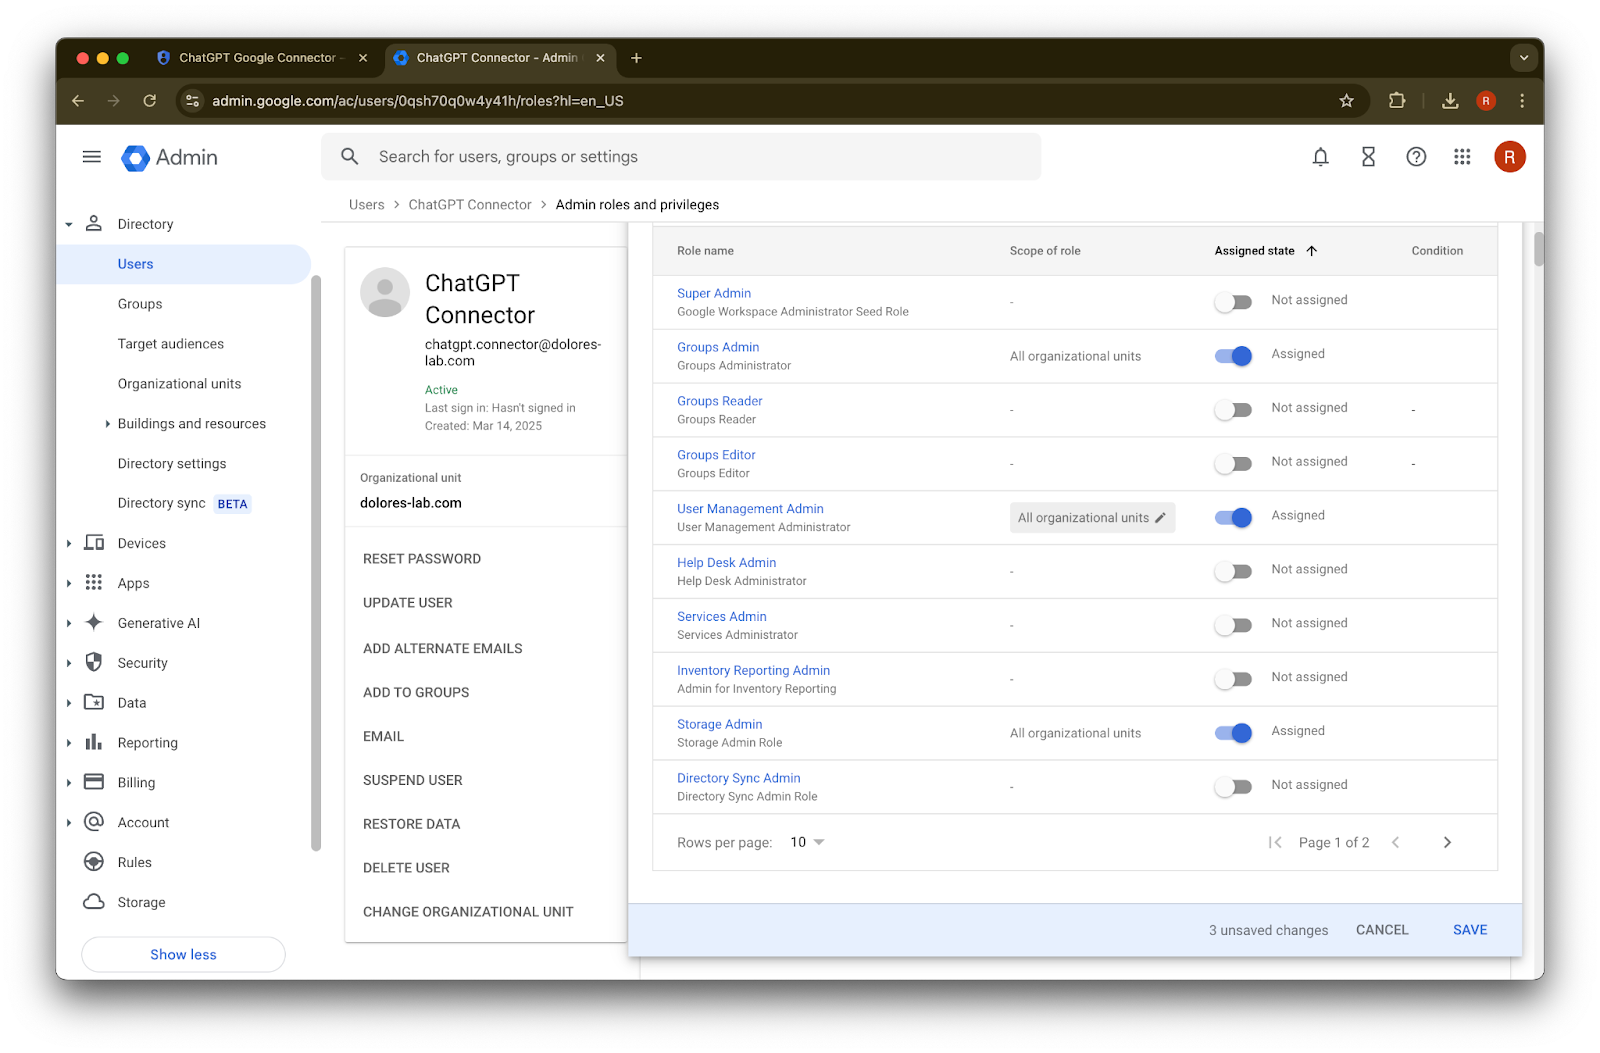
방금 만든 account를 클릭합니다. 목록에 표시되지 않으면 페이지를 새로고침하거나 캐시와 쿠키를 지운 뒤 다시 시도하세요.
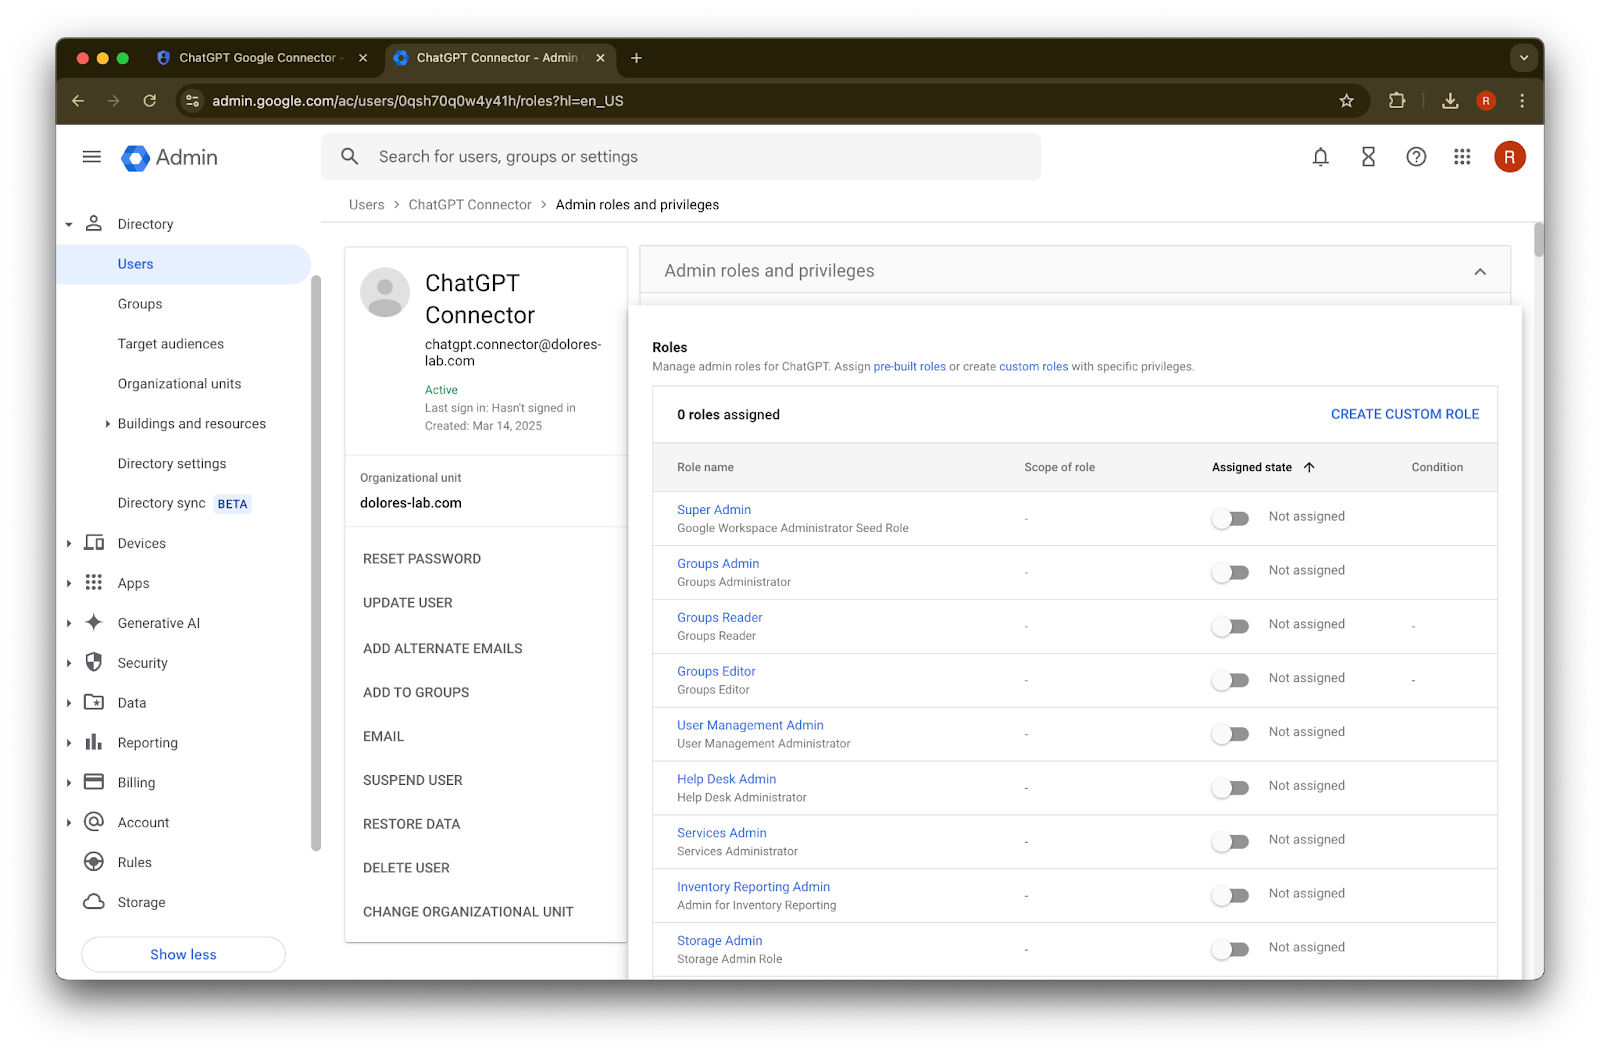
assign roles를 클릭합니다.
Groups Reader, User Management Admin, 및 Storage Admin 역할을 켭니다.
아래로 스크롤하여 Save.를 클릭합니다. 이제 관리자 계정이 성공적으로 생성되고 구성되었습니다.

ChatGPT 관리자 콘솔에서 설정 완료하기
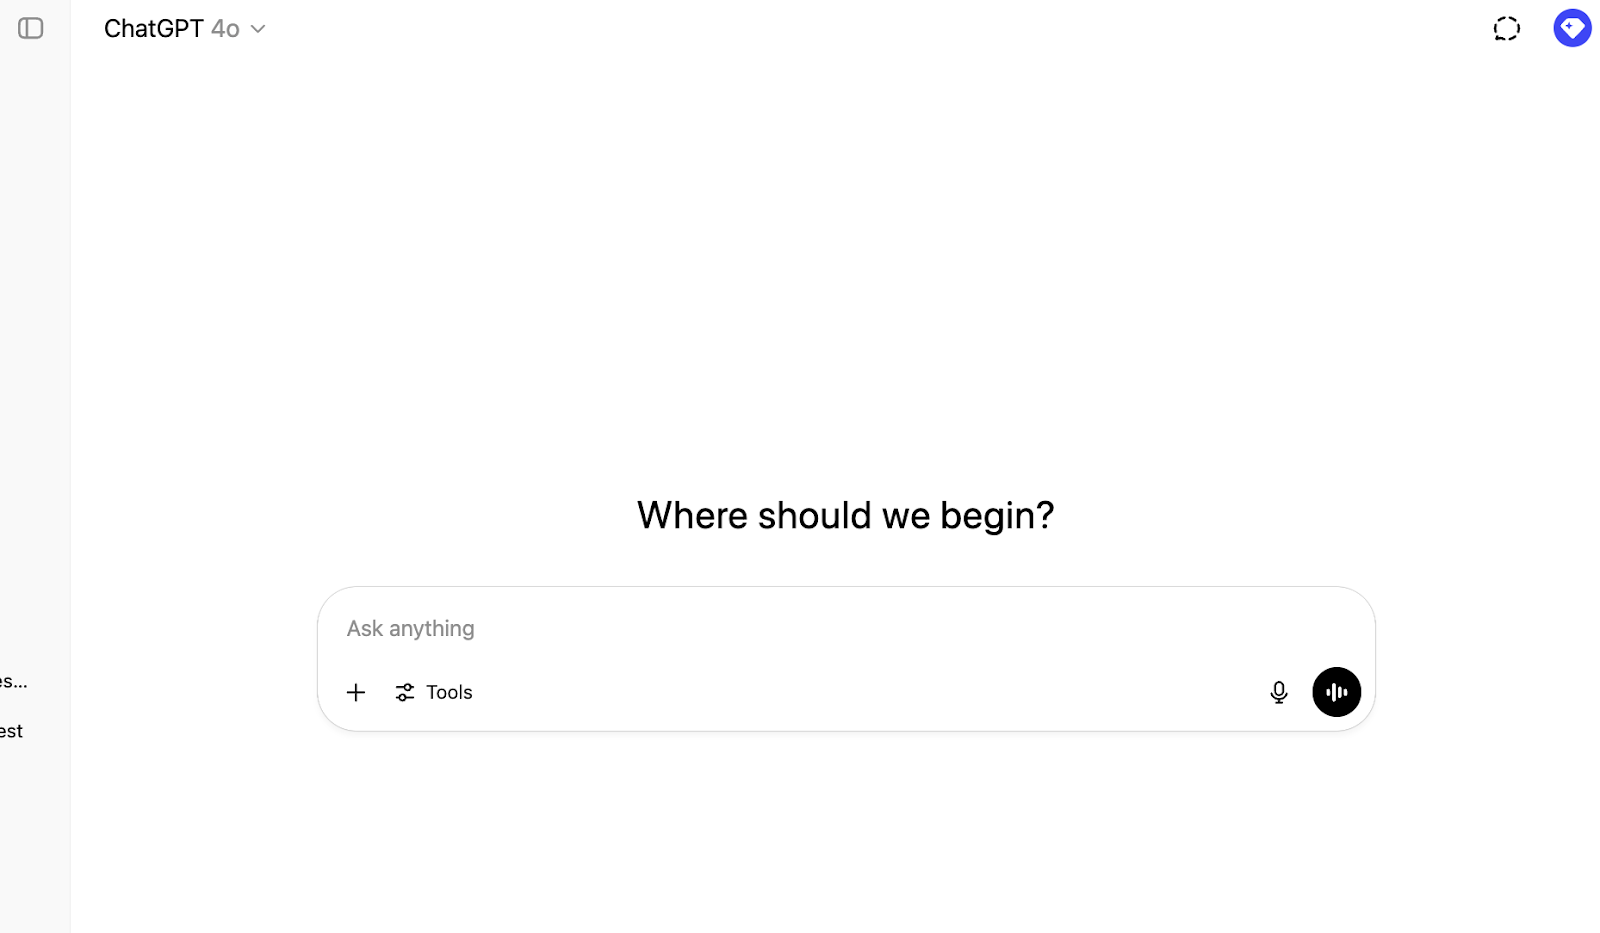
ChatGPT로 이동한 다음 페이지 오른쪽 상단의 프로필 아이콘을 클릭합니다.
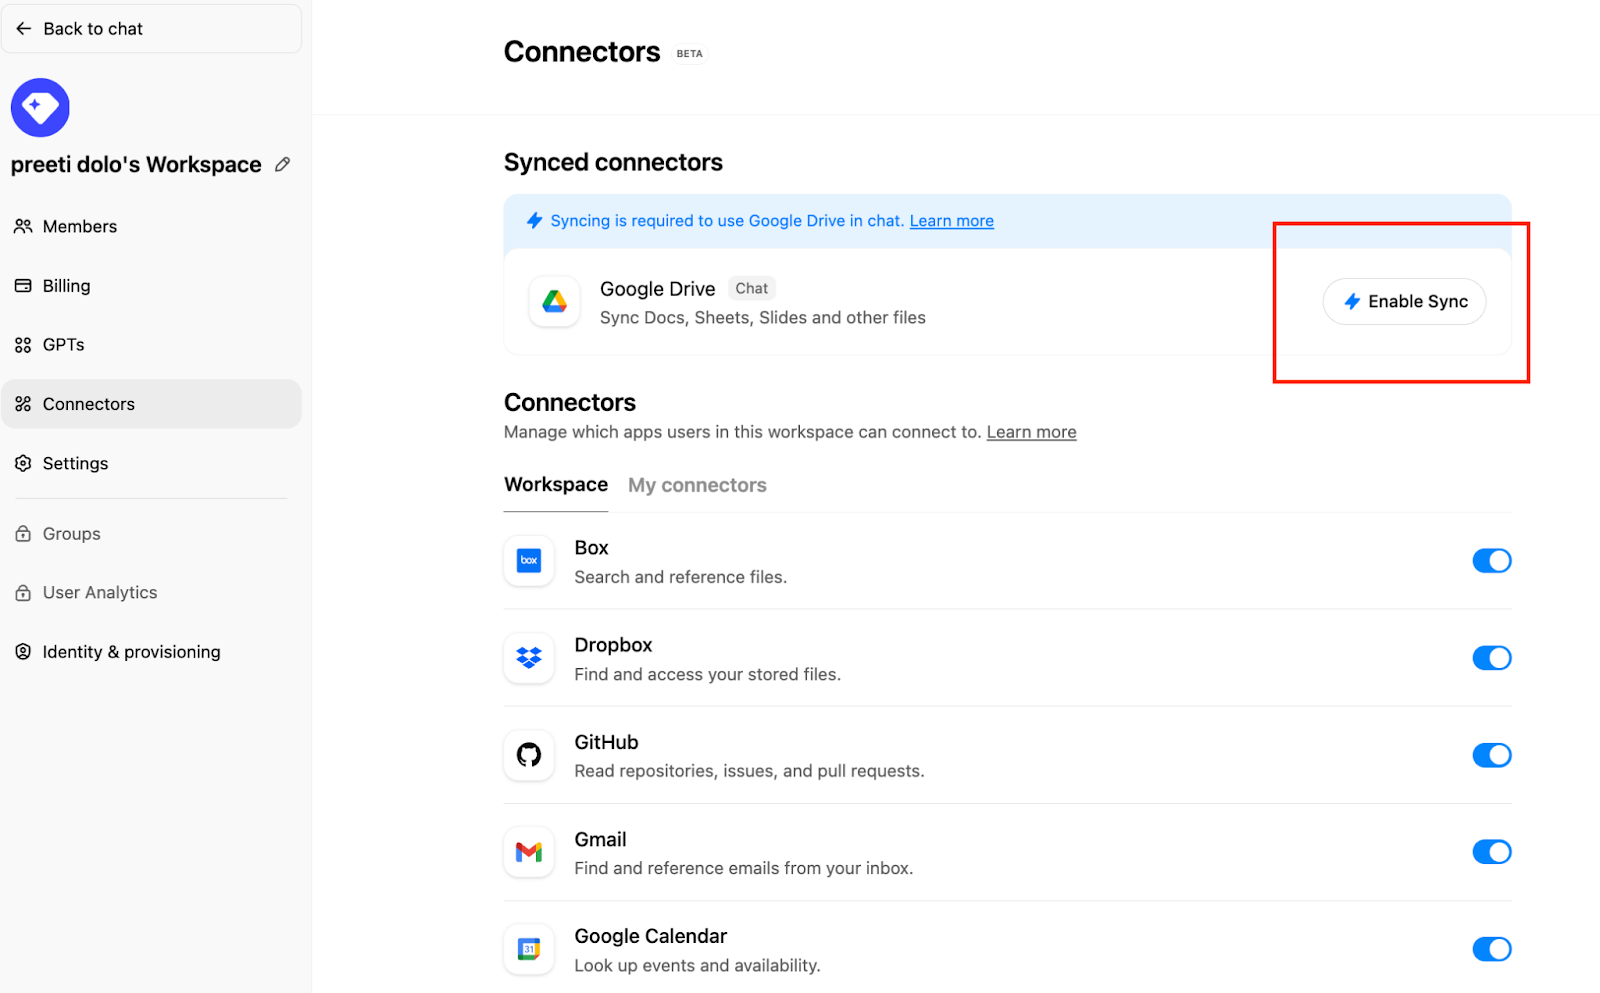
워크스페이스 관리
를 클릭합니다.Connections 를 클릭한 다음 ‘Synced connectors’ 아래에서 → Enable Sync 를 클릭합니다.
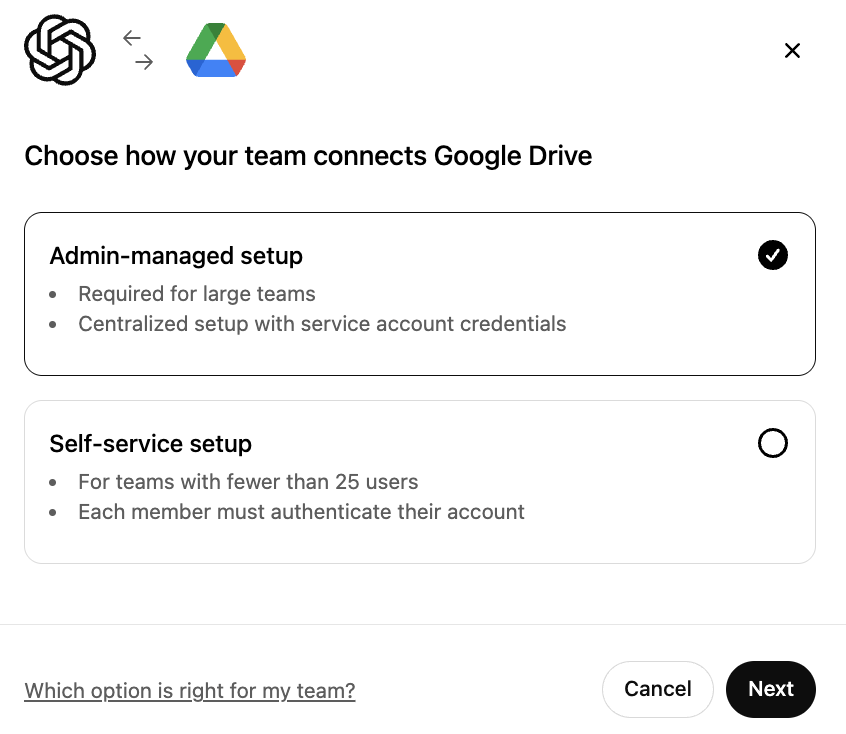
Admin-managed가 선택되어 있는지 확인하고 Next를 클릭합니다.
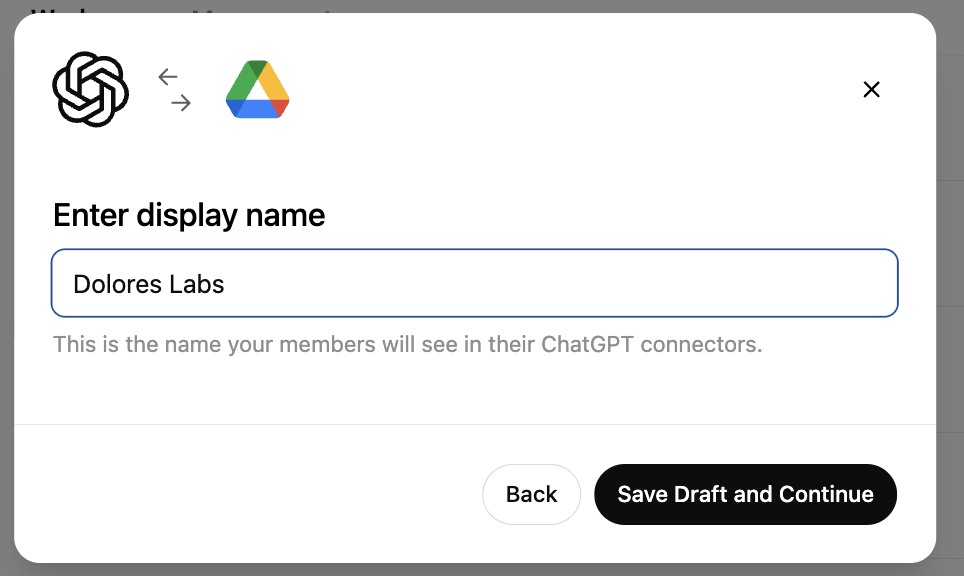
display name을 입력합니다. Google Workspace 이름을 사용하는 것을 권장합니다.
현재는 연결 이름 변경을 지원하지 않습니다.Save Draft and Continue를 클릭합니다.
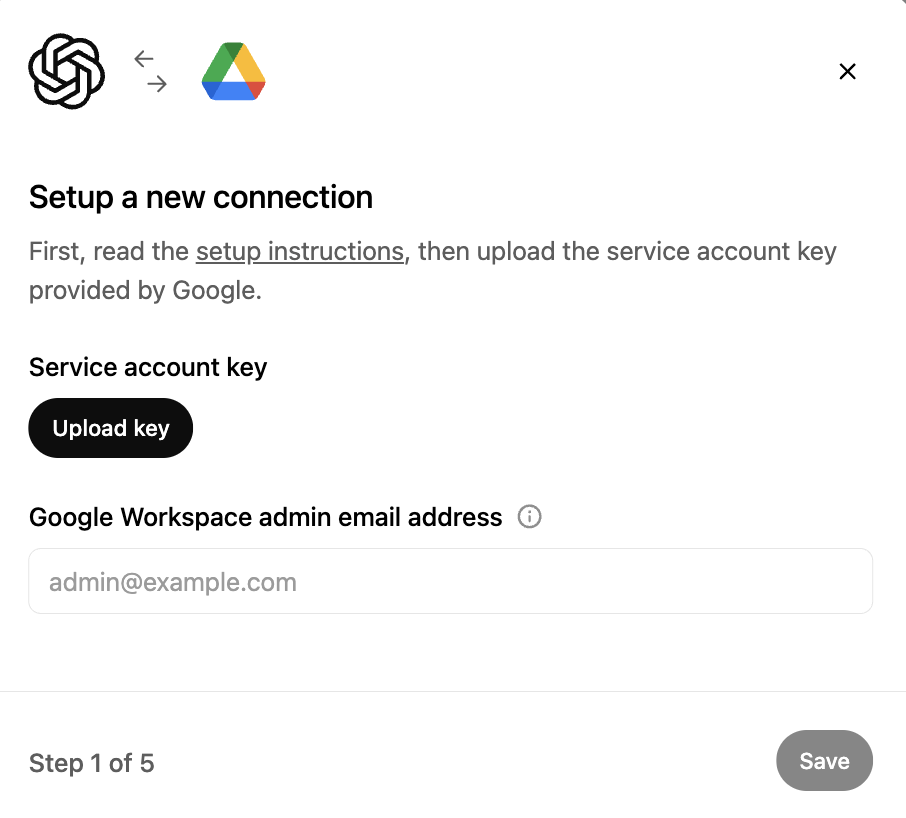
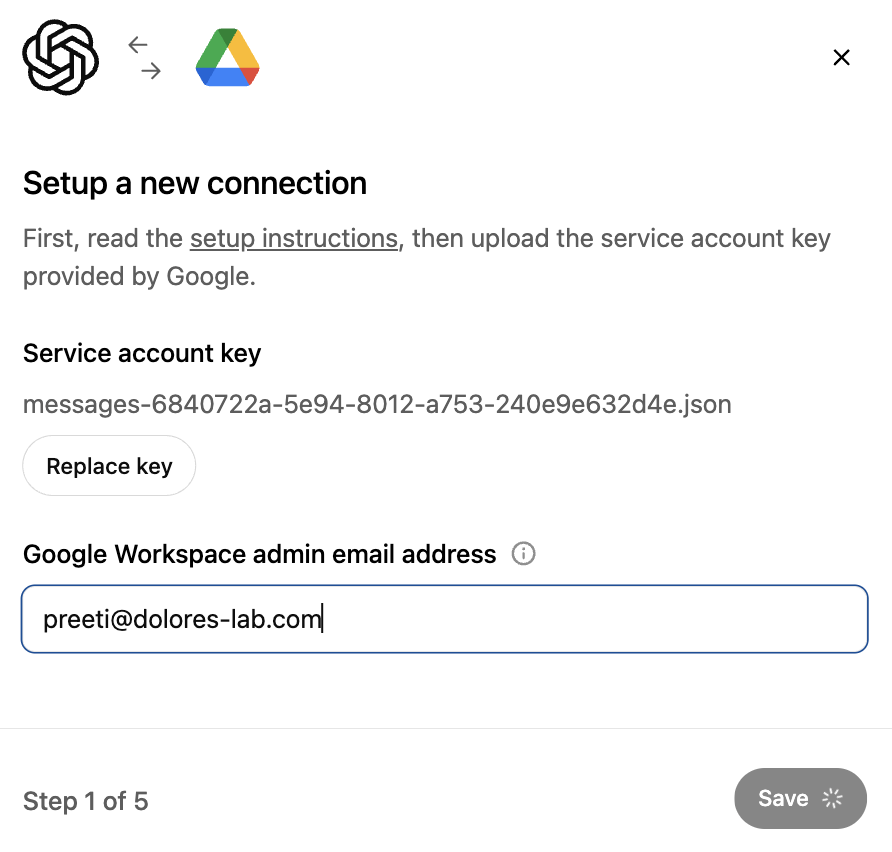
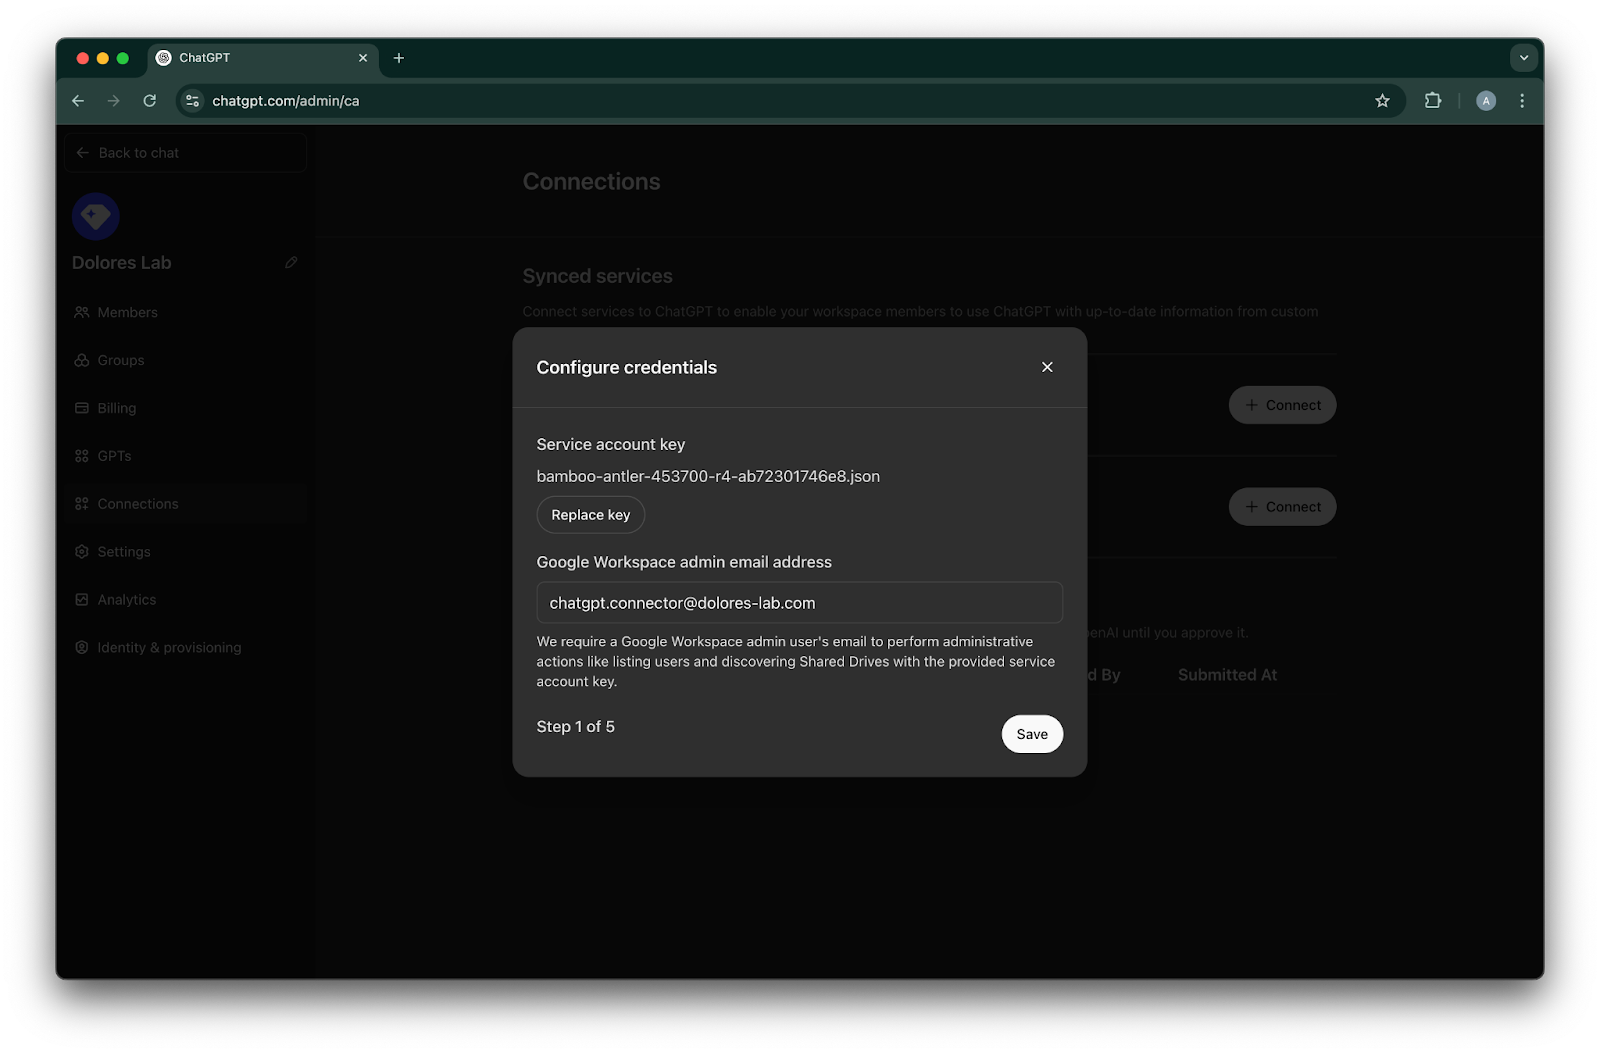
Upload key를 클릭합니다. 위에서 서비스 계정을 설정하는 과정에서 다운로드한 키인 JSON 파일을 선택합니다. 이 키가 정확한지 확인하세요.
admin email address를 입력합니다. 이전에 만든 관리자 계정입니다.
Save.를 클릭합니다.
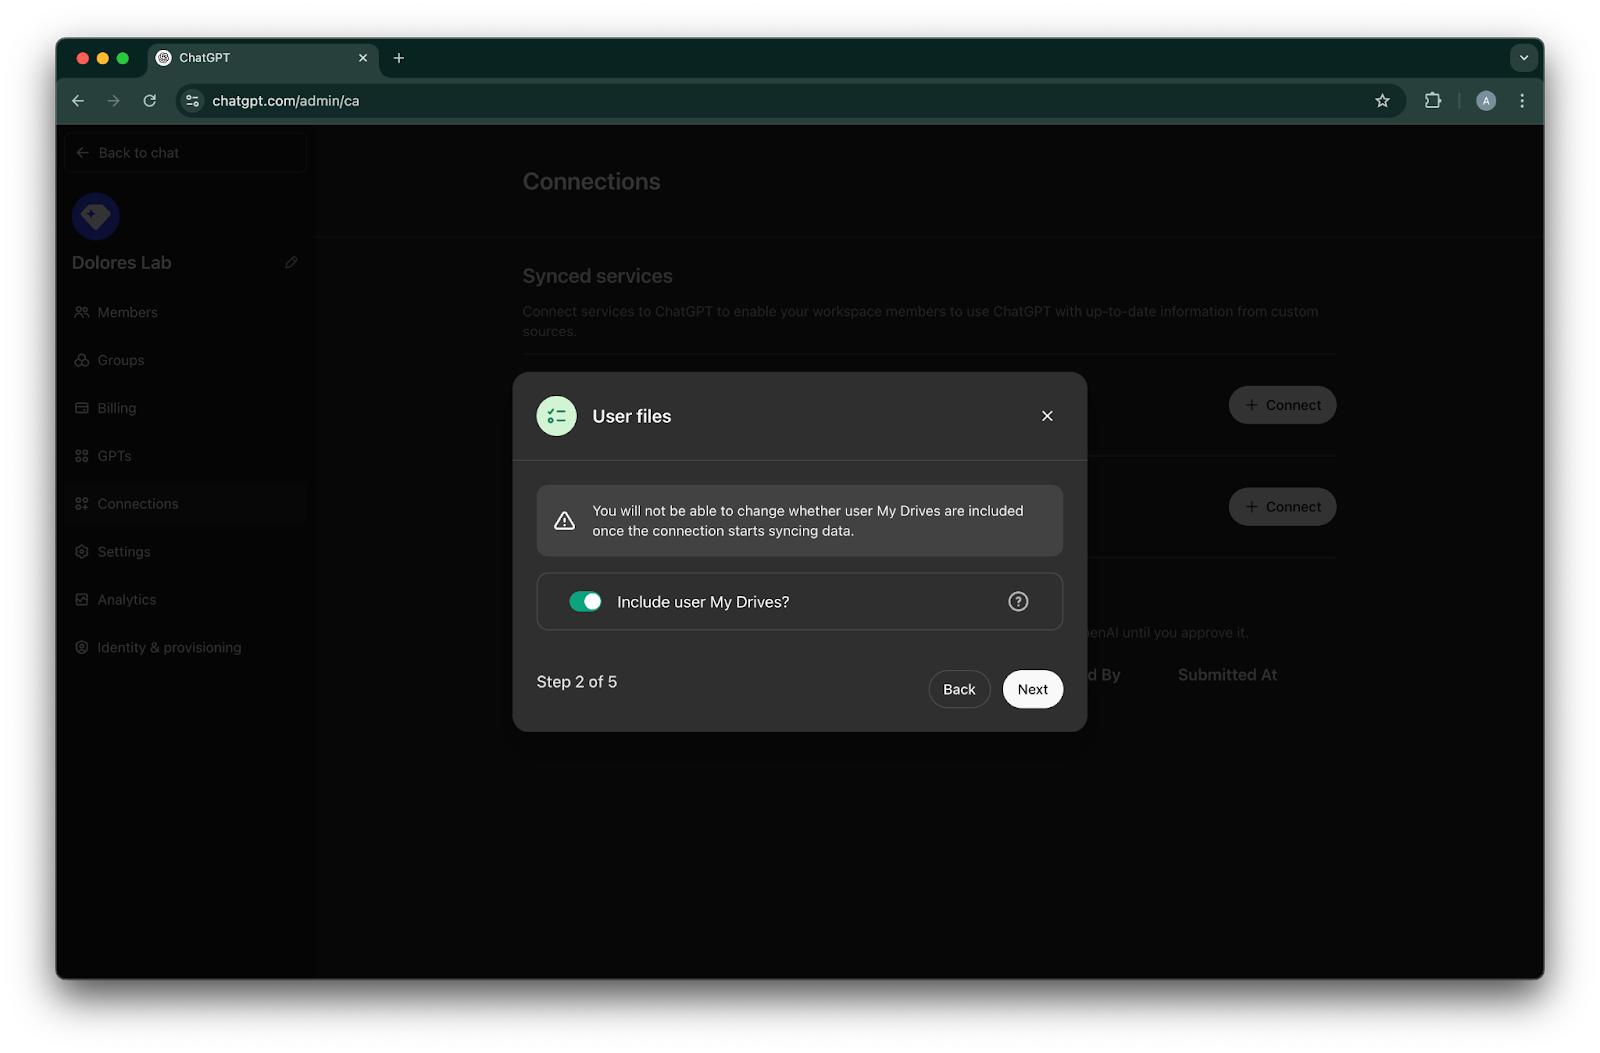
모든 사용자의 My Drive에 있는 파일을 포함할지 선택합니다.
Next를 클릭합니다.
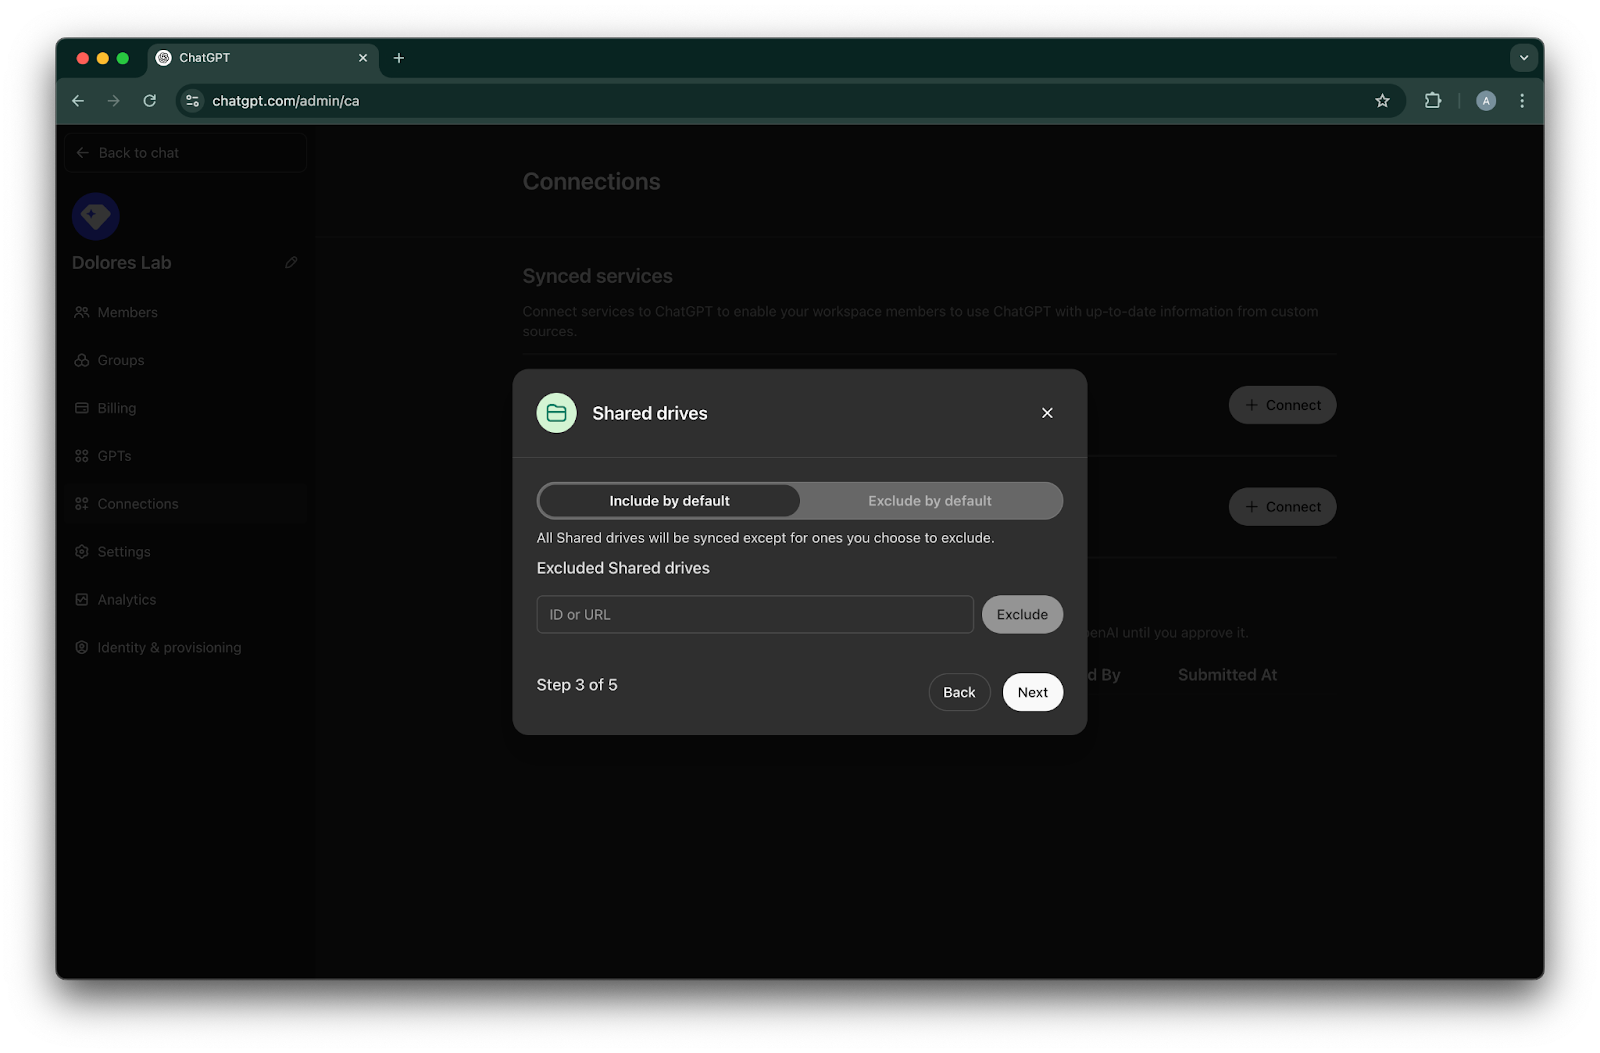
공유 드라이브를 관리하는 방법을 선택합니다. 다음 세 가지 시나리오를 지원합니다.
모든 공유 드라이브를 포함하려면 Include by default 를 선택하고 제외할 공유 드라이브 ID는 추가하지 마세요.
대부분의 공유 드라이브를 포함하려면 Include by default를 선택하고 제외하려는 공유 드라이브의 ID를 추가하세요.
대부분의 공유 드라이브를 제외하려면 Exclude by default를 선택하고 포함하려는 공유 드라이브의 ID를 추가하세요.
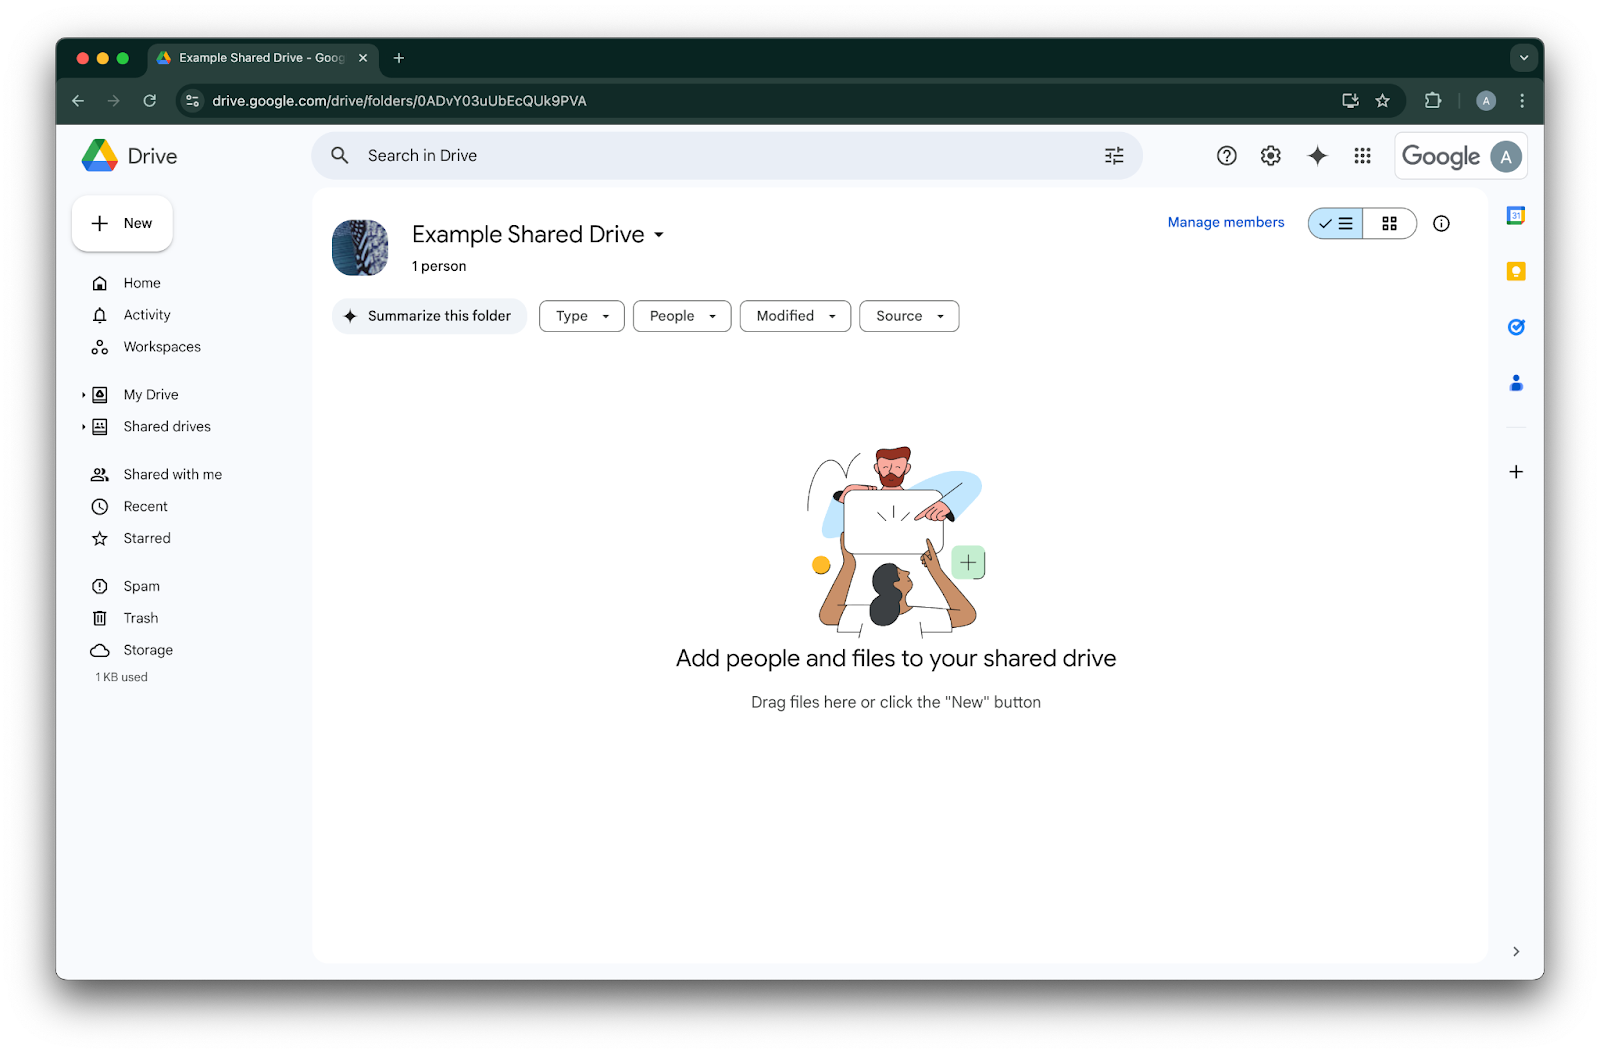
공유 드라이브의 ID를 확인하려면 웹 브라우저에서 해당 드라이브로 이동합니다. URL의 마지막 부분이 공유 드라이브 ID입니다.
다음 예시에서는 `0ADvY03uUbEcQUk9PVA`'입니다.Next를 클릭합니다.
Google Drive 연결에 액세스할 사용자를 선택합니다. ChatGPT 워크스페이스의 관리자만 선택하거나 모든 사용자에 대해 활성화할 수 있습니다. 모든 사용자에 대해 활성화하면 워크스페이스에 새로 추가되는 사용자도 자동으로 포함됩니다.
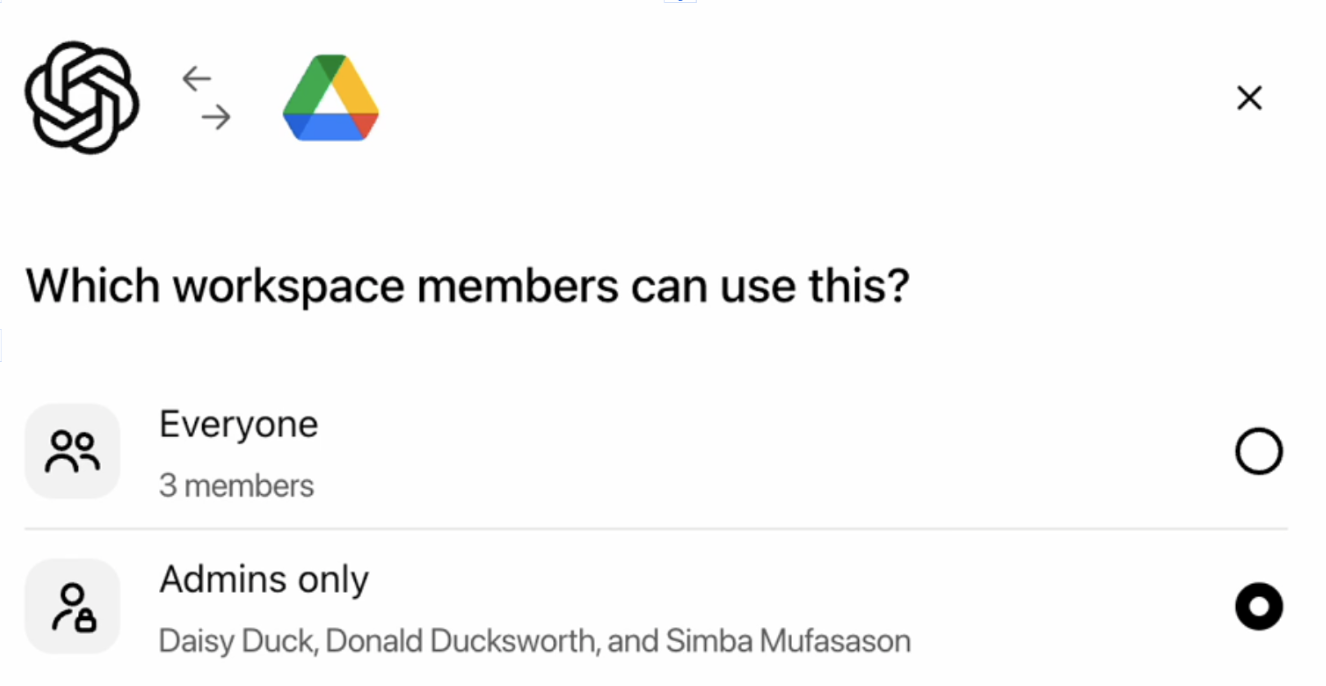
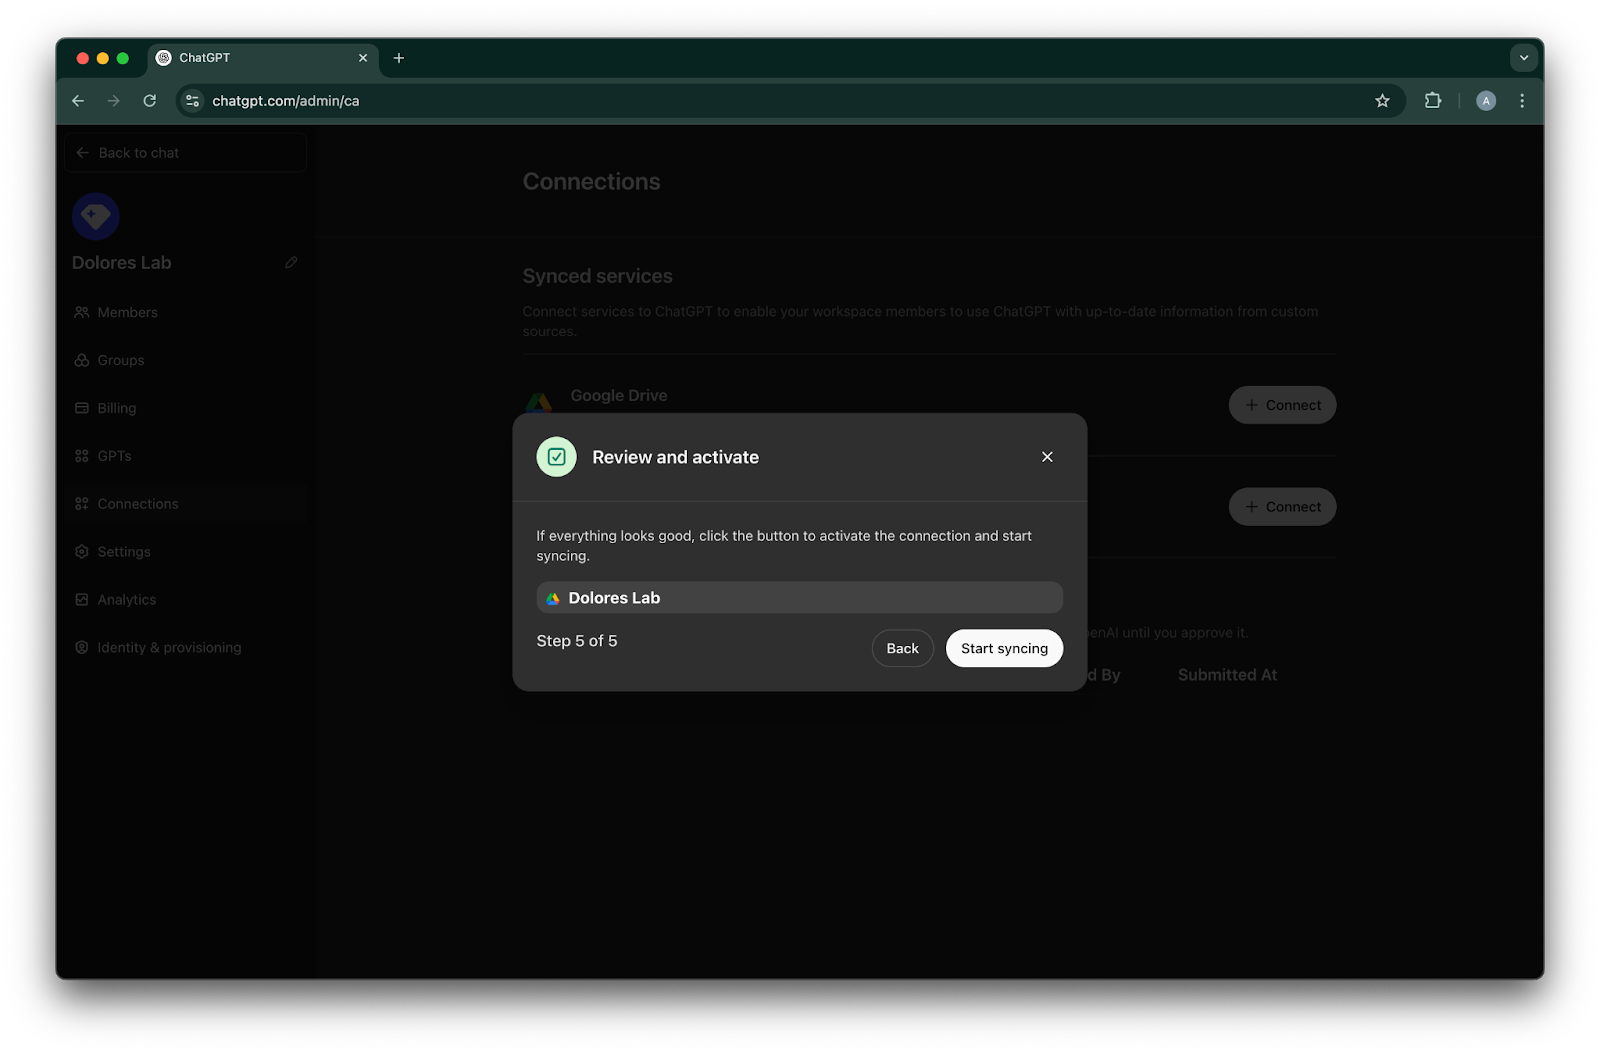
Start syncing을 클릭합니다.
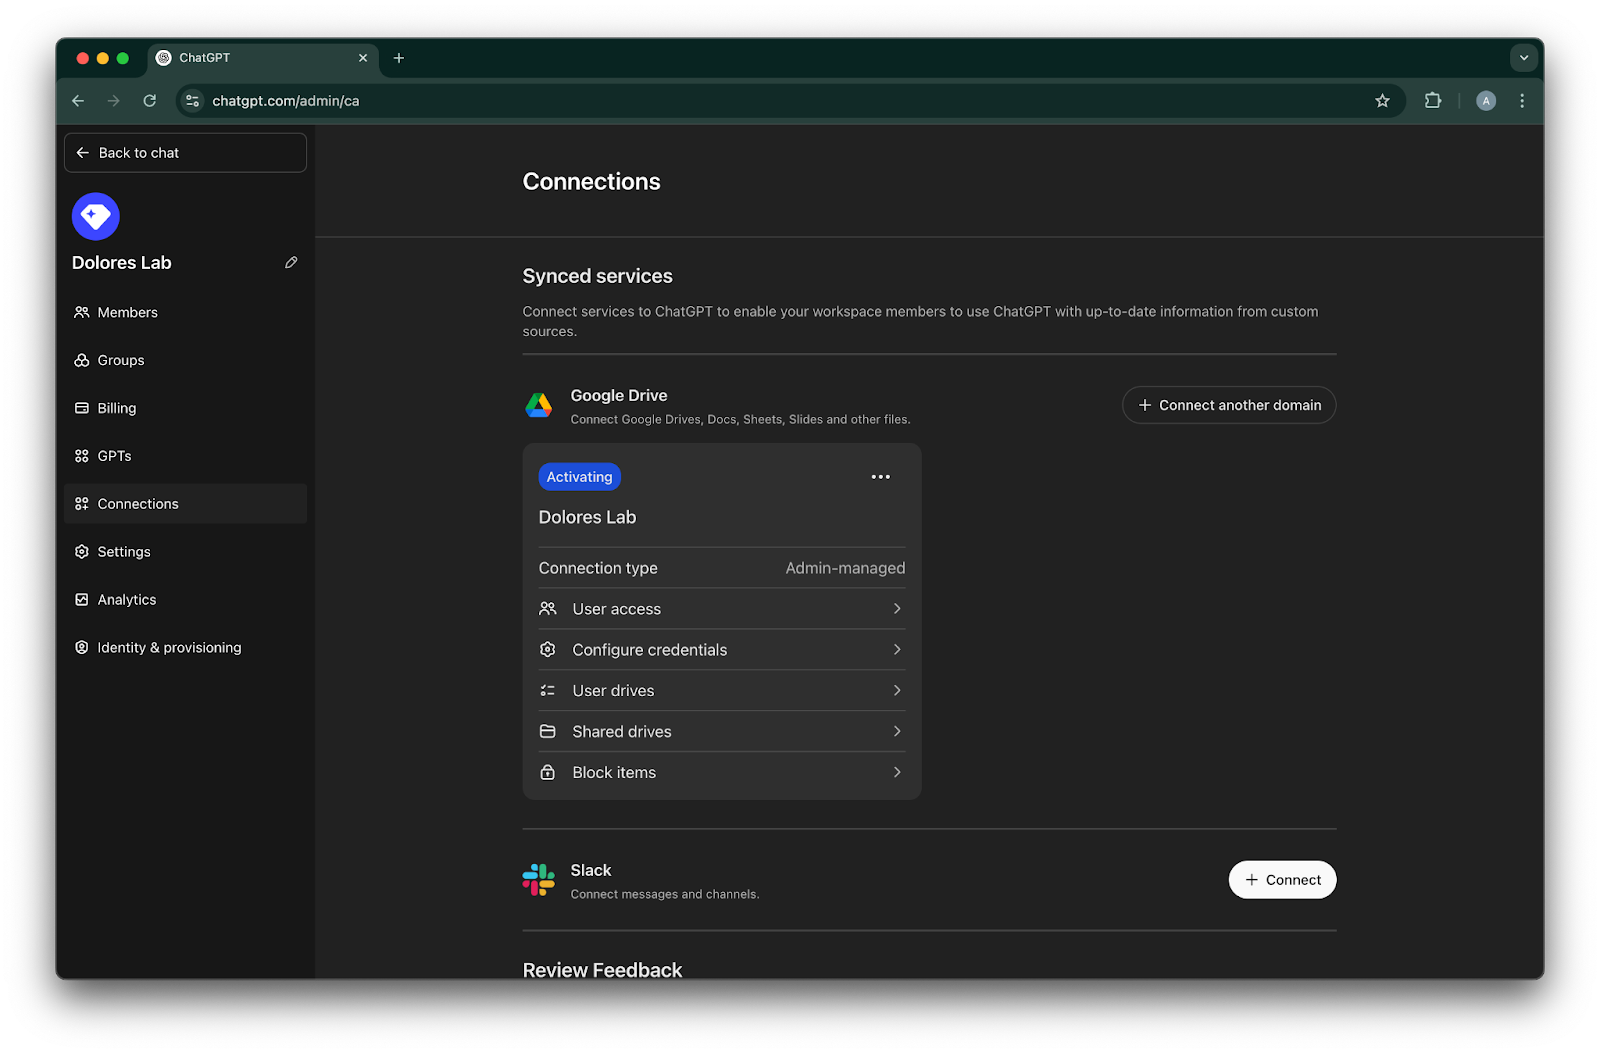
이제 Google Drive 연결이 성공적으로 생성되었습니다!
동기화는 즉시 시작되지만, 설정에 따라 포함된 파일 수에 따라 완료까지 몇 시간에서 며칠이 걸릴 수 있습니다.
지난 30일 동안 추가되거나 수정된 파일의 동기화가 완료되면, 이 커넥터는 활성화한 사용자에게 제공됩니다.


서비스 계정 키 생성 활성화
다음 오류가 발생하면 이 특정 프로젝트에 대해 서비스 계정 생성을 활성화해야 합니다.
> 조직에 ‘iam.disableServiceAccountKeyCreation’ 조직 정책 제약이 적용되어 있습니다.
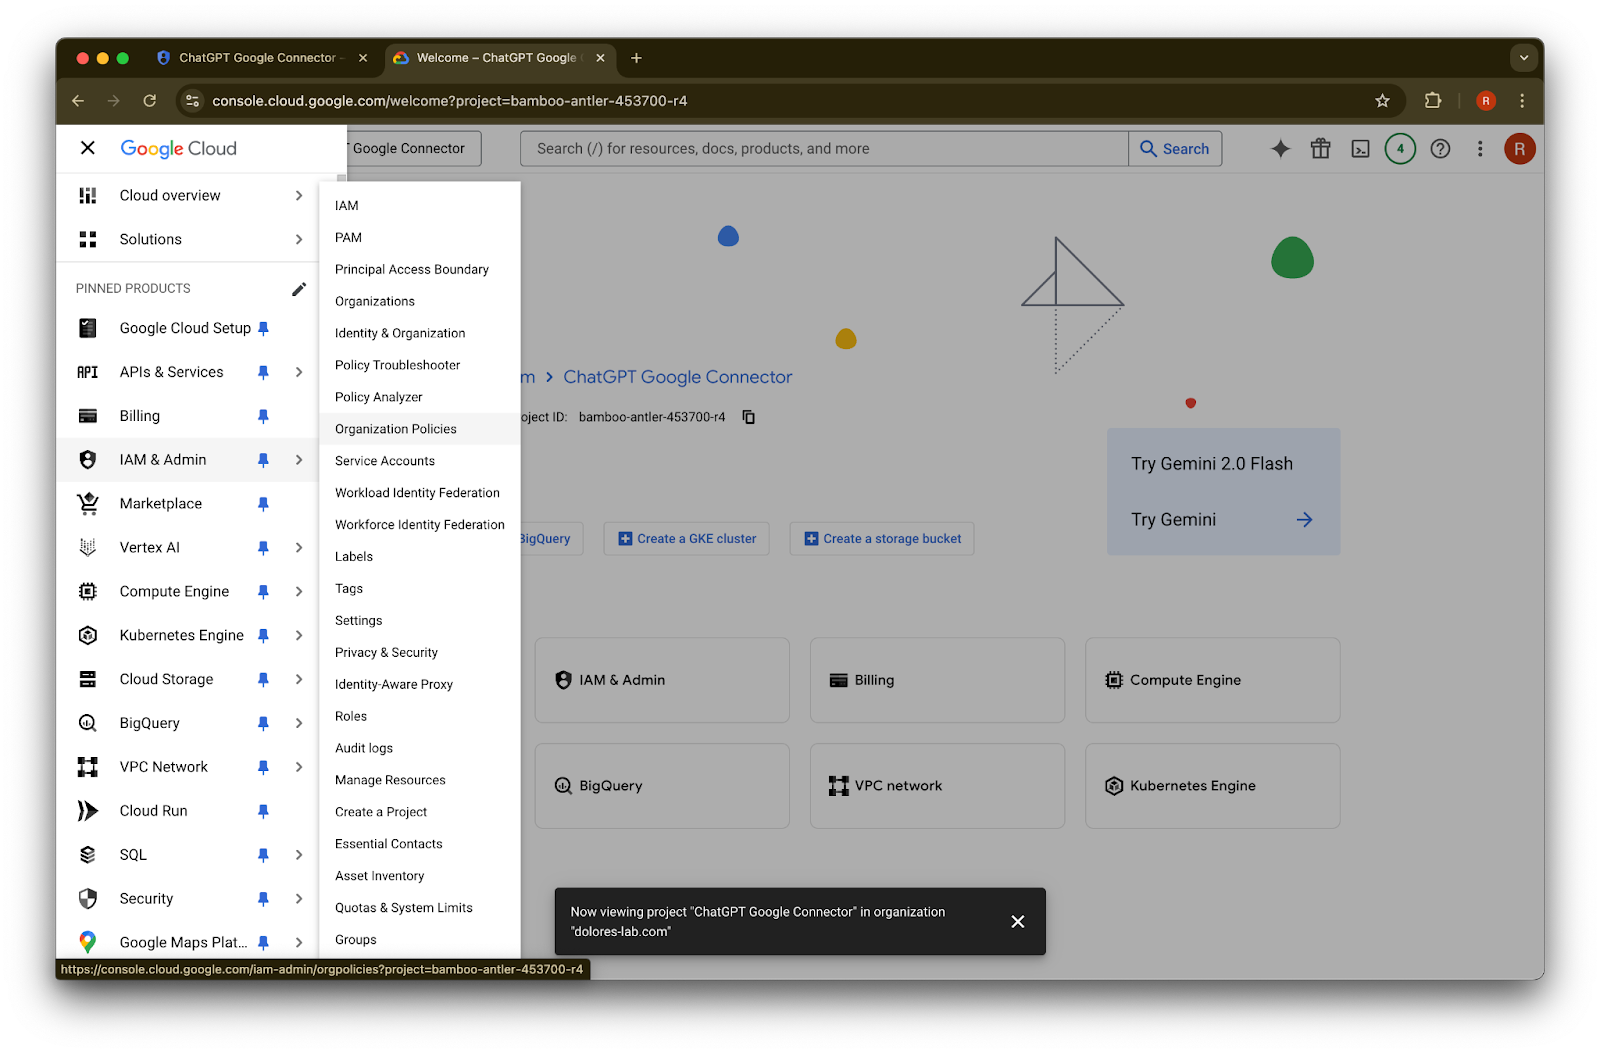
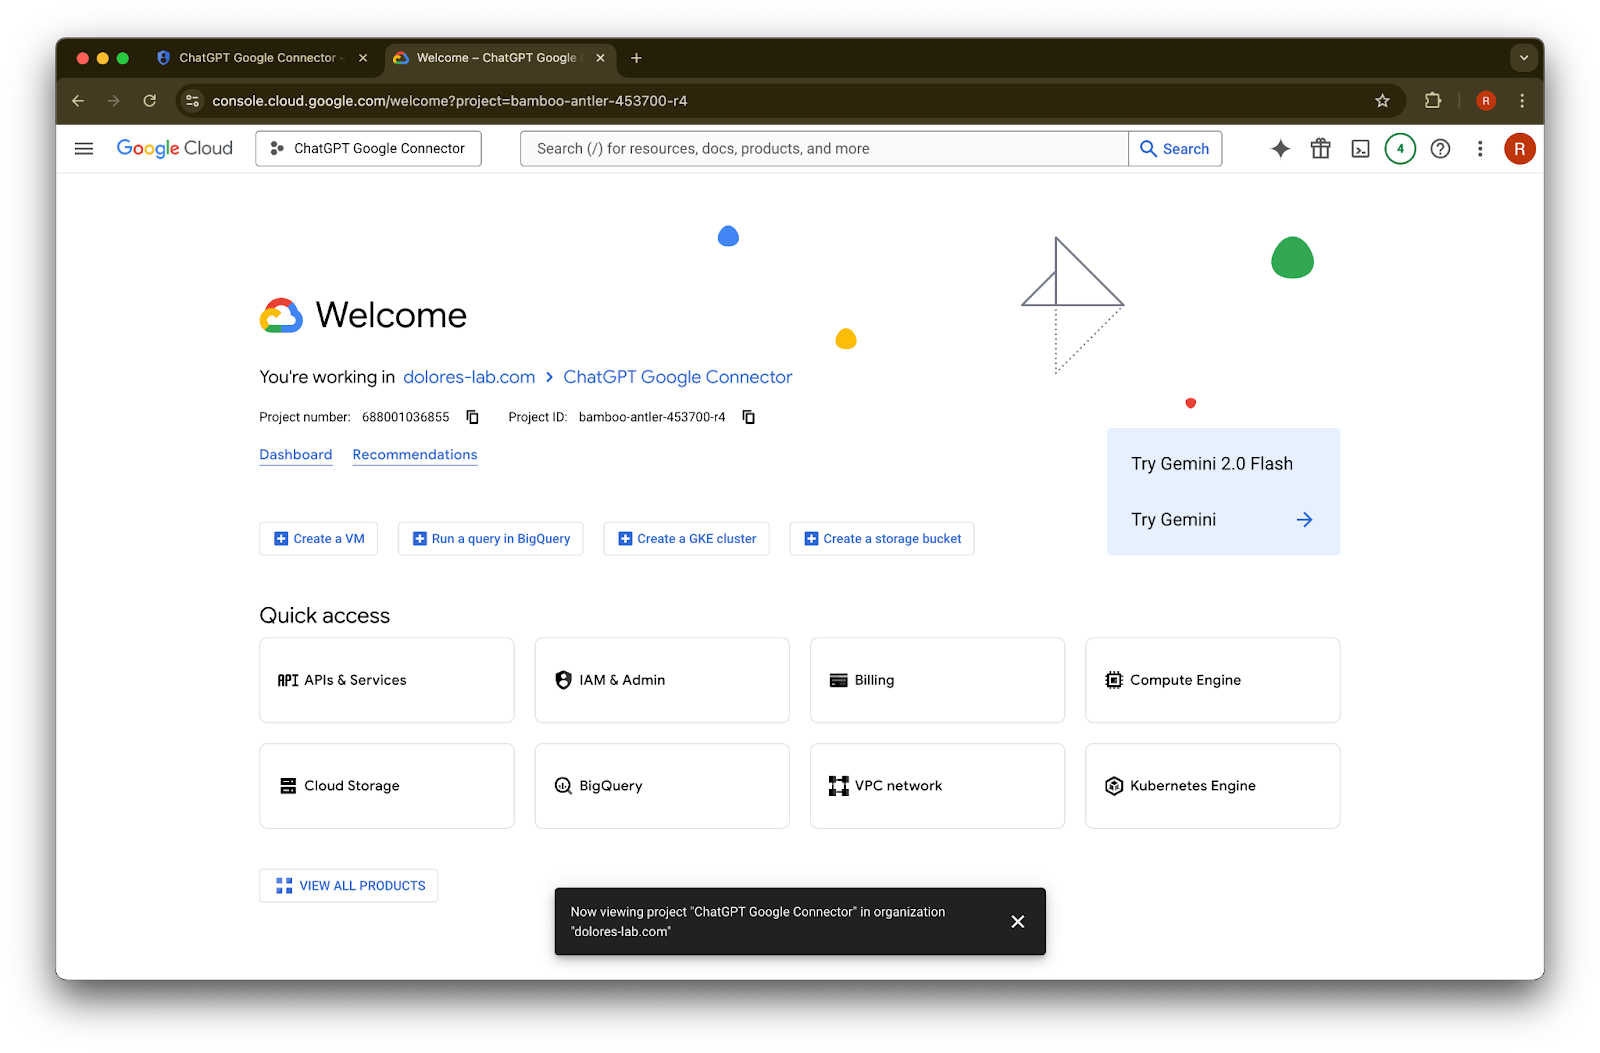
새 탭을 열고 console.cloud.google.com으로 이동합니다. 선택된 프로젝트가 이미 선택한 프로젝트인지 확인하세요.
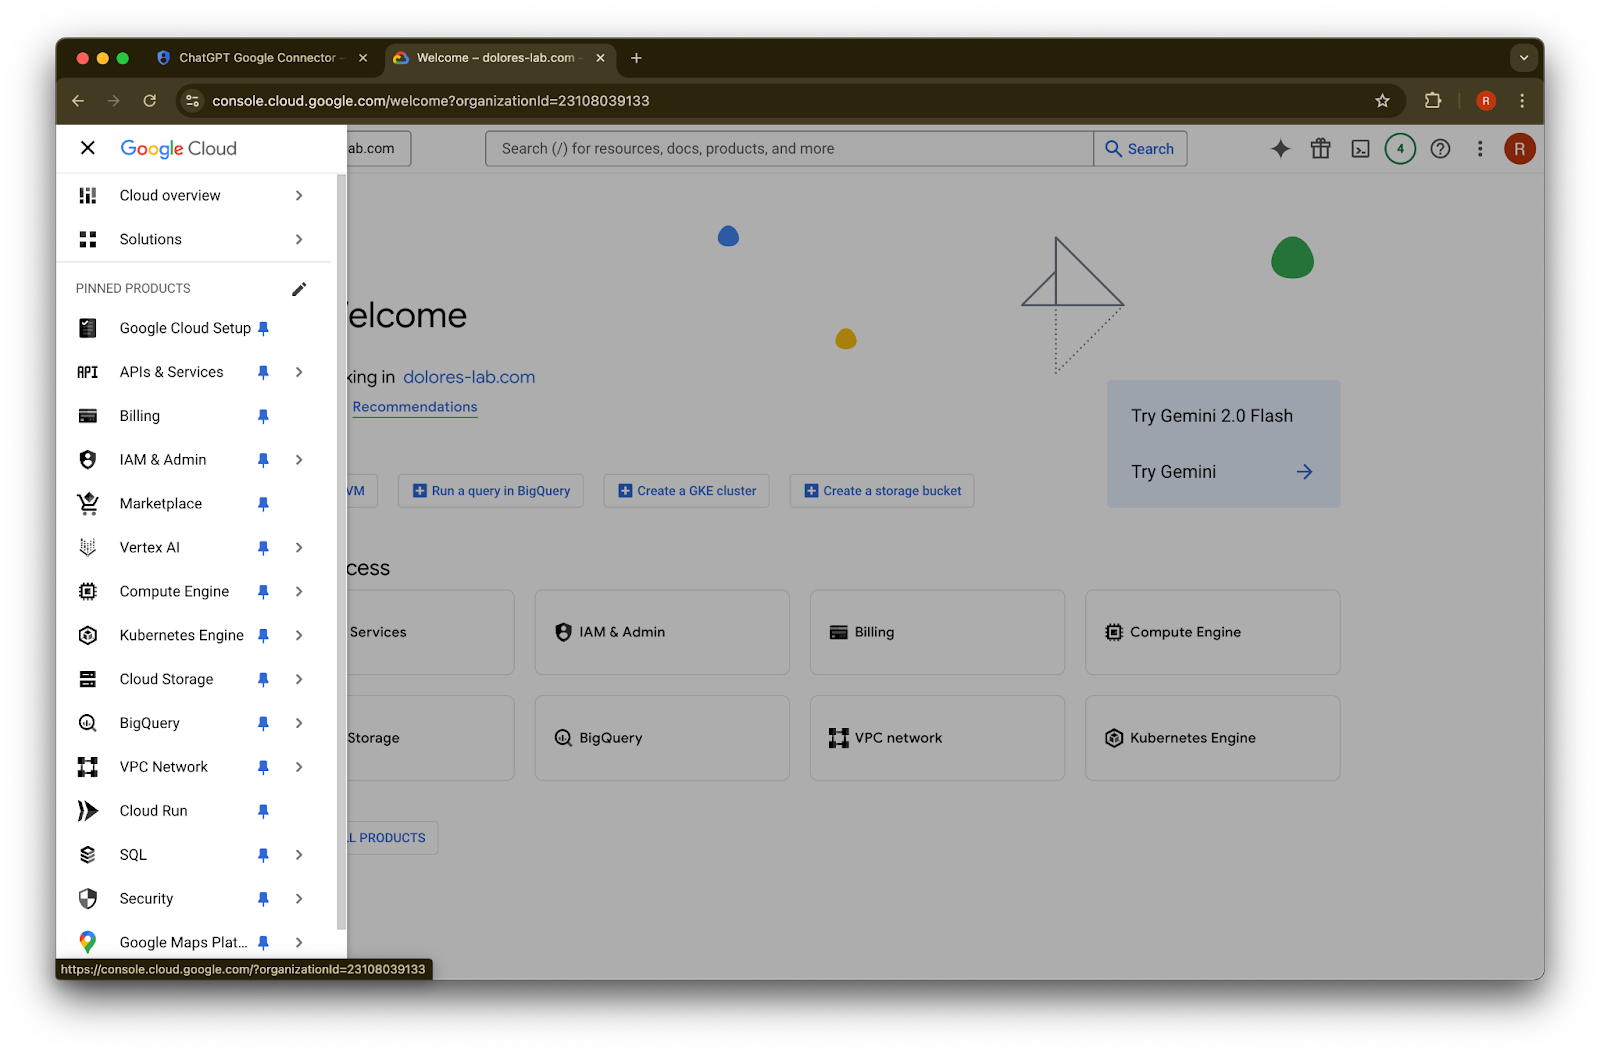
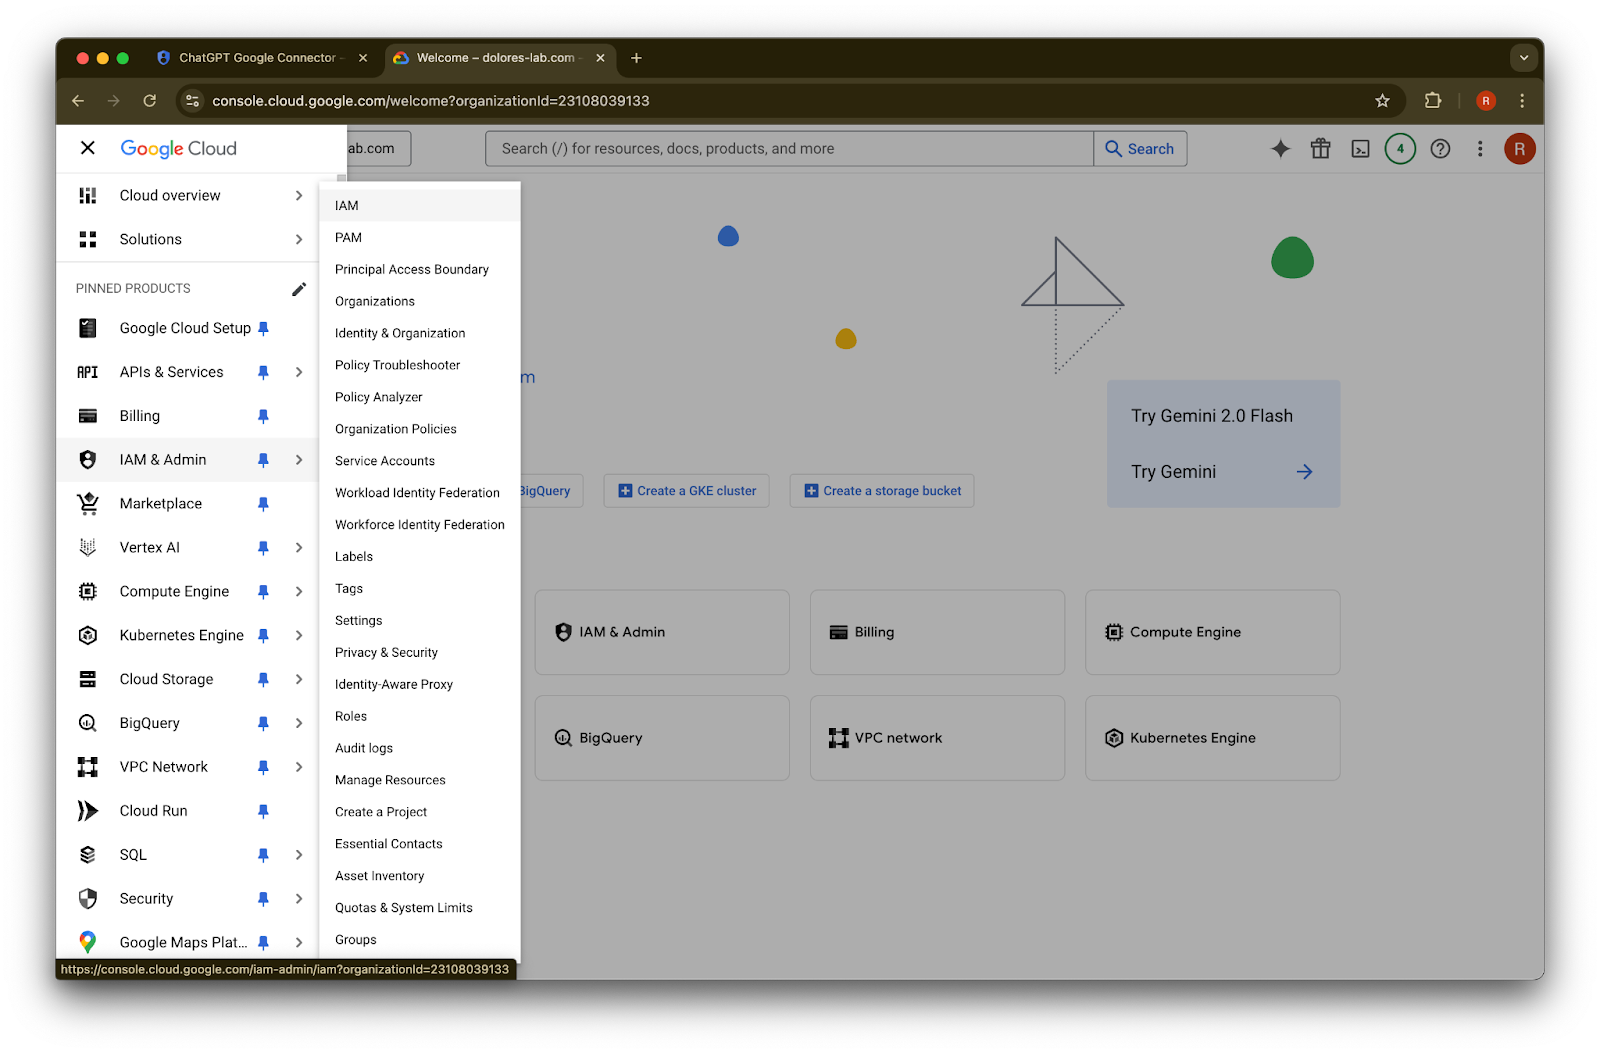
왼쪽 상단의 menu icon을 클릭합니다.IAM & Admin 위에 마우스를 올립니다.
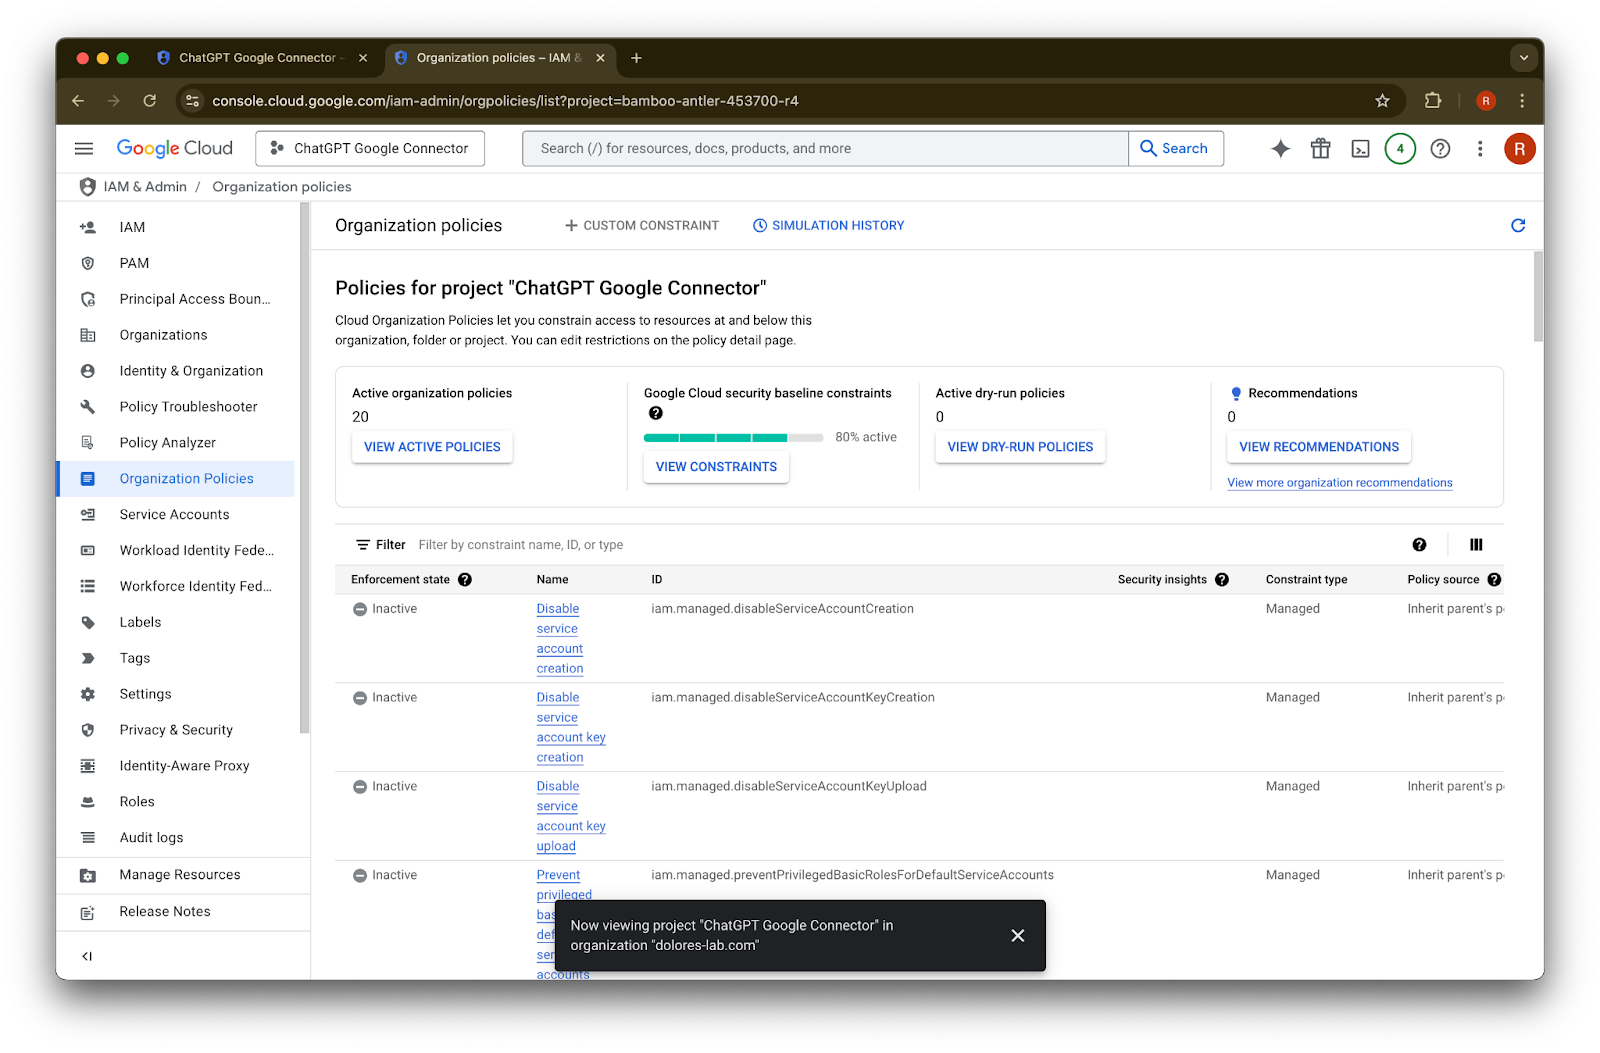
Organizational Policies를 클릭합니다.
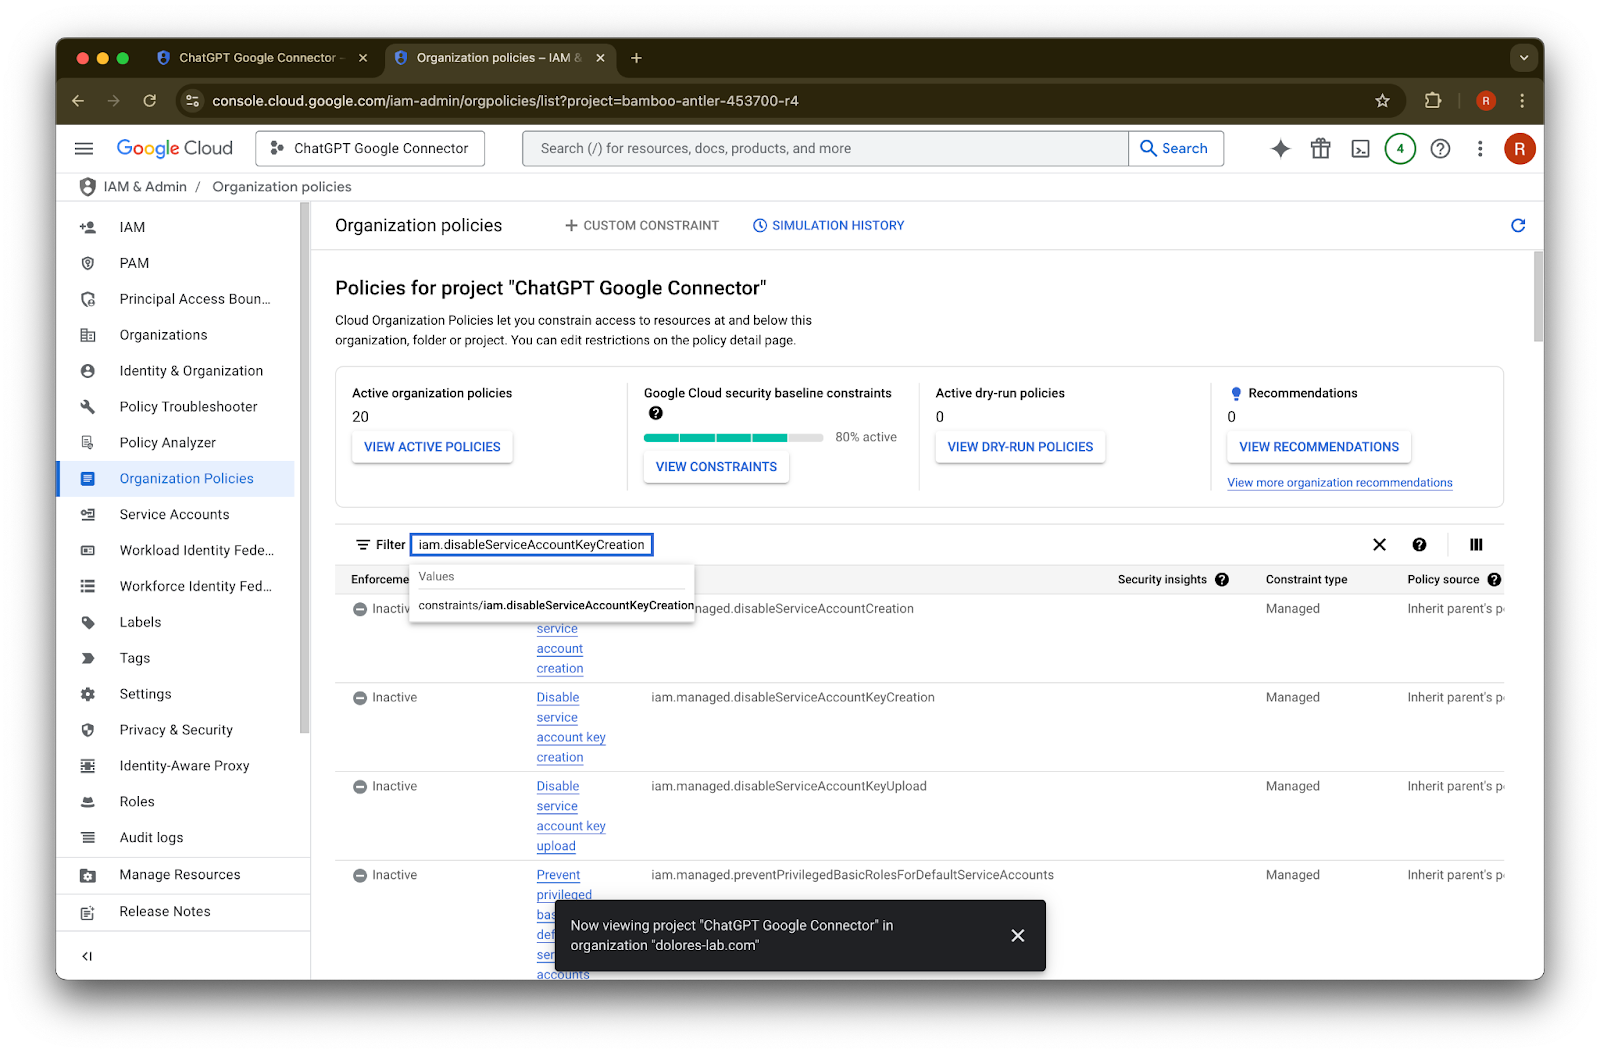
iam.disableServiceAccountKeyCreation
을 검색합니다.constraints/iam.disableServiceAccountKeyCreation
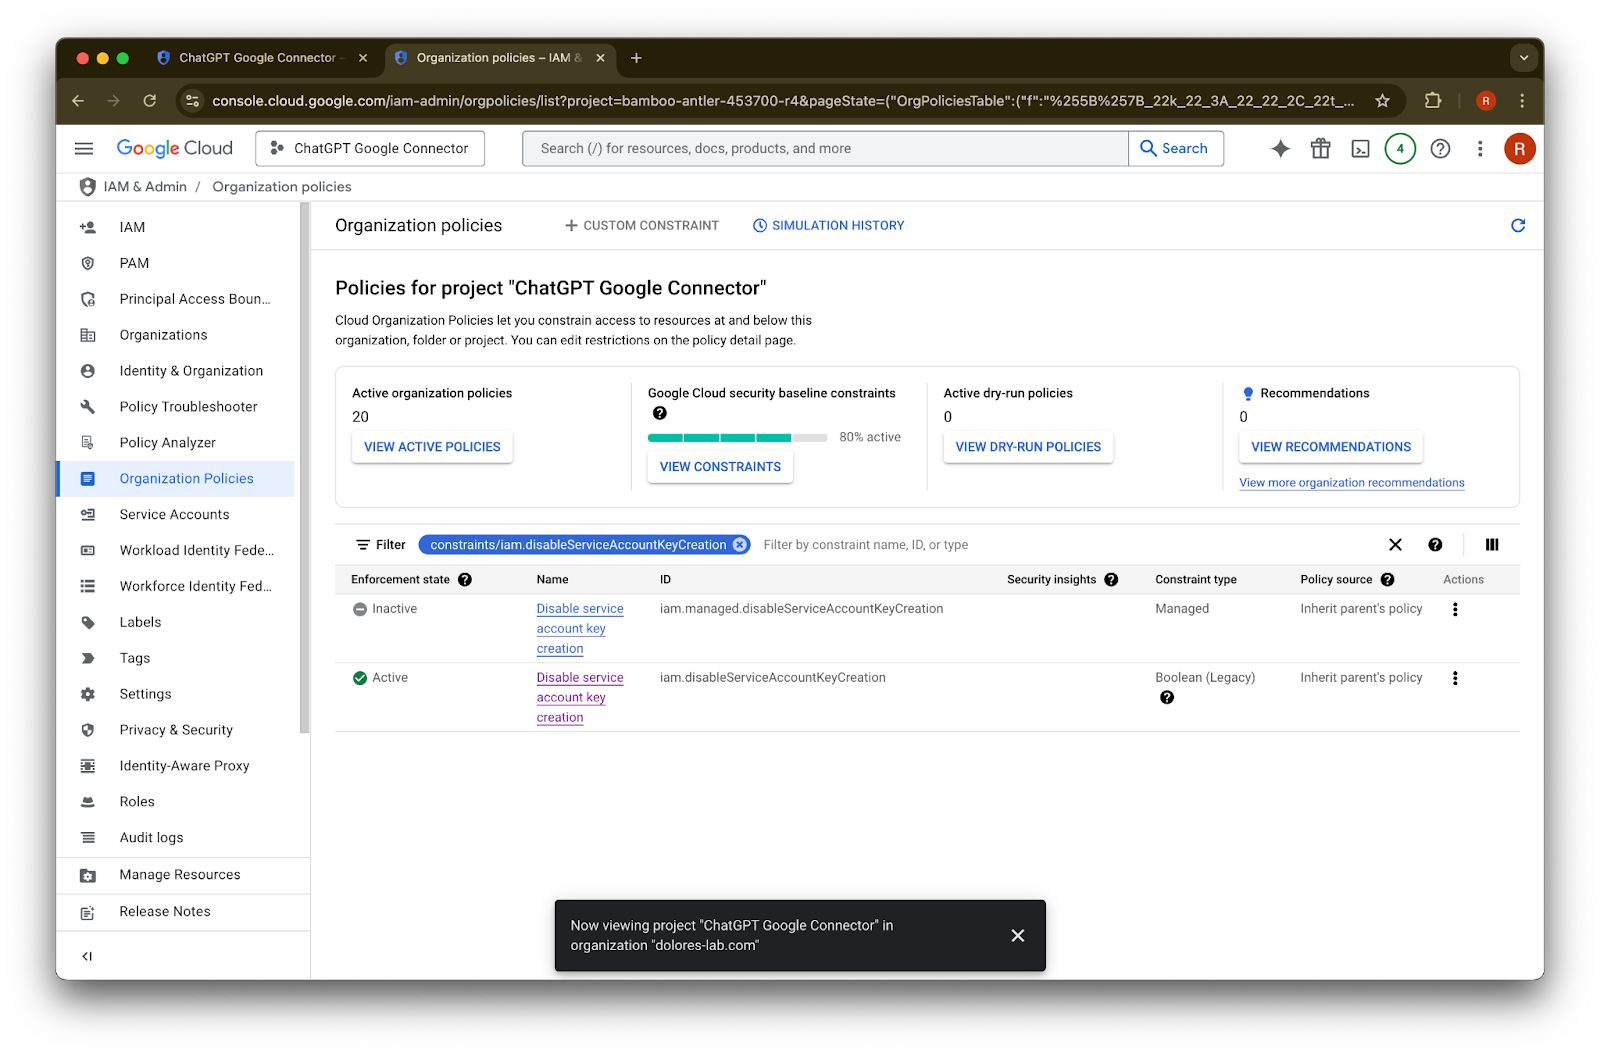
결과를 클릭합니다.ID가 iam.disableServiceAccountKeyCreation
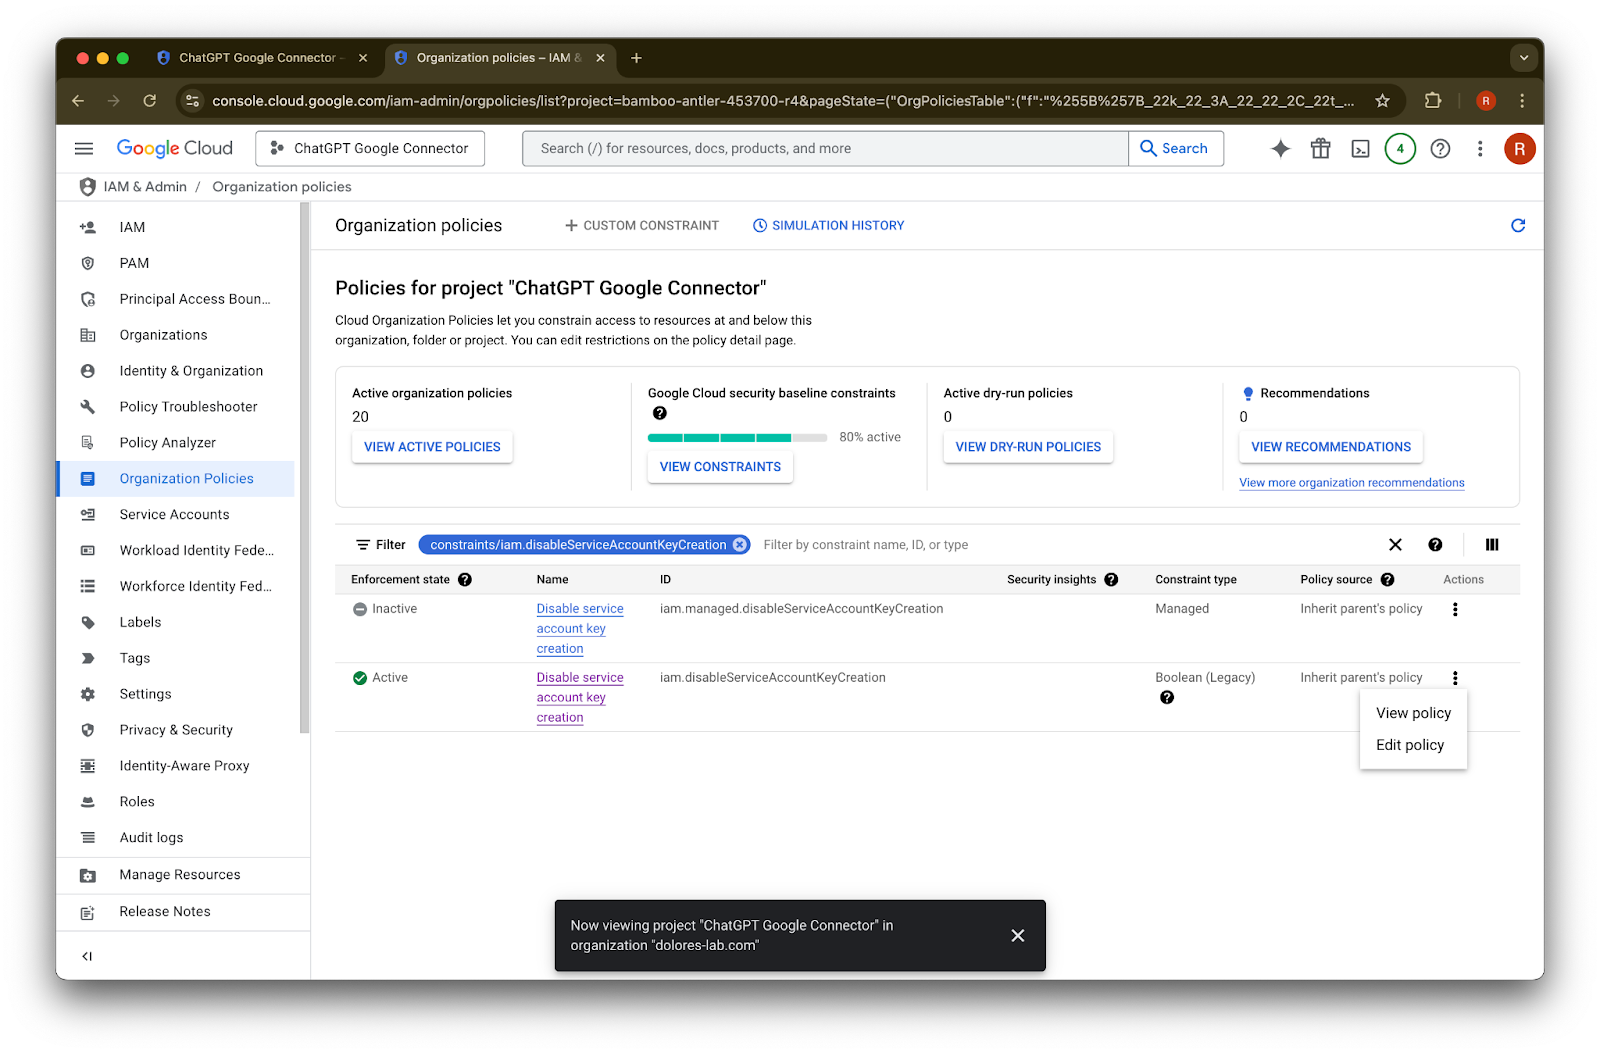
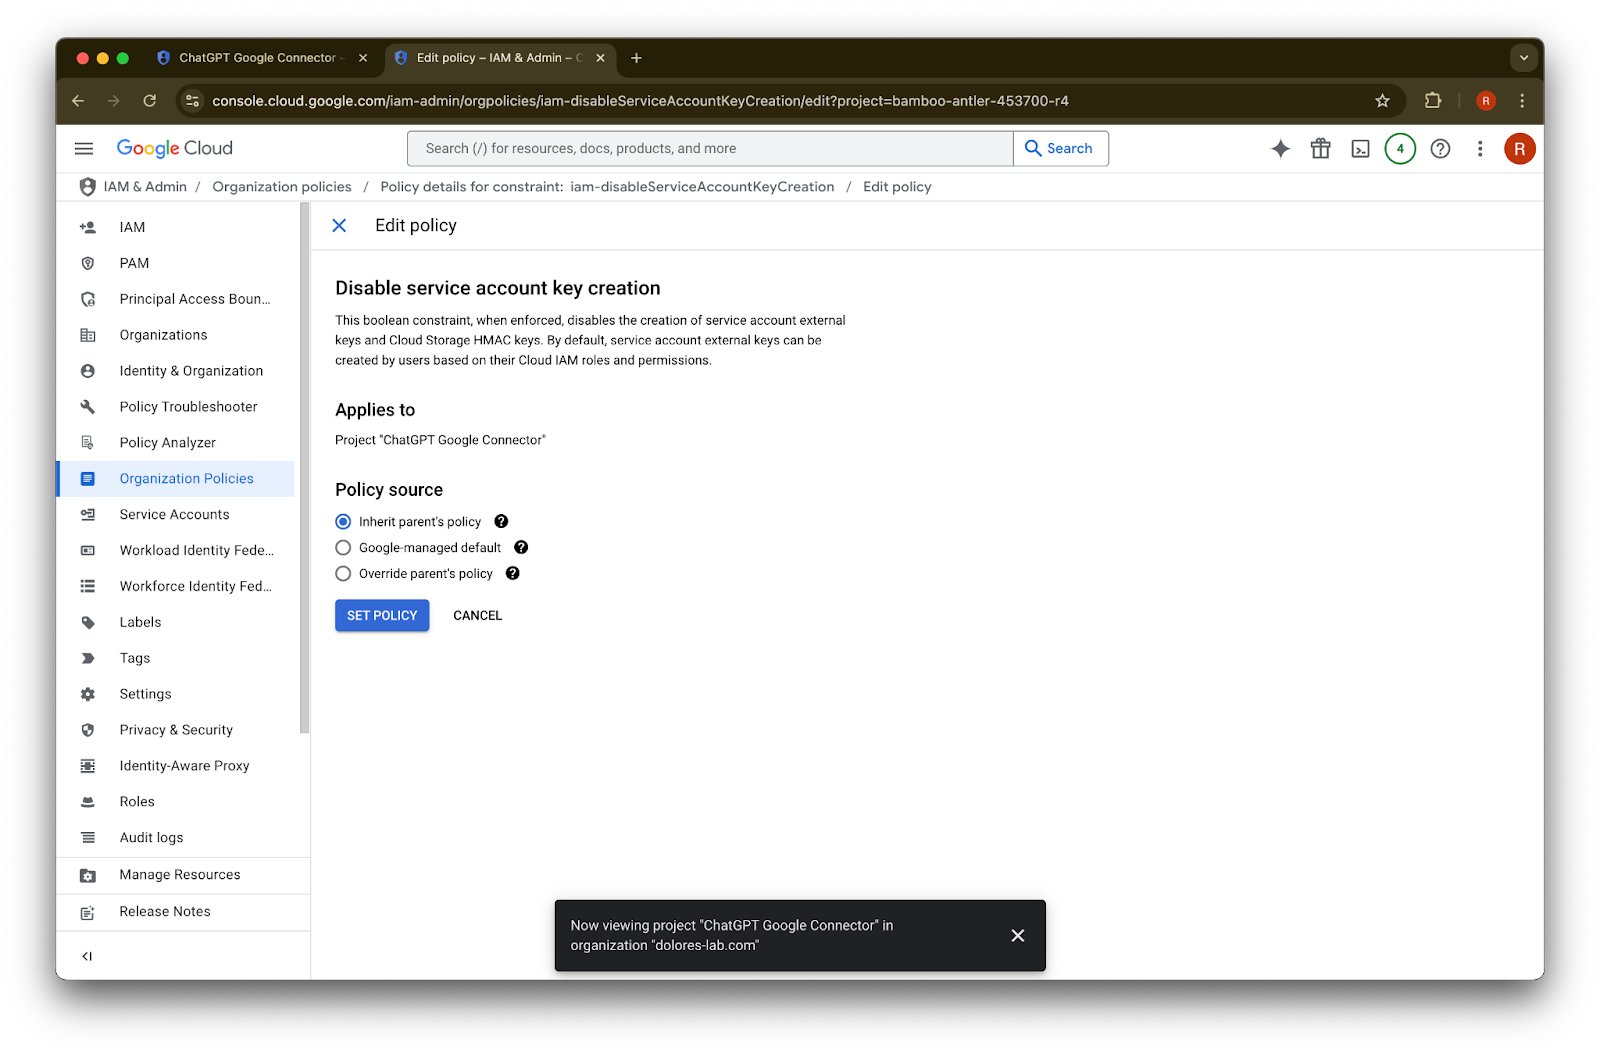
인 행의 …를 클릭합니다.Edit policy를 클릭합니다. Edit policy가 비활성화되어 있으면 Organization Policy Administrator가 되어야 합니다.
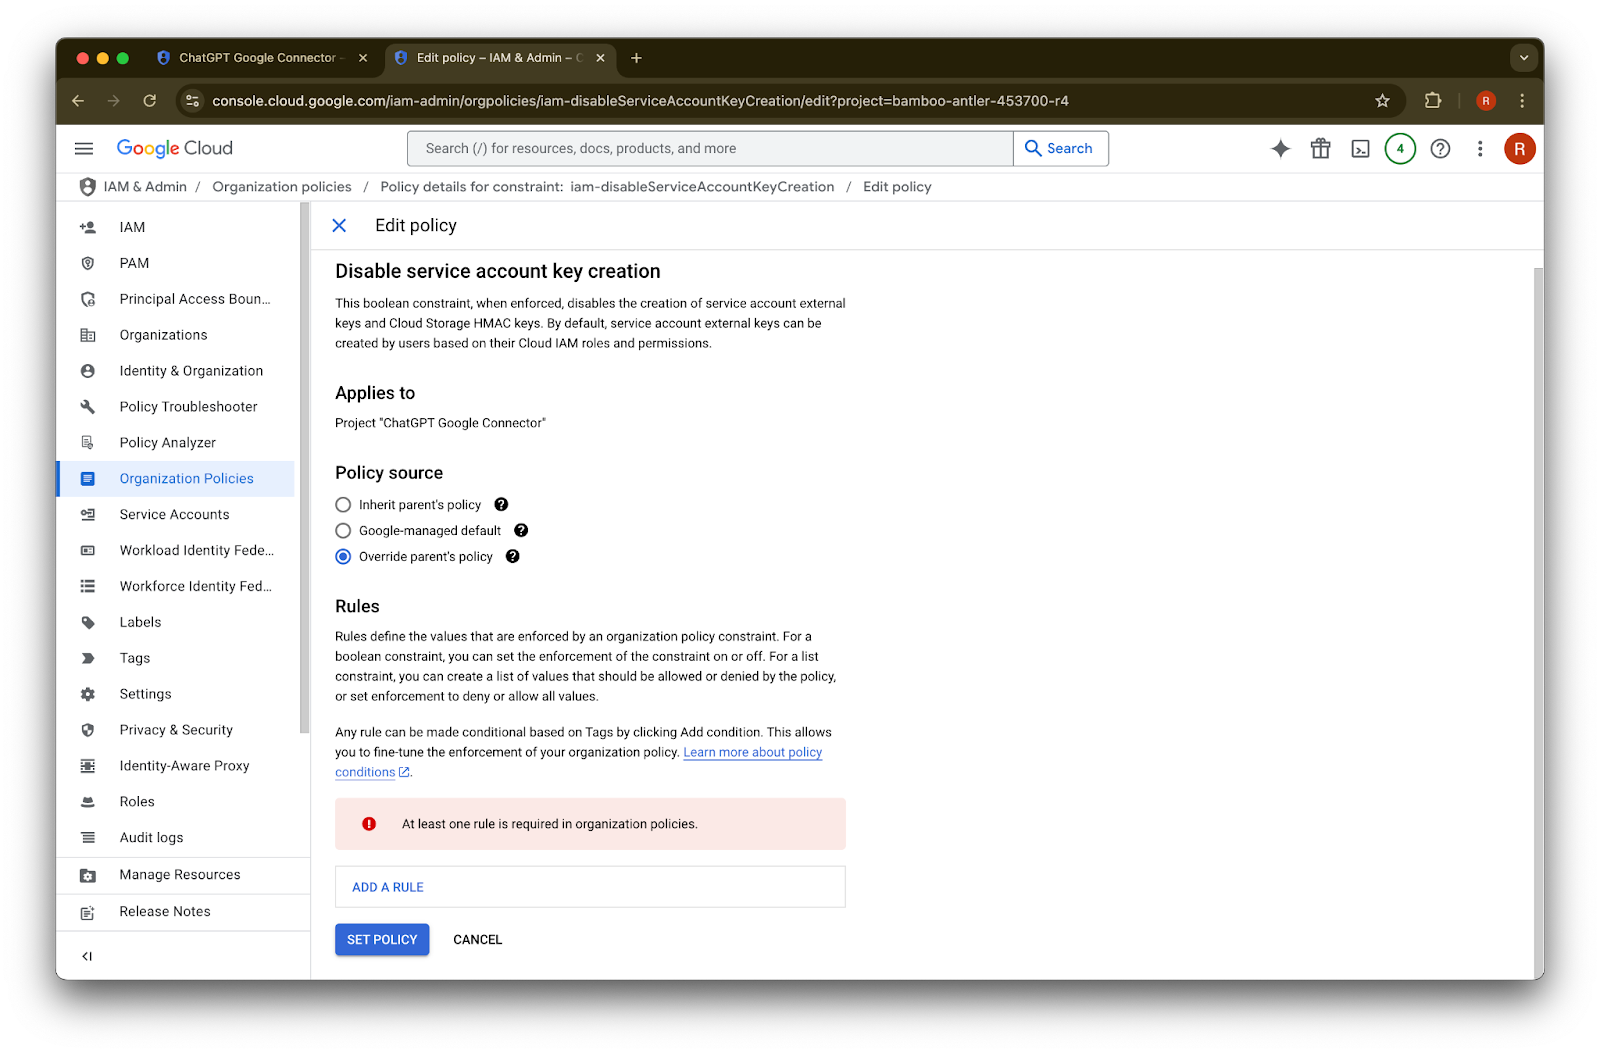
Override parent’s policy
를 클릭합니다.Add a rule
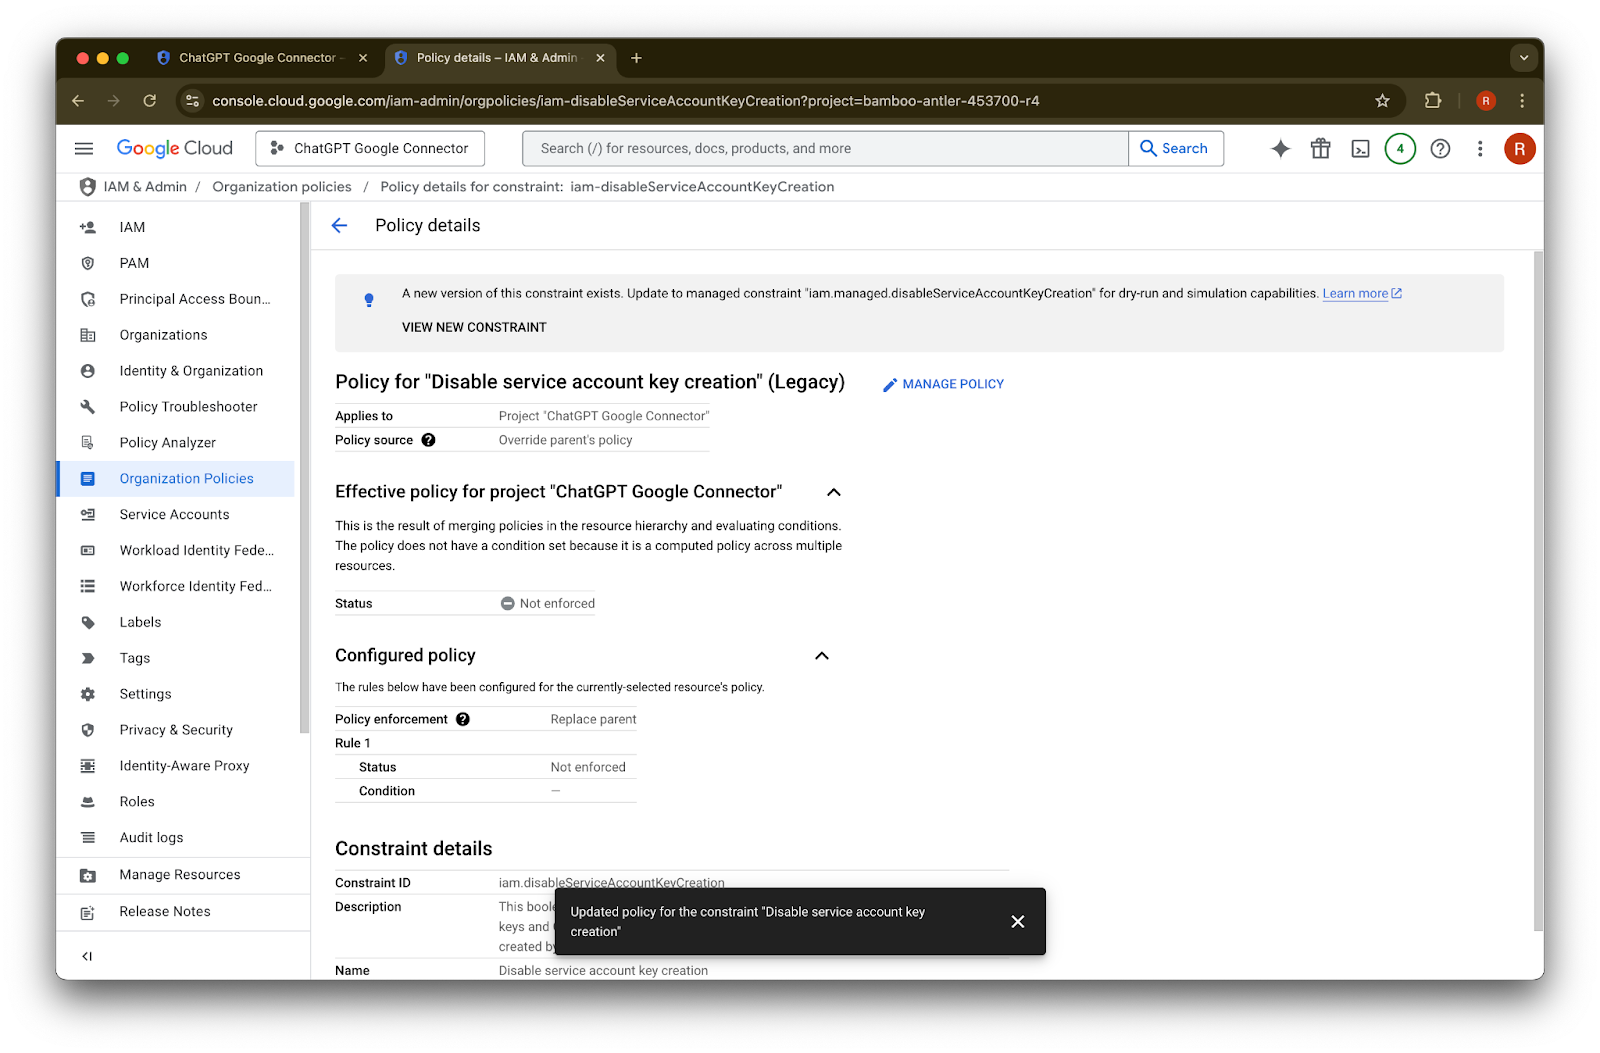
를 클릭합니다.Set Policy
를 클릭합니다.이제 서비스 계정 키를 만들 수 있습니다. 이 설정이 적용되기까지 몇 분 정도 걸릴 수 있습니다.


Organization Policy Administrator 되기
console.cloud.google.com으로 이동하여 project/organization selector를 클릭합니다.
your organization
을 클릭합니다.왼쪽 상단의 menu icon을 클릭합니다.
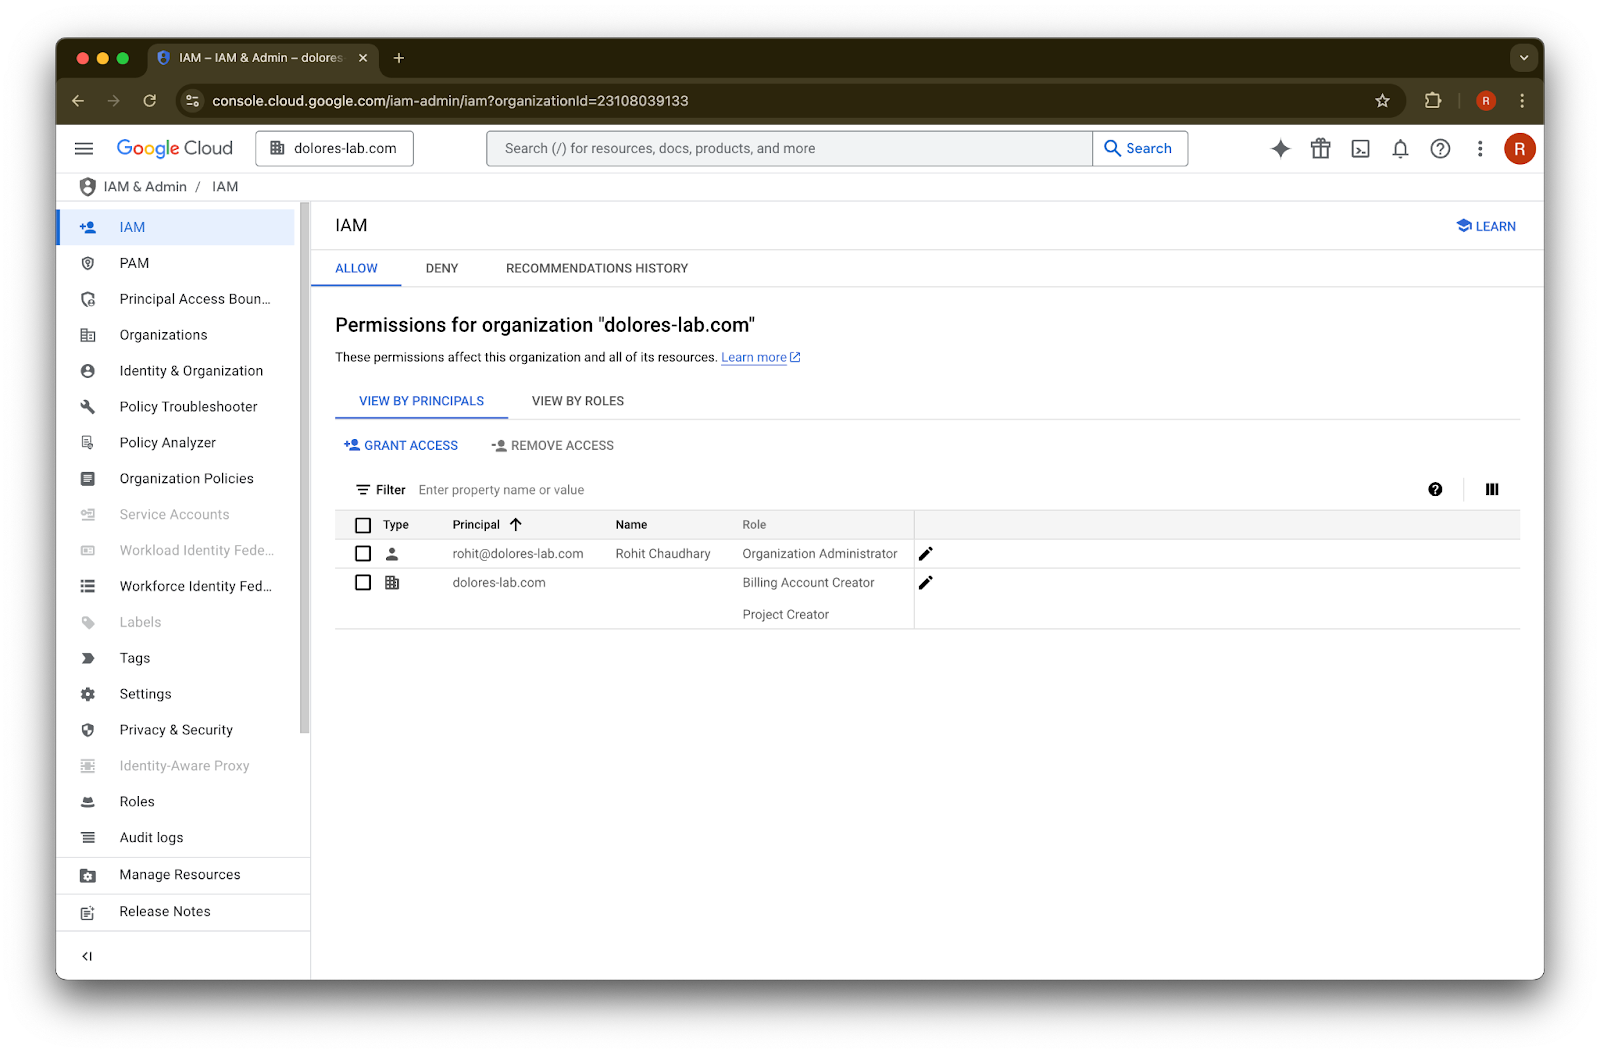
IAM & Admin
위에 마우스를 올립니다.IAM
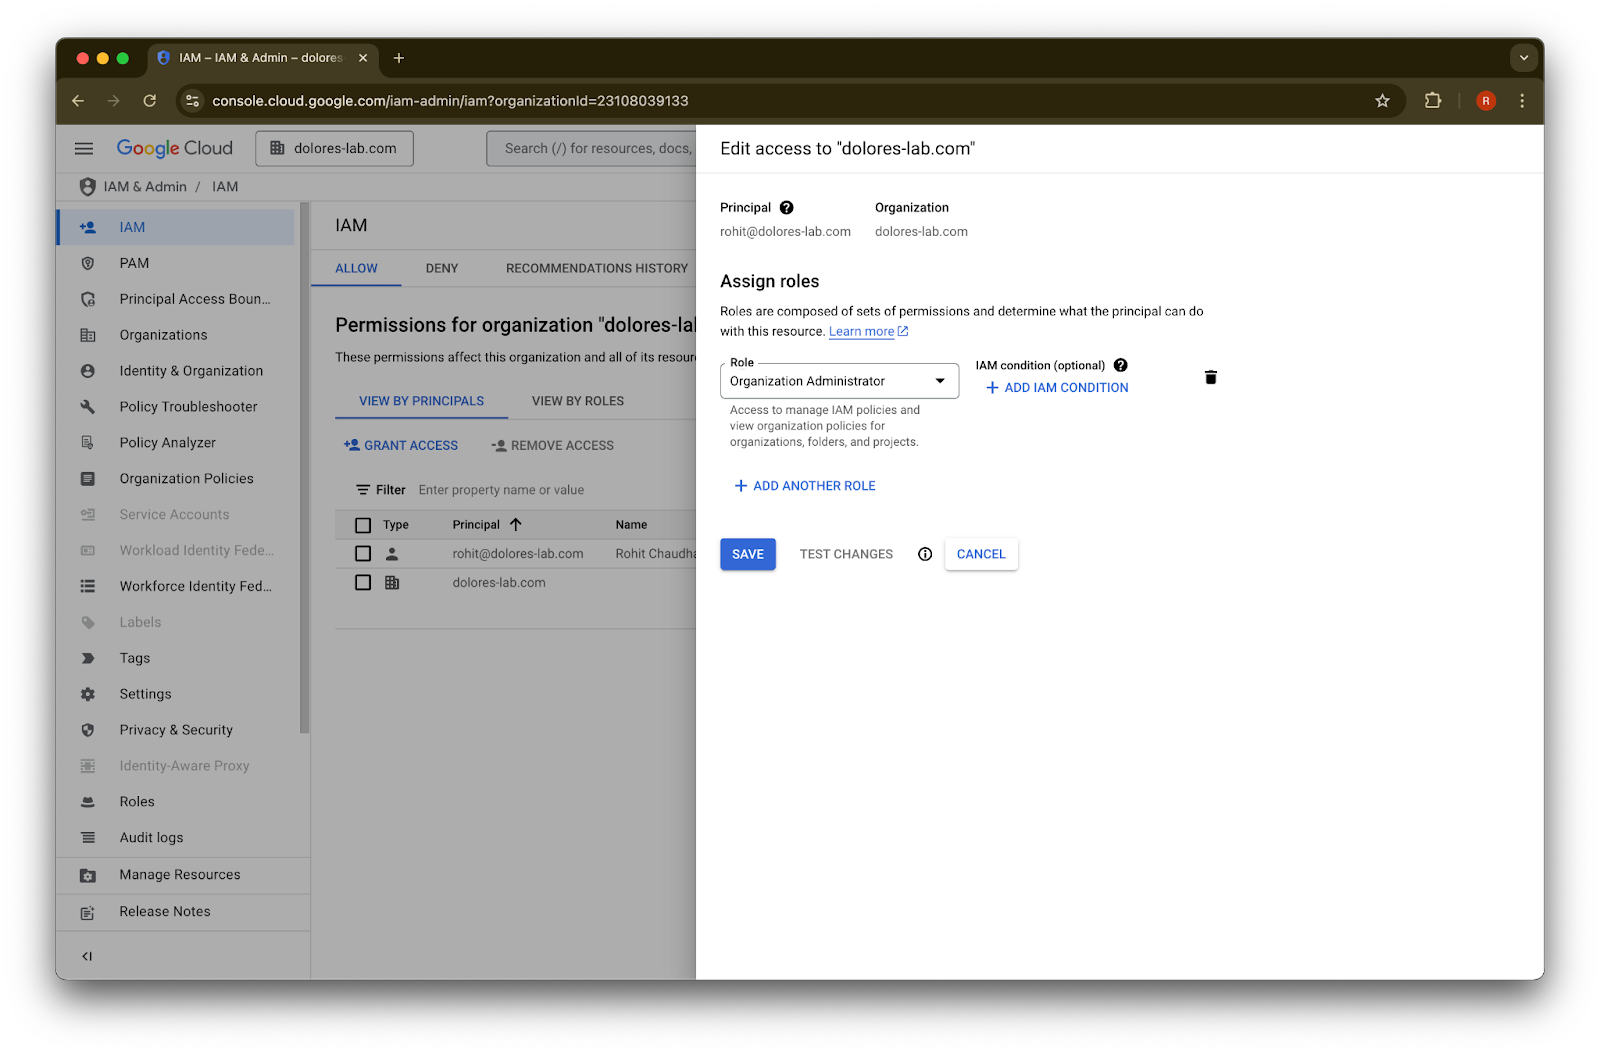
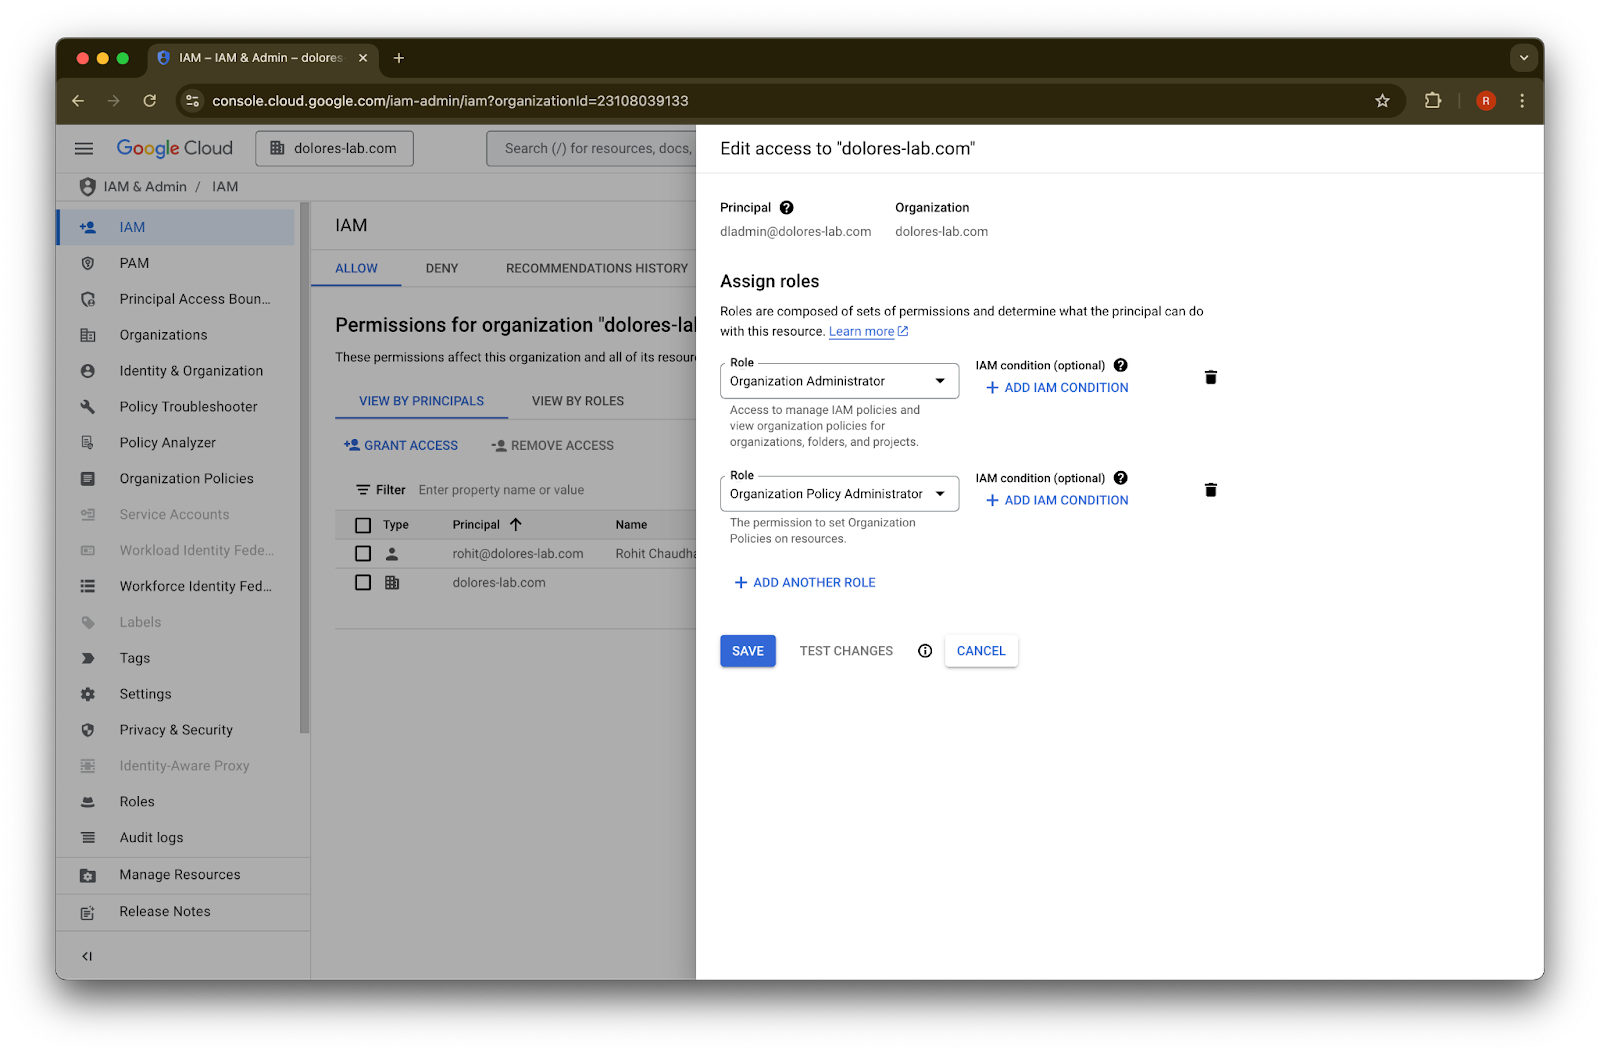
을 클릭합니다.계정 옆의 pencil 아이콘을 클릭합니다.
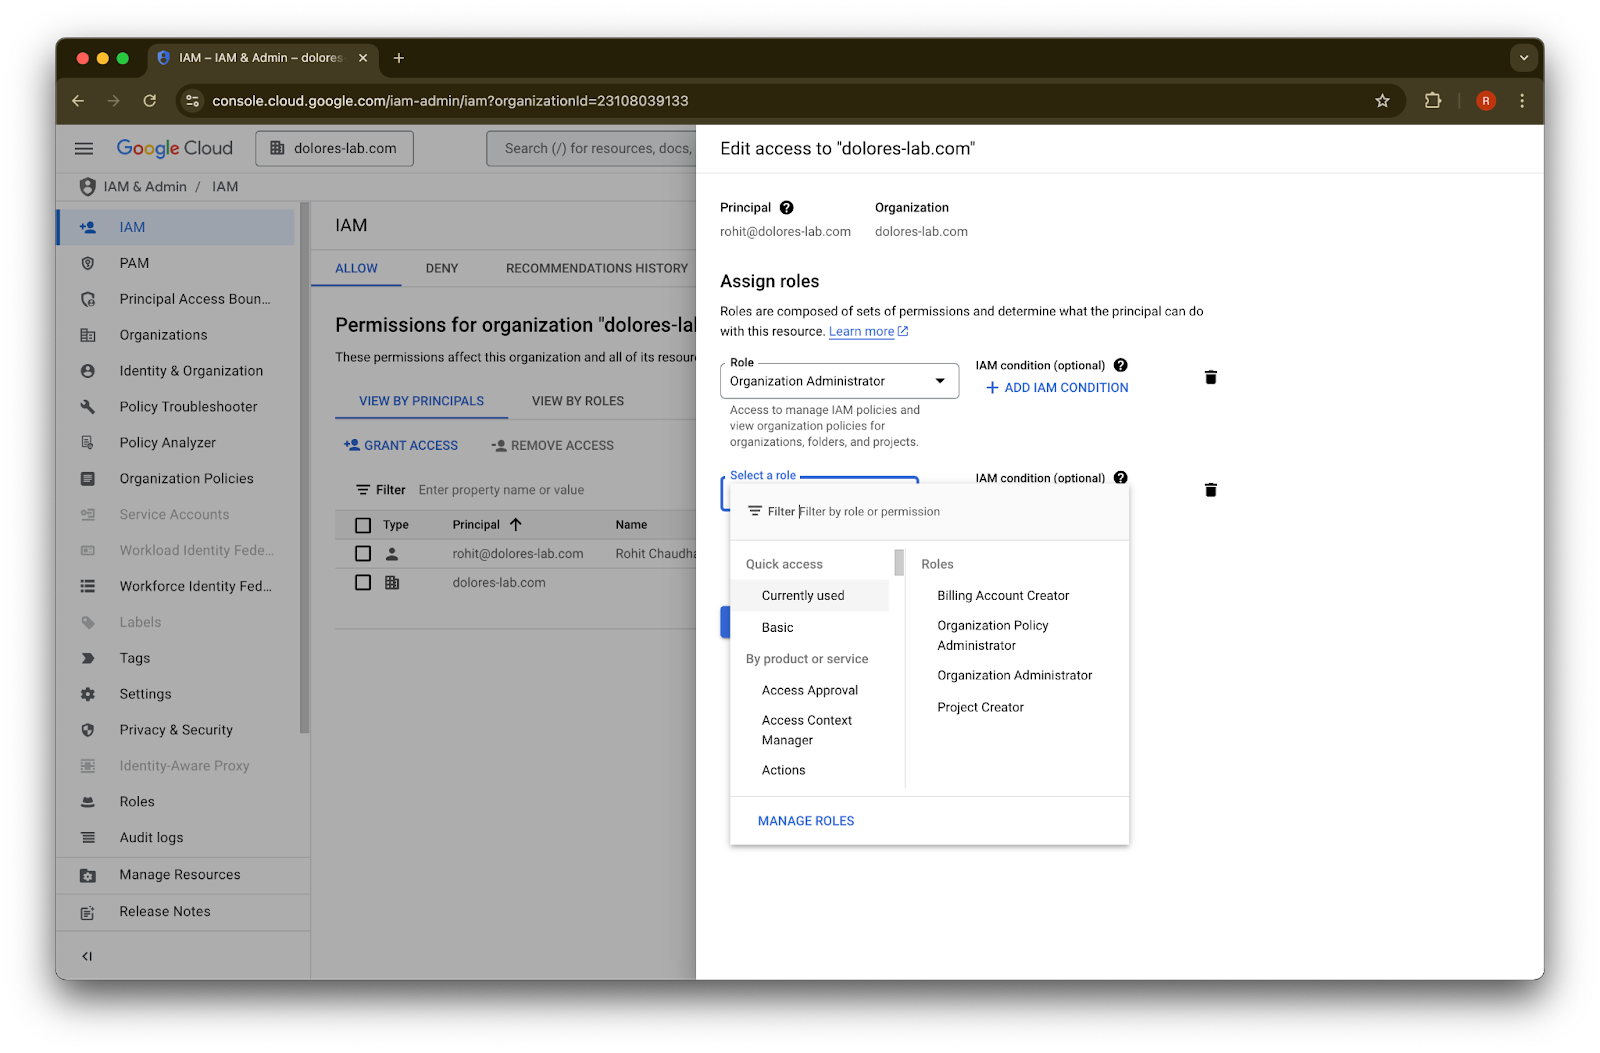
Add Another Role
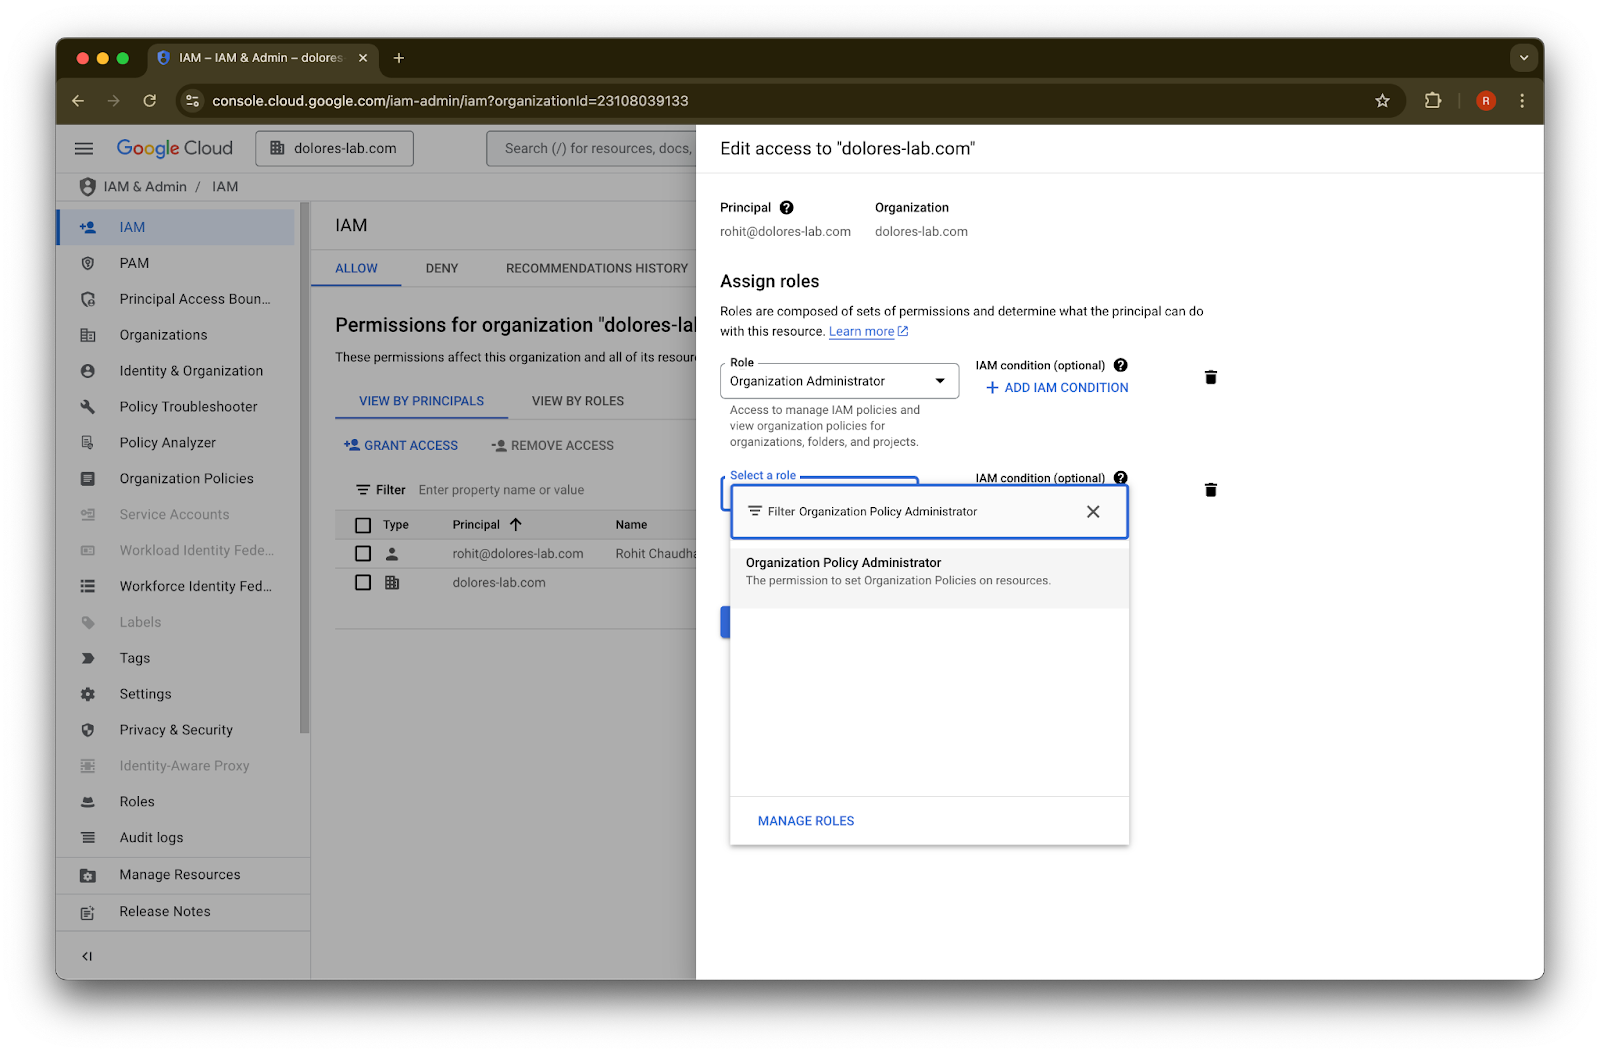
을 클릭합니다.Organization Policy Administrator
를 검색합니다.Organization Policy Administrator
를 클릭합니다.Save를 클릭합니다.
이제 계정에 서비스 계정 키 생성을 활성화할 권한이 있습니다. 이 설정이 적용되기까지 몇 분 정도 걸릴 수 있습니다.
Google Workspace와 ChatGPT에 서로 다른 이메일 계정을 유지하기 위해 Google 이메일 별칭 사용하기
관리자 관리 설정을 사용해 Google Drive 동기화 커넥터용으로 Google Workspace를 ChatGPT 워크스페이스에 연결하는 관리자이고, 조직에서 ChatGPT와 Google Workspace에 서로 다른 이메일 도메인을 사용하는 경우, 사용자가 Google Drive 동기화 커넥터에 정상적으로 액세스할 수 있도록 추가 단계를 수행해야 합니다.
권장 사항: 가능한 경우 Google Workspace 계정과 ChatGPT 계정 모두에 동일한 기본 이메일 주소를 사용하세요.
이 방법이 어렵다면 아래 지침에 따라 ChatGPT 로그인 이메일과 일치하는 Google Workspace 이메일 별칭을 구성하세요.
Google Workspace 별칭 추가 단계
각 사용자의 ChatGPT 이메일을 Google Workspace 계정에 연결할 수 있도록 Google Admin Console에서 다음 단계를 따르세요.
Admin Console로 이동합니다. 다음으로 이동하세요: Directory > Users
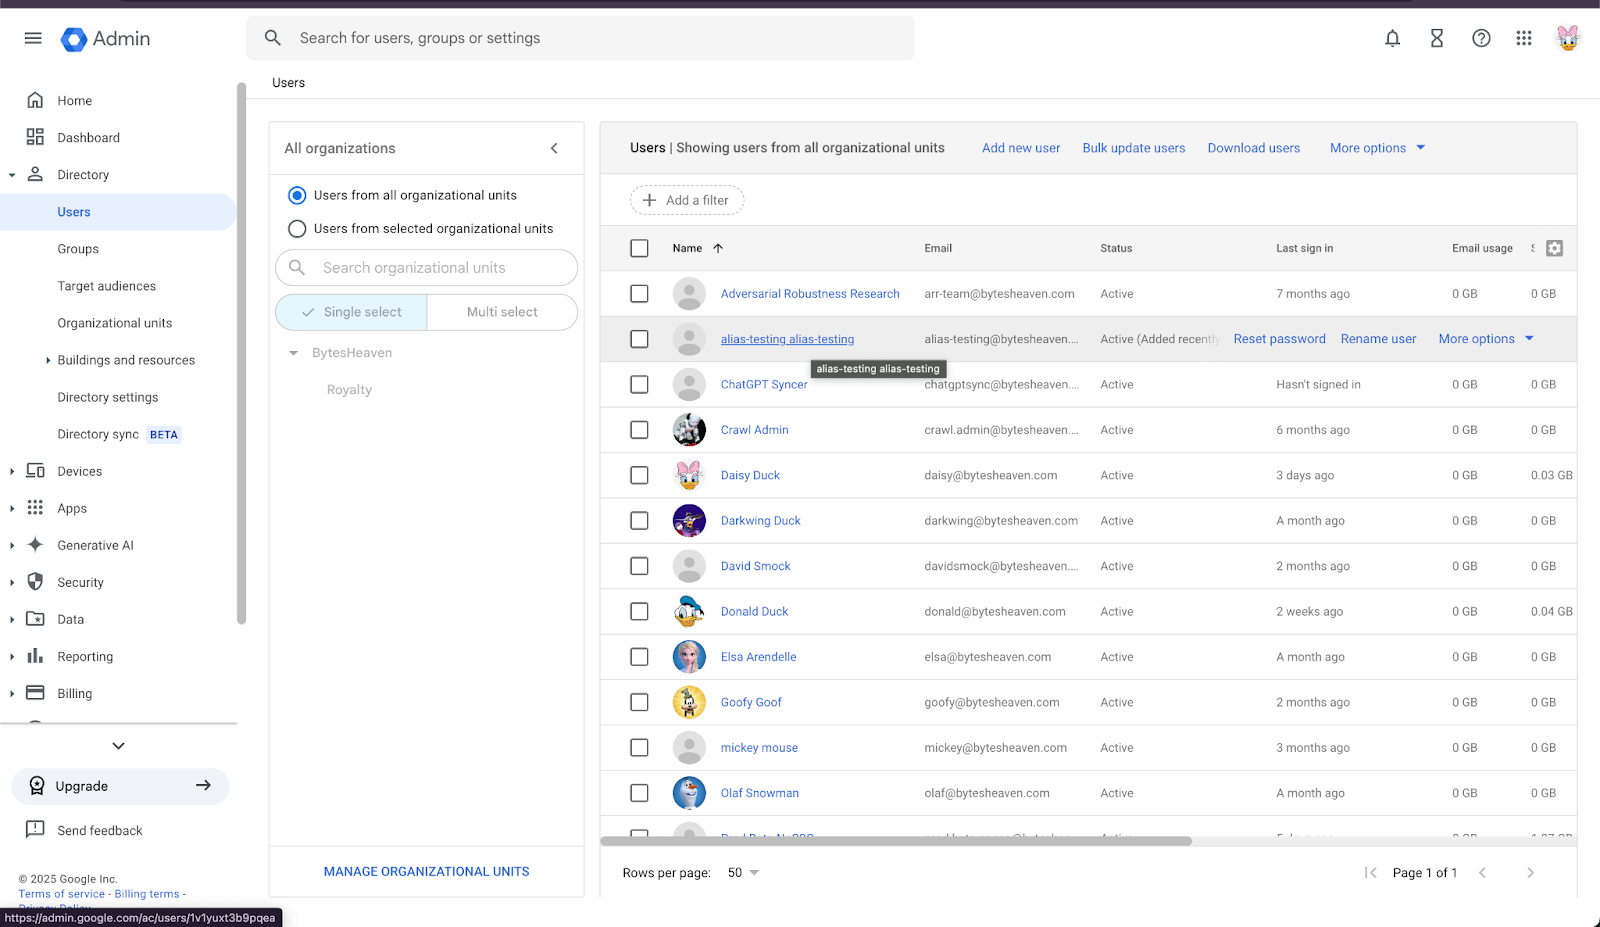
2. 사용자를 선택한 다음 “ADD ALTERNATIVE EMAILS”를 클릭합니다.
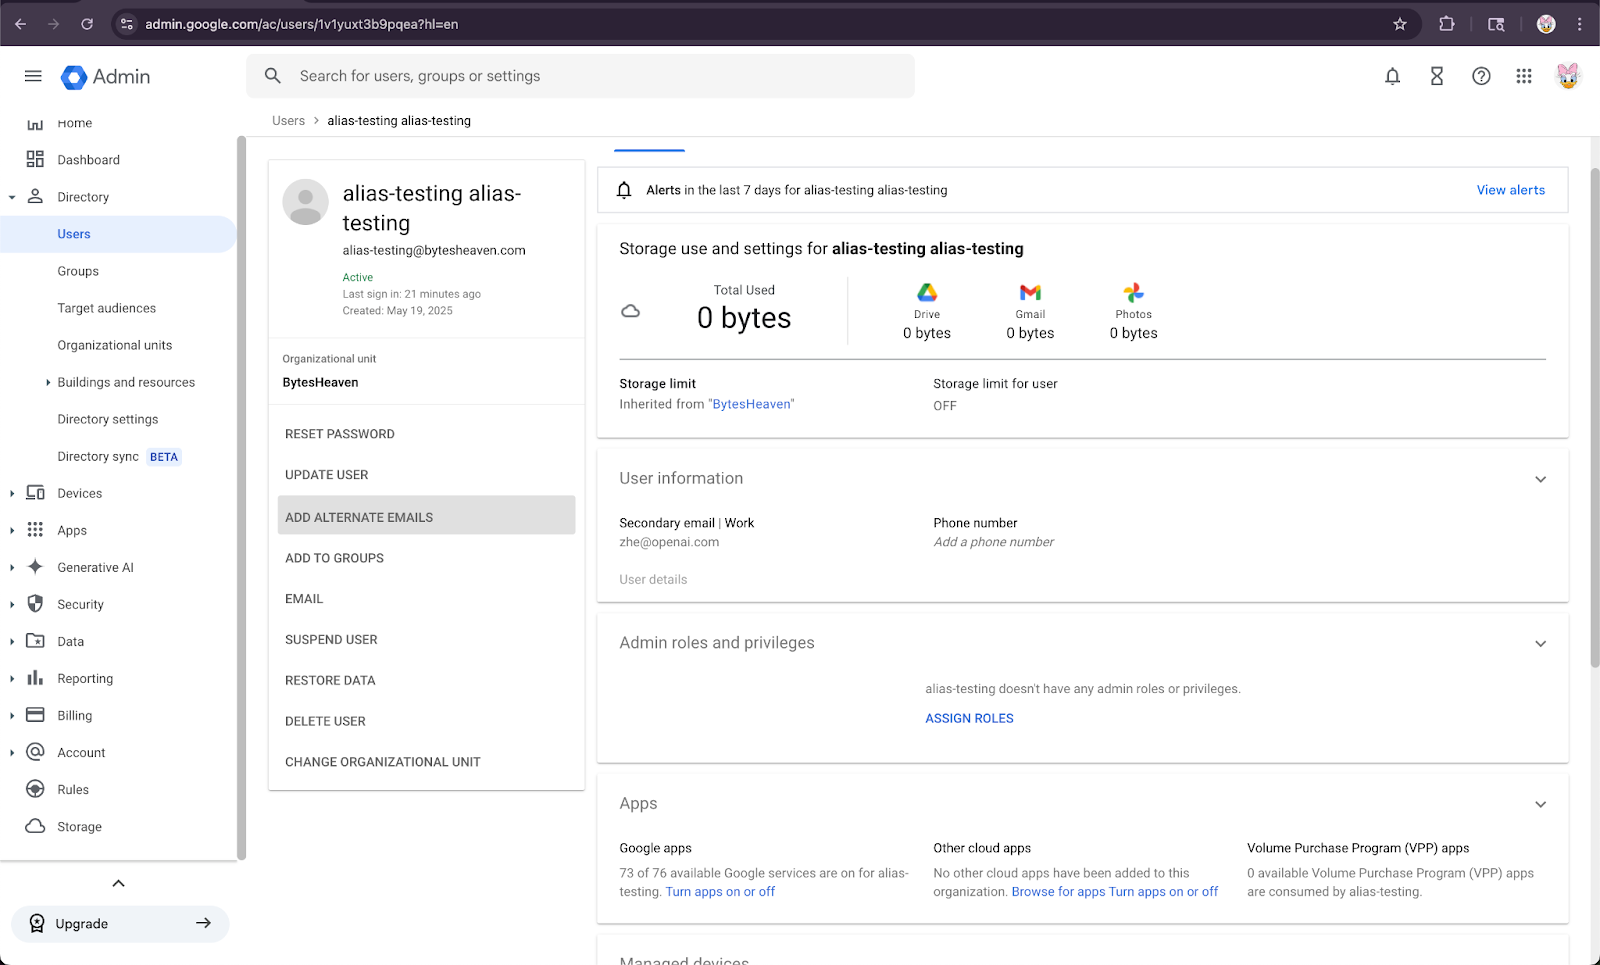
3. 대체 이메일을 추가합니다. 사용자의 ChatGPT 계정과 일치하는지 확인하세요.

4. Save를 선택합니다.
알려진 제한 사항
개인 이메일 주소는 지원되지 않습니다
개인 주소(예: example@gmail.com)로 ChatGPT에 가입한 사용자는 Google Workspace에 연결할 수 없습니다. 이 설정은 지원되지 않으며, 조직 외부에서 내부 데이터에 액세스할 수 있게 하므로 보안 위험을 초래합니다.
Gmail “+” 별칭은 지원되지 않습니다
Gmail에서는 주소에 “+”를 추가해 별칭을 만들 수 있습니다(예: user+alias@gmail.com). 이 유형의 별칭은 Google Drive 동기화 커넥터에서 작동하지 않습니다. 별칭은 Google Workspace에서 명시적으로 구성되어야 합니다.
일반적인 오류 메시지
이메일 주소가 올바르게 연결되지 않으면 사용자는 다음 메시지를 볼 수 있습니다. “Google Drive에 계정을 연결할 수 없습니다. 자세히 알아보려면 클릭하세요.”
사용자에게 이 메시지가 표시되면 이 문서의 단계를 검토하고 정확히 따랐는지 확인하세요. 추가 지원이 필요하면 지원팀에 문의하세요.