Overview
This guide walks you through the step-by-step process to launch your first campaign in Ads Manager Beta. It covers the core steps from campaign setup to launch.
Before you begin
Make sure you have:
An Ads Manager Beta account
Your advertiser account set up (name, favicon)
Your billing profile and payment method set up
Campaign inputs ready (campaigns, ad groups, ads)
Step 1: Choose how to create your first campaign
You can create campaigns in two ways:
Guided campaign creation: build campaigns step-by-step directly in Ads Manager Beta
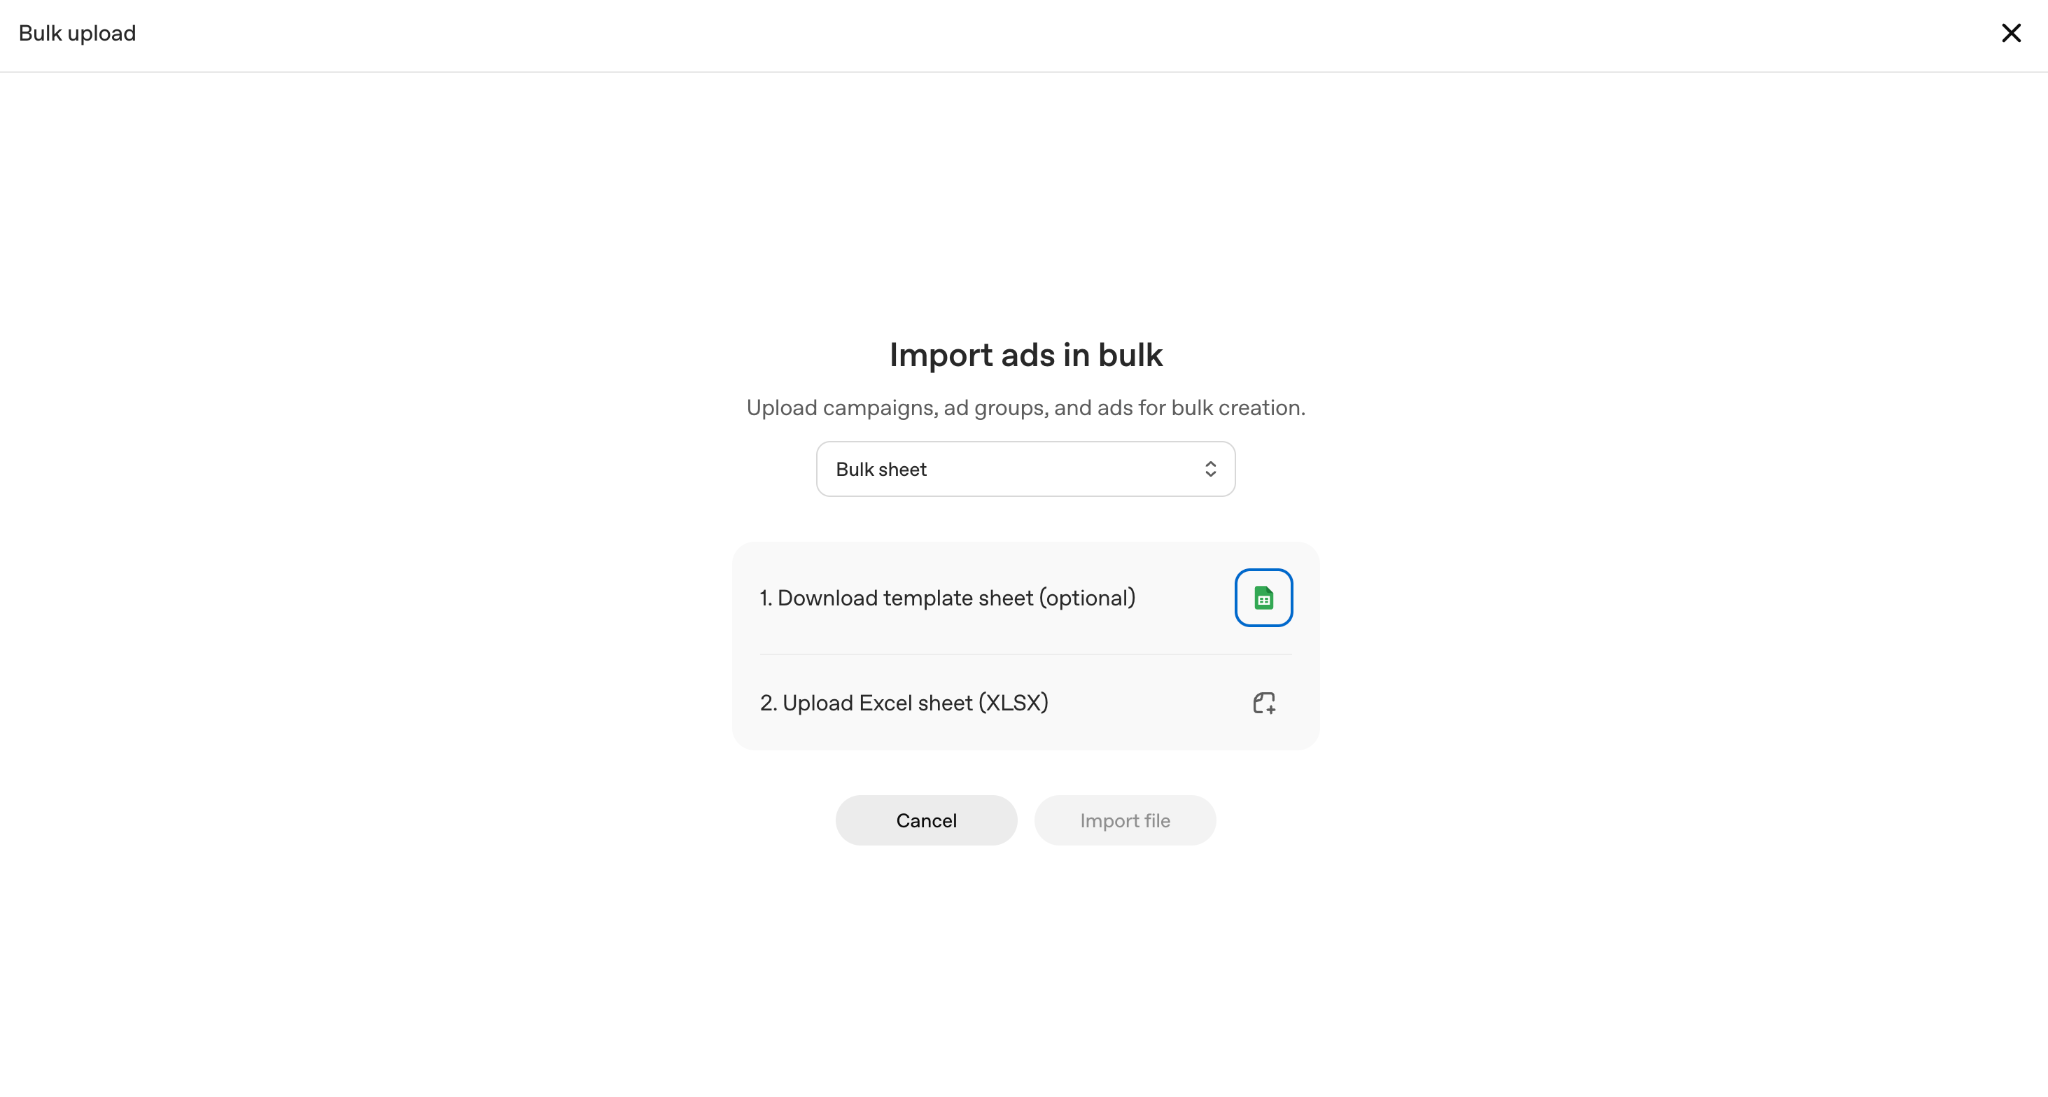
Bulk upload via CSV: create campaigns at scale by uploading a completed ad schema template. This is best for larger launches or multiple campaigns. To access the template, navigate to Create > Upload bulk
All campaigns follow the same structure:
Campaign: defines the overall goal and budget
Ad Group: organizes that goal into specific themes or intents
Ad: the creative unit shown to users (includes title, copy, landing page, and image)
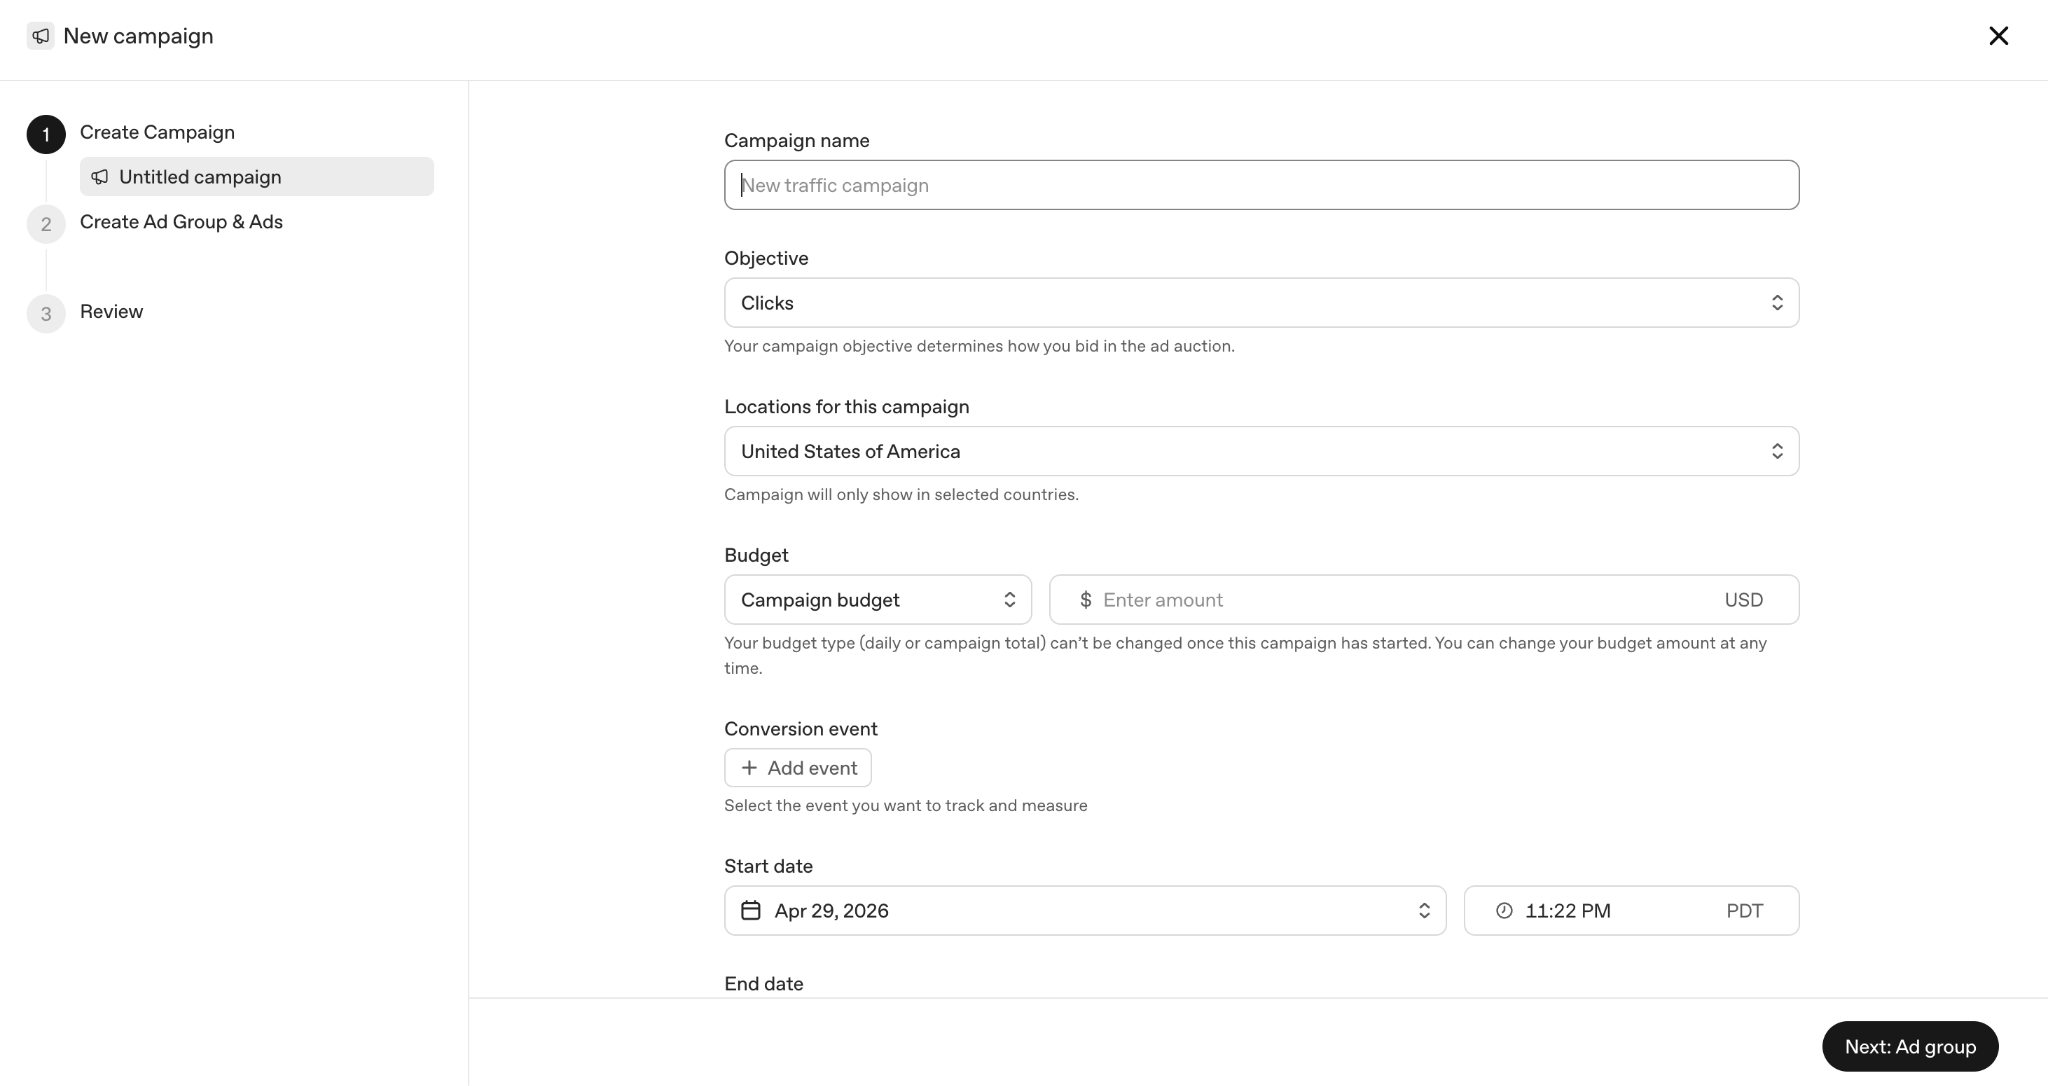
Step 2: Create your campaigns
Campaigns are the top-level objects that define your objective, budget, and country targeting.
Guided Campaign Creation
In Ads Manager Beta, click ‘Create’, then ‘Create campaign’
Enter all required fields for each campaign as outlined above
Save the campaign
Repeat for any additional campaigns
Bulk Upload
Navigate to the Campaigns tab in the ad schema template
Add a row for each campaign
For each campaign, enter all required fields:
Campaign name (unique, descriptive)
Budget (max spend per campaign)
Start and end dates (YYYY-MM-DD format)
Objective (Views or Clicks)
Country (target countries)
A few tips as you fill out your campaign schema for the first time:
Keep campaign and ad group names consistent across tabs
Do not rename tabs or column headers
Refer to our Create Campaigns for ChatGPT article for best practices as you create your campaigns.
Step 3: Create your ad groups
Ad groups represent themes, intents, and context hint clusters under a campaign that can influence where and how ads are delivered.
Guided Campaign Creation
In Ads Manager Beta, select a campaign, then add your ad groups
Enter all required fields for each ad group as outlined above
Save the ad group
Repeat for any additional ad groups
Bulk Upload
Navigate to the ‘Ad Groups’ tab in the ad schema template
Add a row for each ad group
For each ad group, enter all required fields:
Campaign name (must match exactly across tabs)
Ad group name (unique, descriptive)
Max bid: enter a maximum CPM bid for Reach campaigns or a maximum CPC bid for Clicks campaigns.
Context hints (JSON array in the schema: [“hint1”, “hint2”])
Refer to our Create Ad Groups for ChatGPT article for best practices as you create your ad groups.
Step 4: Create your ads
An Ad is the creative unit shown in ChatGPT. It includes your brand name, logo, title, copy, landing page, and image.
Guided Campaign Creation
In Ads Manager Beta, select an ad group, then add your ads
Enter all required fields for each ad as outlined above
Save the ad
Repeat for any additional ads
Bulk Upload
Navigate to the Ads tab in the ad schema template
Add a row for each ad
For each ad, enter all required fields:
Ad group name (must match exactly across tabs)
Ad title (16–24 characters recommended; 50 characters maximum)
Ad copy (32–48 characters recommended; 100 characters maximum)
Landing page URL (valid, reachable, and not blocked by OpenAI crawlers)
Image URL (PNG or JPG, square, no larger than 1200 x 1200, publicly accessible)
Refer to our Creating Ads for ChatGPT article for best practices as you create your ads. Note that each ad account can include up to 5,000 campaigns, 5,000 ad groups, and 5,000 ads.
Step 5: Validate before you submit
Bulk Upload
Ensure all required fields for campaigns/ad groups/ads are filled in
Check that all campaign and ad group names match exactly across tabs and that there are no duplicates
Context hints are correctly formatted in JSON [“hint1”, “hint2”]
Ad titles and copy are within character limits (title: 16-24 characters, copy: 32-48 characters)
Landing page URLs are valid and reachable
Image URLs are publicly accessible and link directly to supported file types
Image assets meet size and format requirements (square, 1200 x 1200 max)
Step 6: Submit your campaign structure
Guided Campaign Creation
Ensure campaigns are turned to status ‘Active’
Bulk Upload
In Ads Manager Beta, click ‘Create’, then upload your filled out ad schema template
Step 7: Resolve upload errors (bulk upload only)
Our system will reject any ad schema that does not exactly match our system requirements. If an error occurs during ingestion, Ads Manager Beta will display a specific error message.
How to troubleshoot:
Fix directly in the Ad Schema template: Most issues can be resolved by correcting formatting, required fields, links, or naming mismatches
Re-upload after validation: Once fixes are made, re-upload the updated file into Ads Manager Beta
Reach out to support when needed: if errors persist or are unclear, contact support (ads-support@openai.com) with your file and error details
Step 8: Launch and monitor early signals
After launch, confirm that your campaigns, ad groups, and ads are marked Active and begin receiving impressions and clicks within 24 hours. Please note that there is typically a delay of up to 7 hours between ad delivery and results appearing in Ads Manager Beta. If you are not seeing any delivery, refer to our Troubleshooting Common Issues and Frequently Asked Questions articles for troubleshooting guidance.